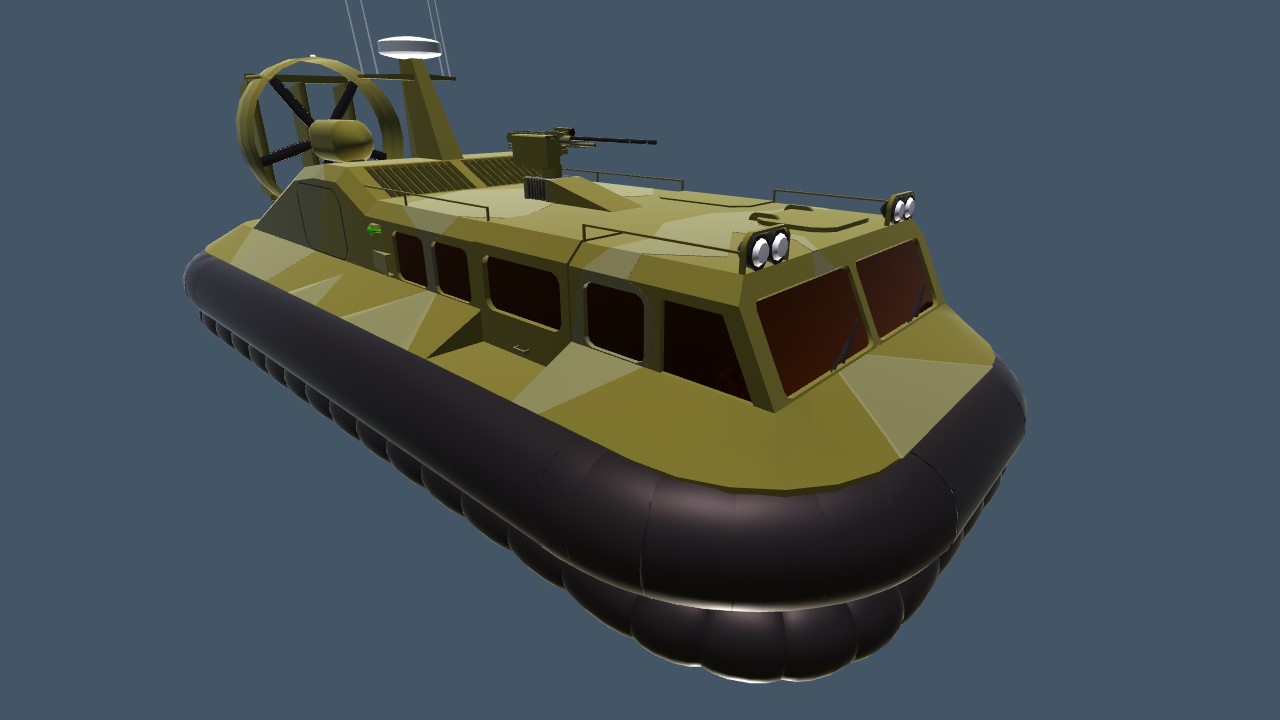
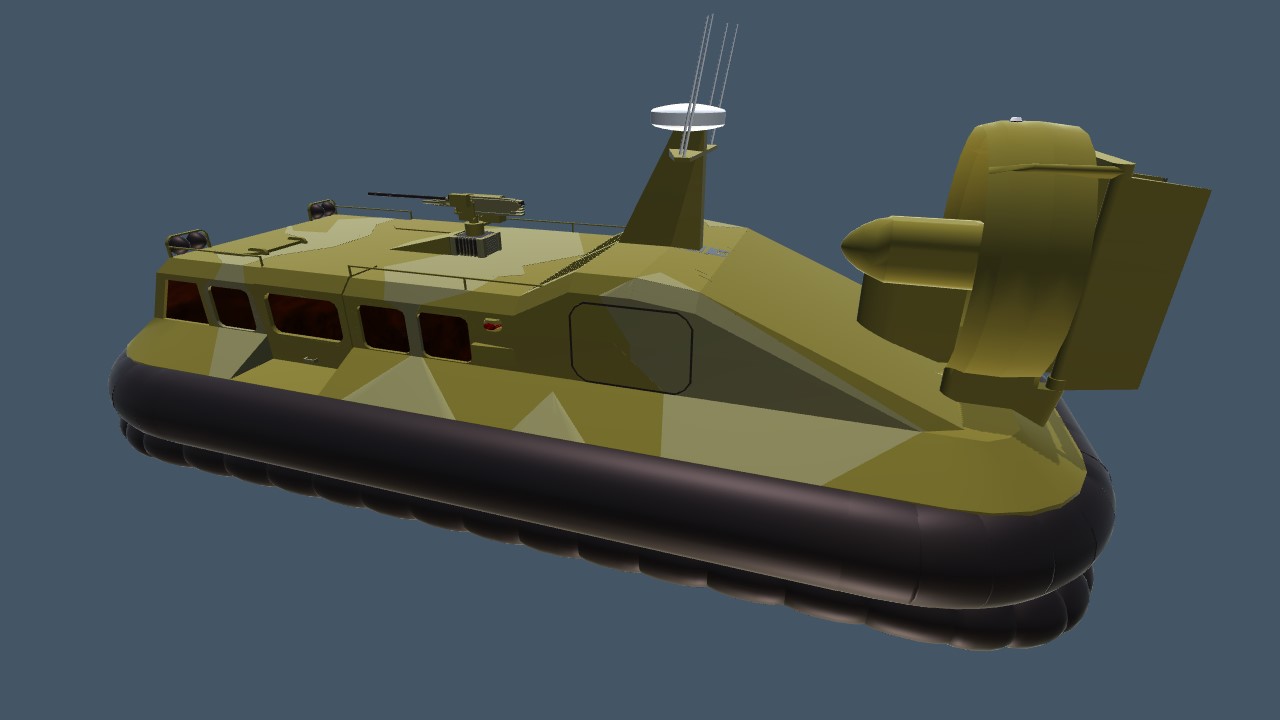
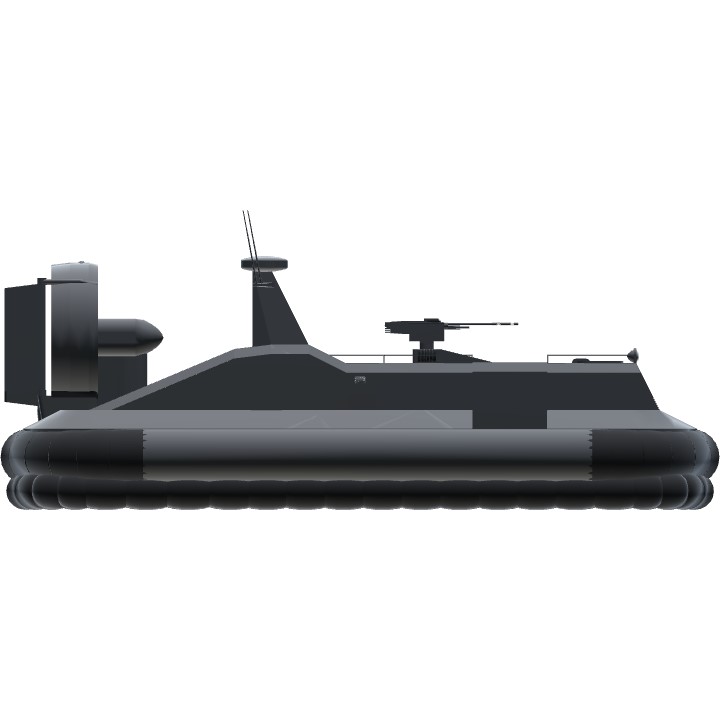
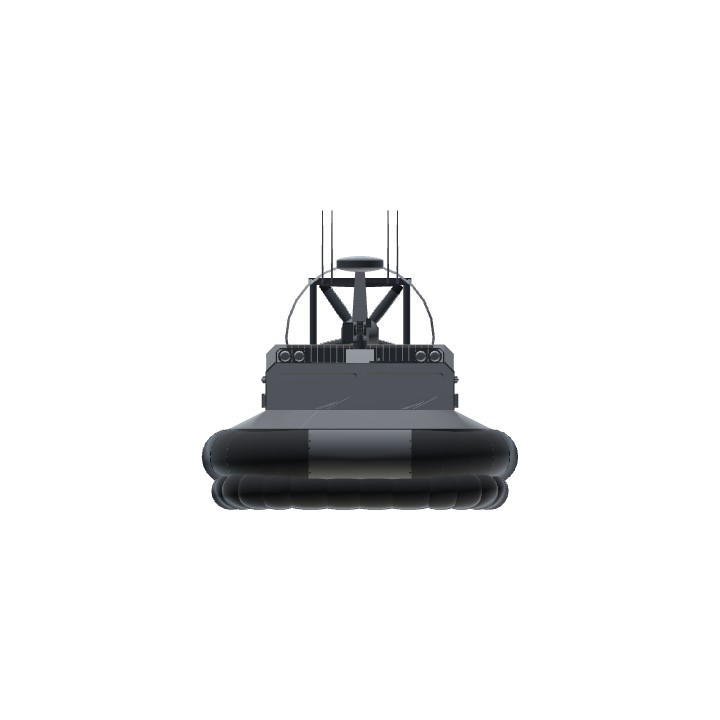
ACV-1 Bullfrog is a multirole hovercraft developed by M.Corp for its various services and for export. It is currently in use with anti-terrorist units, coast guard, border police, and M.Corp marines for tasks including interception of suspicious shipping, counter-piracy in coastal waters, anti-smuggling operations, search and rescue, and others.
Design:
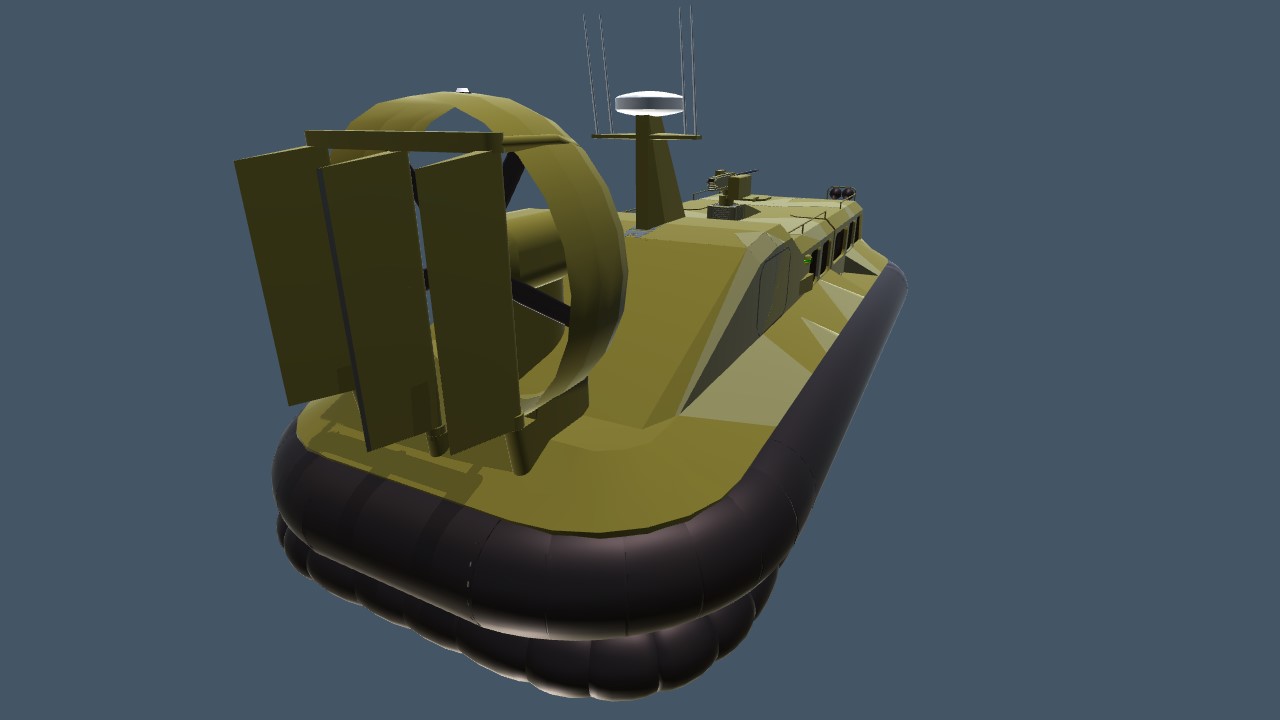
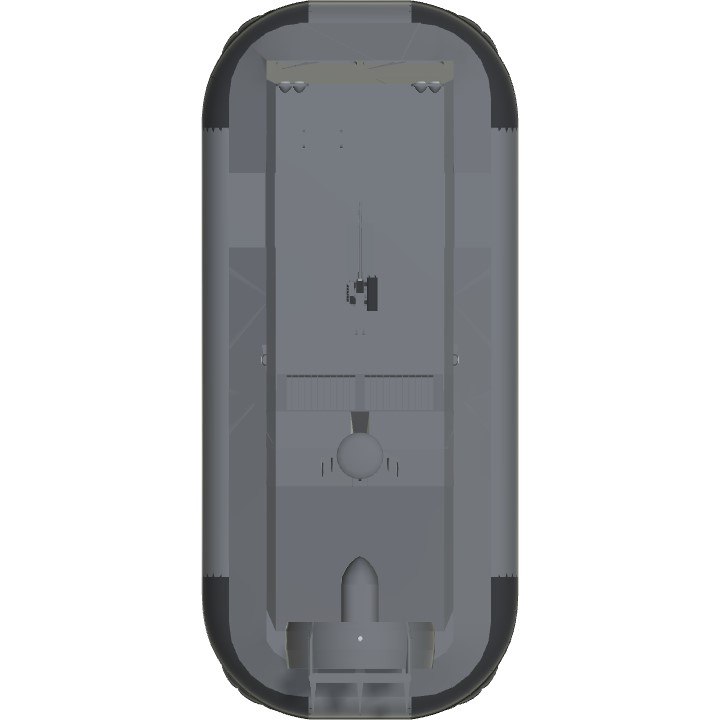
ACV-1 is a relatively small hovercraft powered by a 1500hp turbine spinning a single shrouded propeller. Its three rudders mounted immediately behind the propeller duct vector the thrust of the propeller, making the vehicle very maneuverable.
Bullfrog has two to three crew members, depending on configuration, crew consisting of a captain, second officer (both at the controls) and a gunner if there is a weapon installed. It seats up to twelve fully armed soldiers in the back in the personnel transport configuration.
ACV-1 can be customized to respond to the needs of the customer. It can mount 7.62mm, 12.7, or 20mm manually or remotely controlled guns, carry varying amounts of armor up to STANAG III standard, have different interior layouts including personnel transport (hover-APC), ambulance, passenger,...
Features:
- Realistic (as far as I can tell) hovercraft handling.
- Ability to traverse both land and water.
- Low part count (260 parts).
- Lots of edited parts for iOS people to take.
Controls:
- Throttle - go forward.
- Brake - reverse.
- Yaw - turn.
- Pitch - elevate the gun.
- Roll - traverse the gun.
- Ag8 - lights.
- Camera 1 - gun sight.
Enjoy.
Specifications
General Characteristics
- Successors 4 airplane(s) +28 bonus
- Created On Windows
- Wingspan 13.9ft (4.2m)
- Length 31.5ft (9.6m)
- Height 13.1ft (4.0m)
- Empty Weight 2,232lbs (1,012kg)
- Loaded Weight 12,863lbs (5,834kg)
Performance
- Power/Weight Ratio 1.31
- Horse Power/Weight Ratio 0.005
- Wing Loading 172.3lbs/ft2 (841.1kg/m2)
- Wing Area 74.7ft2 (6.9m2)
- Drag Points 12454
Parts
- Number of Parts 260
- Control Surfaces 0
- Performance Cost 2,395

@EternalDarkness
Awhhh...
@SPsidearm it wouldn't do anything. Skirt just traps a pocket of air between the hull and the ground. The air is leaking under it constantly.
Also, skirts are made of thick rubber. You'd need something sharper than a nail.
What if i....
holds nail
@EternalDarkness Sure, I will do. Thanks for following
@WinsWings tag me when it's out. I'm following you, but just in case. I'd hate to miss it.
@EternalDarkness, yes, of course. You inspired me to build one.
@WinsWings I'm glad you like it. I'm still proud of this little thing.
Great build, i have added to my favourait
Pretty funny coincidence how you and bogdan both released hovercraft on the same day that use similar mechanisms
One thing I have noticed is the ground-effect hovercrafts (not this one) in sp dont work on the bridges...
Because we need to spread the word. All planes should have custom control surfaces @EternalDarkness
@EternalDarkness hey man, you left me out!
@edensk @IStoleYourMeme @D0M1N420R @SodiumChloride @X4JB why is my comment section spammed with my publically accessible tutorial?
Is this one of those wwi biplanes?
I really like the vertical stabiliser but I think the wings need work
How to create this kind of wing:
Have the leading edge block taper towards the tip;
Adjust the triangle block so that its front side is as tall as the wing should be thick at root and be zero units wide. Rear side should be as tall as the wing tip is thick and as wide as the wing is long;
Place front end of the triangle block onto the leading edge block so that it points forward, and align the point with the root;
Adjust "run" and "length" of the triangle block to fit the leading edge block;
Add custom control surfaces to the rear of the triangle block on rotators;
Profit.
I have added another block to the rear of the triangle block to get a smoother airfoil. That is recommended but not mandatory. Fuselage inlets flipped onto their sides are recommended for custom surfaces in order to give you trailing edge sweep by editing inlet angle.
"
The plane looks nice, but control surfaces covered by fuselage and corners of wings sticking out are just too much for me to upvote. You should invest time into custom control surfaces."
https://www.simpleplanes.com/a/rKcn40/Example-Tapered-wing-with-custom-surfaces
How to create this kind of wing:
Have the leading edge block taper towards the tip;
Adjust the triangle block so that its front side is as tall as the wing should be thick at root and be zero units wide. Rear side should be as tall as the wing tip is thick and as wide as the wing is long;
Place front end of the triangle block onto the leading edge block so that it points forward, and align the point with the root;
Adjust "run" and "length" of the triangle block to fit the leading edge block;
Add custom control surfaces to the rear of the triangle block on rotators;
Profit.
I have added another block to the rear of the triangle block to get a smoother airfoil. That is recommended but not mandatory. Fuselage inlets flipped onto their sides are recommended for custom surfaces in order to give you trailing edge sweep by editing inlet angle.
here
@EternalDarkness the one used on Pegasus? That would have looked better
@EternalDarkness
@BogdanX
Oh, that makes more sense, lol.
@BogdanX it was your idea to post at the same time. I decided to accept it.
@BlazeInfinity alternative was winter camo.