
Unlisted
No Tags
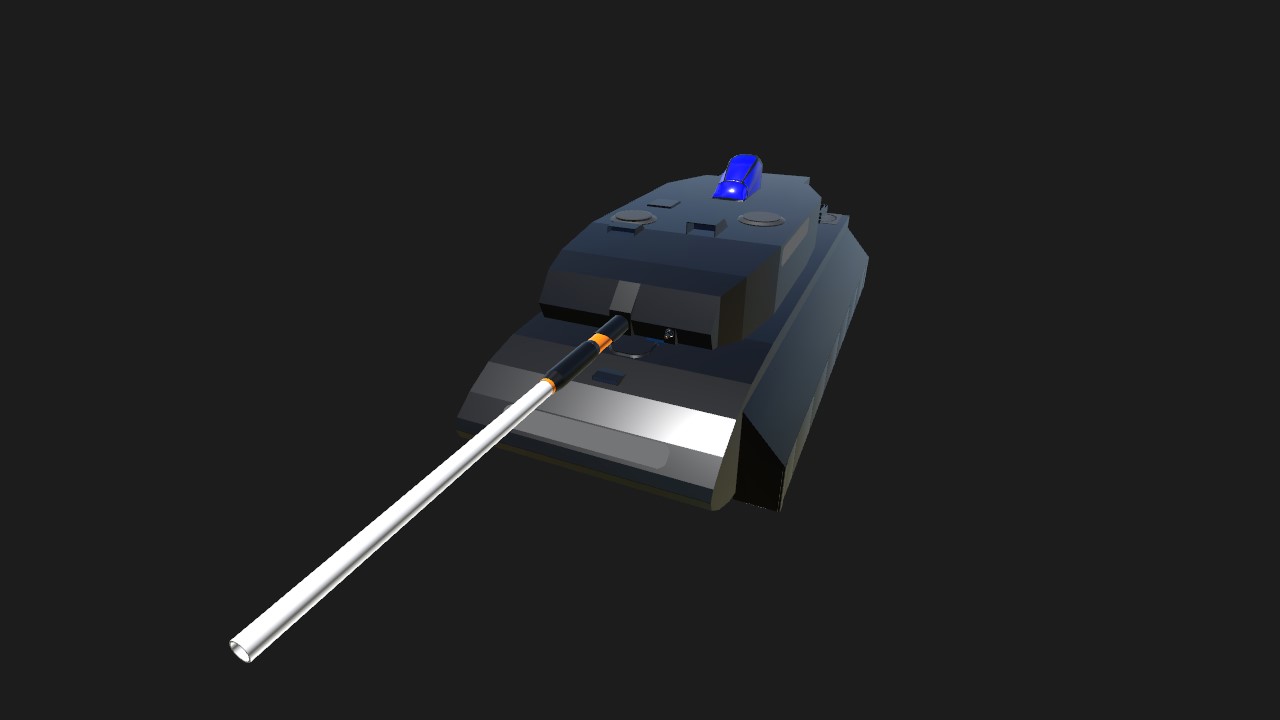
Auto Credit Based on Mrgoofy's Air11
Ta-Daaaa
Gunner 2 camera: corrected
Driver camera: corrected
Commander sights camera: corrected
Gunner 1 camera: left as it is
Specifications
General Characteristics
- Predecessor Air11
- Created On Windows
- Wingspan 12.6ft (3.8m)
- Length 36.9ft (11.2m)
- Height 10.9ft (3.3m)
- Empty Weight 28,286lbs (12,830kg)
- Loaded Weight 30,817lbs (13,978kg)
Performance
- Wing Loading N/A
- Wing Area 0.0ft2 (0.0m2)
- Drag Points 8424
Parts
- Number of Parts 315
- Control Surfaces 0
- Performance Cost 1,585

@Mrgoofy Oh.
Not sure that i may have any free time in the next week.
But okay, tag me on it.
Just can't promise to make it sooner.
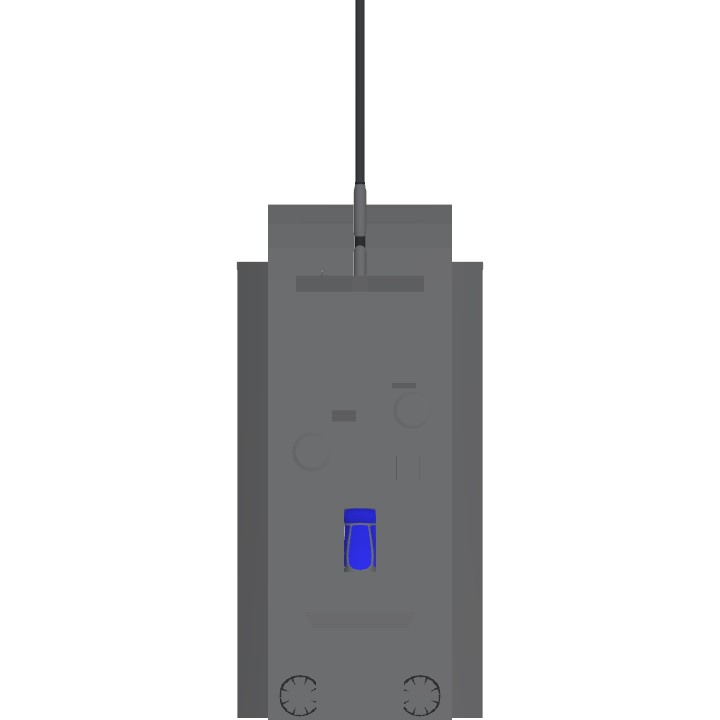
Only Drivers sight 1and 2
Can you fix another sight for me
Hey it's me again
@Grob0s0VBRa Man you are so smart
@Mrgoofy Gunner 2 camera connected to the fuselage piece between the cannon and machine gun.
Just select the piece, open the attachment editor and you'll find the camera part connected to it.
Sorry to bother but where did you put rh gunner 2 camera, I'm fixing the sights
I used labels and variable outputs of the cameras.
Cameras have an
Is Activeline in theirvariable output(the button with x on it, the one hidden in rotate menu on the right), you can type a name there and use it in codes.For example, when you switch view to the camera it will output 1, which is used in the label part.
The label part, in turn has some lines which create these black walls, there are symbols and properties like
size,voffset,rotate, etc.The most important for the trick is the
colorproperty as it allows us to colorize texts, logos, stuff AND change the transparency.For that i used this little code:
{(Cam_Name=1)?#010101FF:#F0000000}first eight numbers are the desired color of the walls.
The second eight make them (walls) transparent, when the camera is off.
Oh and you can read about labels stuff
Here
How did you do it?, I must learn