No Tags
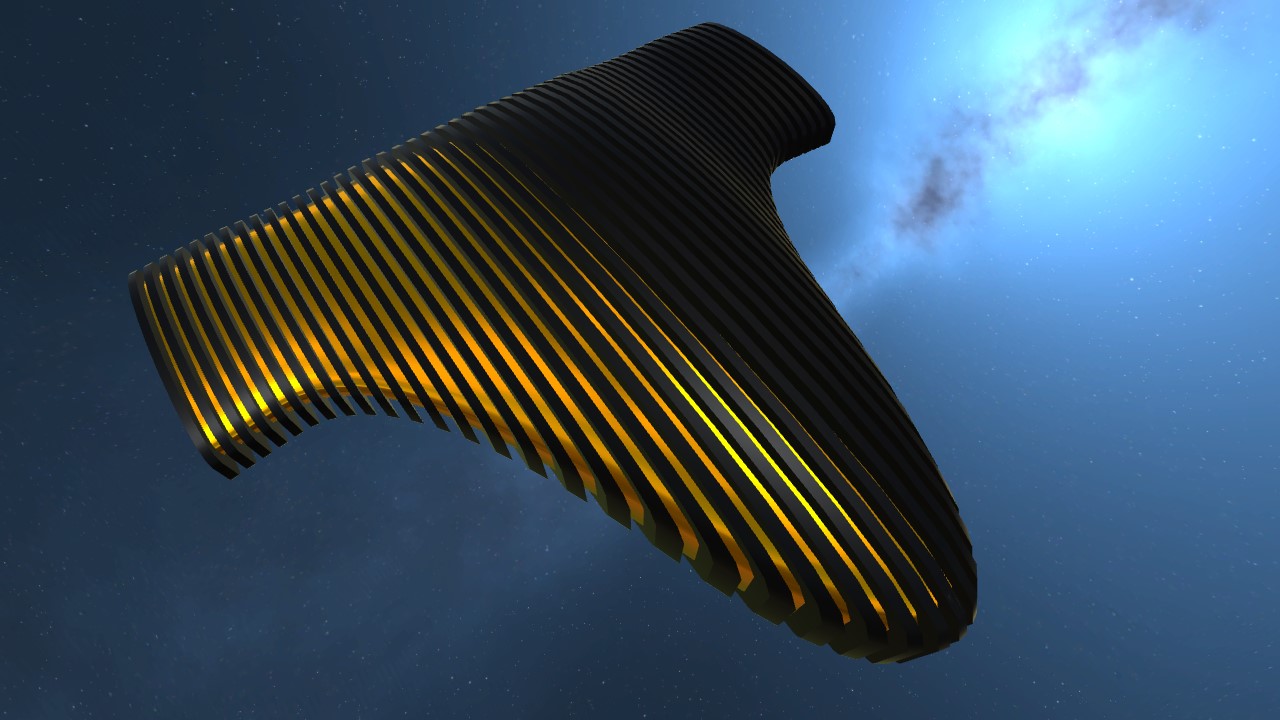
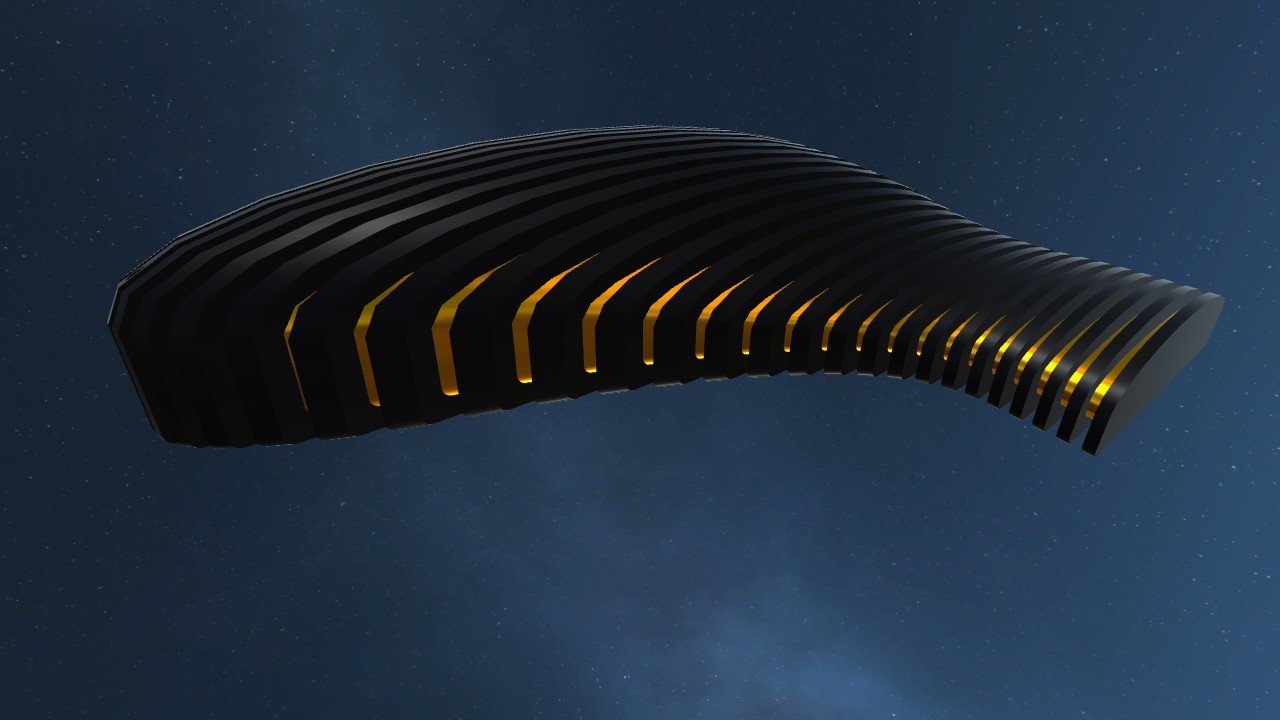
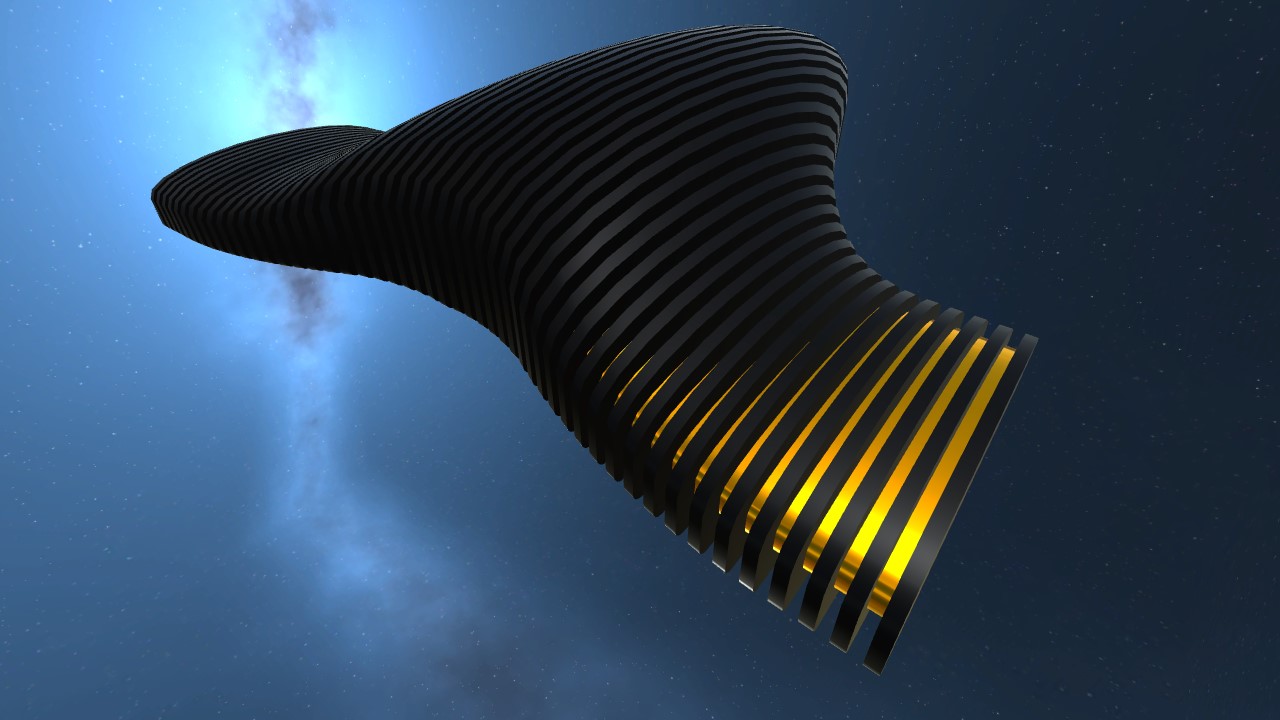
Experimenting with textured surfaces. Controls: AG8 to toggle pitch sensitivity.
Specifications
Spotlights
- Mal0ne 8.5 years ago
General Characteristics
- Successors 1 airplane(s)
- Created On Windows
- Wingspan 159.1ft (48.5m)
- Length 151.7ft (46.2m)
- Height 35.8ft (10.9m)
- Empty Weight N/A
- Loaded Weight 192,629lbs (87,375kg)
Performance
- Power/Weight Ratio 0.174
- Wing Loading 33.9lbs/ft2 (165.5kg/m2)
- Wing Area 5,683.3ft2 (528.0m2)
- Drag Points 302760
Parts
- Number of Parts 115
- Control Surfaces 9
- Performance Cost 539


@OhKnights tracerColor="XXXXXX" where XXXXXX is a hexadecimal RGB value, and bulletScale="x,y,z".
Well I have one question. How to change the minigun or wing gun bullets or fire.
Glad you like it, @OhKnights
Optical illusion plane! Wow
Don't forget And Another Thing. I read all five of the books as well@pk41382
@LAGDragon Yep
Hitchhiker's Guide reference?
Hearts of Iron
@Sakari Ahh ok.
@FGW2014 Yep, just left a comment. Very good for a first build.
I'm on iOS so rip
@SledDriver
@SledDriver did you see the plane?
@SledDriver i have just uploaded my creation made in your style, i hope you enjoy it. it is called The Imperial
@FGW2014 No problem, always happy to help.
@SledDriver ok thank you
@FGW2014 Those two posts were to give you the general idea. To make a block rise or run, don't use the in-game editor. The rise and run are set in the offset field of Overload. An offset of (1, 0.5, 6) means the block has a run of 1, rise of 0.5, and length 6.
@SledDriver i got that, i mean like when you hit edit on a fuselage block it will say rise and run, how do i get it to do that.....otherwise i just get a straight curve
@FGW2014 A fuselage block has five factors affecting its shape:
frontScale and rearScale (width, height)
offset X (sweep or horizontal curve)
offset Y (vertical curve)
offset Z (length)
cornerType (smooth, circular, square, curved)
I suggest you create a new airplane, and add a single fuselage block. Use OverloadXML to set its frontScale and rearScale to (50, 10), and offset to (0, 0, 1). Now rotate it 90 degrees around the Y-axis, and you have the type of basic building block that I use. Now clone it, say ten times, and stick all the cloned sections together, so you have a straight "wing."
Now start at one end and change the values one by one, using OverloadXML. You could start with width. For the first section, set the frontScale to (49, 10). For the next section, set the rearScale to (49, 10) and frontScale to (47, 10). Then (47, 10) and (44, 10) and so on, increasing the difference by one each time (50-1, 49-2, 47-3 and so on). You'll end up with a wing that smoothly tapers down in width. Next you can play with the height: (49, 9), (47, 7) and so on.
Once you get the hang of that, try playing with the other values. I'm always happy to answer questions, so feel free to ask.
@FGW2014 You just need to get smoothly blended curves. Here's how I used to do it:
your central section's frontScale and rearScale is, say, 60 x 10
For the next section, subtract 0.1 from the height, getting 60, 9.9
For the next, subtract 0.2, getting 60, 9.7
Next, subtract 0.3, getting 60, 9.4
Next, subtract 0.4, getting 60, 9
This will give you a smoothly increasing slope, i.e. a curve. Then at some point you'll want to reduce the slope again to blend into the wing. So start decreasing the decrement. Let's say you want to start reducing the curve when your decrement is 0.9:
For the next section, subtract 0.8
For the next section, subtract 0.7
For the next section, subtract 0.6
and so on. This will give you a nice S-shaped curve wherever you use this technique.
To recap: the decrements you're applying to successive sections will look like this:
0.1, 0.2, 0.3, 0.4, 0.5, .... 0.5, 0.4, 0.3, 0.2, 0.1
@SledDriver how do you get things to rise or run without them being.........crappy looking
@Sakari Come on, don't give up so easily. You just have to type in a couple of numbers.
@SledDriver ok thank you
@FGW2014 Ahh I should have mentioned - when you use Overload to change the frontScale or rearScale, the view doesn't update automatically. The method I use is to set the values, then clone the part by right-clicking and dragging - the cloned part will have the correct values.
I can probably make one of these
looks at part size
Well I tryed
@SledDriver i am trying to use the front scale and rear scale like you told me but it wont work. Is there something I'm doing wrong?