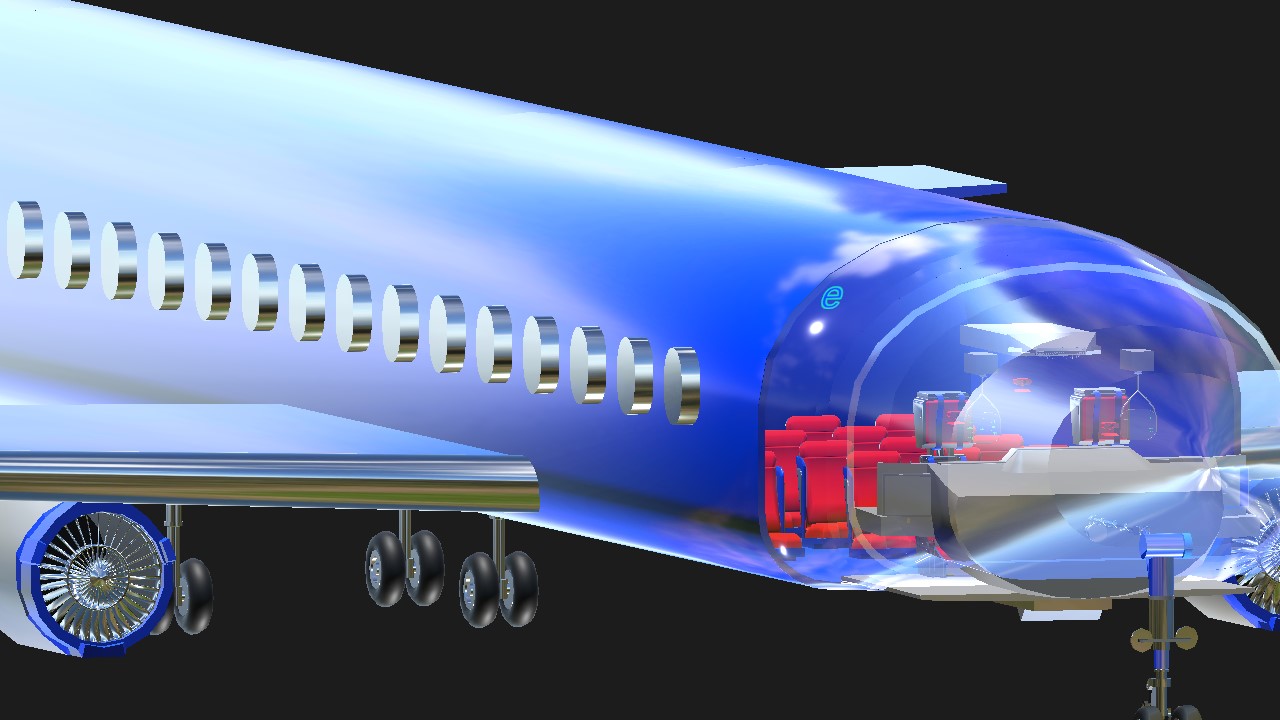
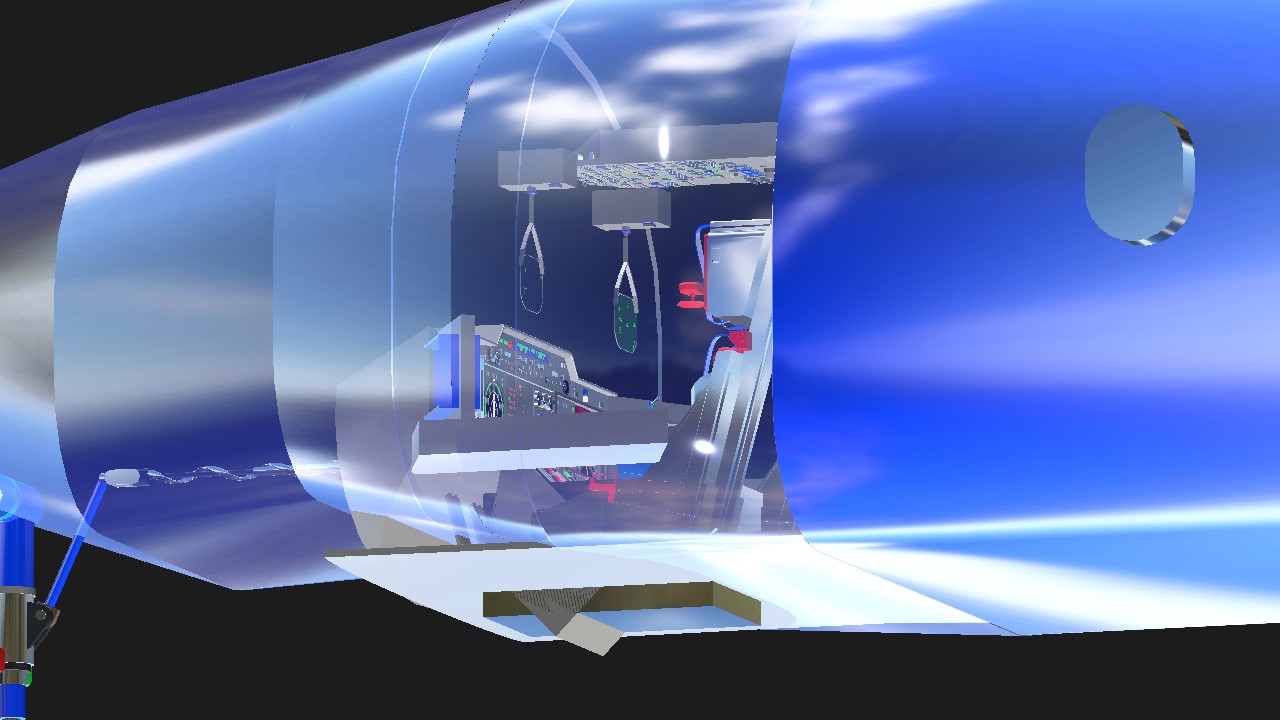
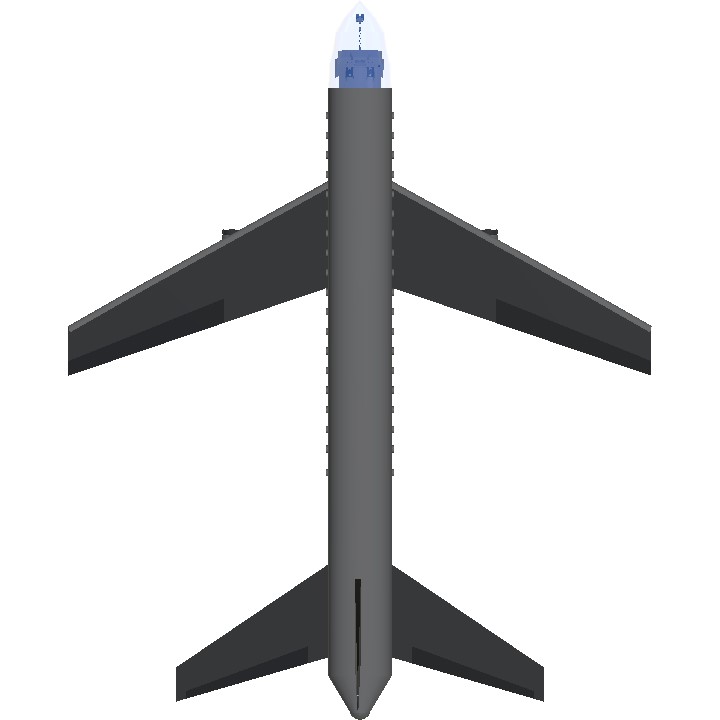
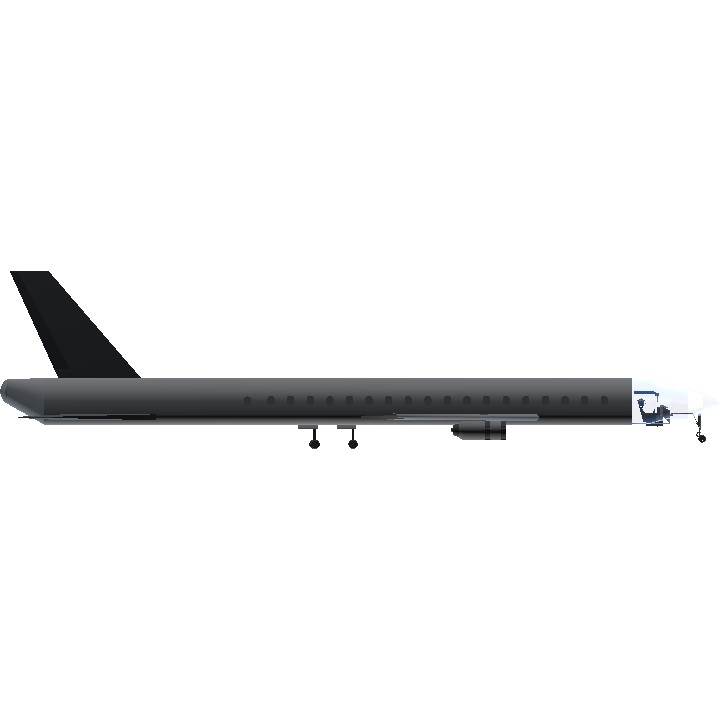
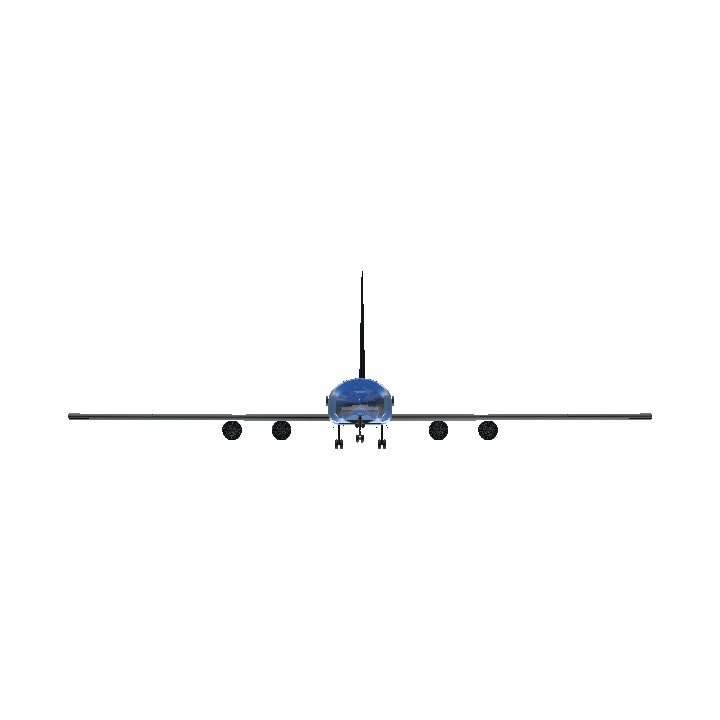
The front of the aircraft is transparent for better viewing. Some really neat features. Hideaway radars for both pilots (Flip radar switch above artificial horizon to activate) Landing gear warning light. J.A.T.O Jet Assist Take Off (Button in middle towards copilot) To turn on engines, 2 red buttons on center console (activate 2 & 3). Sorry about # of parts. Please at least try hide away radars (I'm really proud of these) enjoy Z
Specifications
Spotlights
- PlaneFlightX 3.1 years ago
- WinsWings 3.1 years ago
General Characteristics
- Created On Android
- Wingspan 97.7ft (29.8m)
- Length 120.5ft (36.7m)
- Height 29.9ft (9.1m)
- Empty Weight N/A
- Loaded Weight 47,139lbs (21,382kg)
Performance
- Power/Weight Ratio 2.574
- Wing Loading 25.7lbs/ft2 (125.6kg/m2)
- Wing Area 1,832.6ft2 (170.3m2)
- Drag Points 23638
Parts
- Number of Parts 860
- Control Surfaces 5
- Performance Cost 4,825

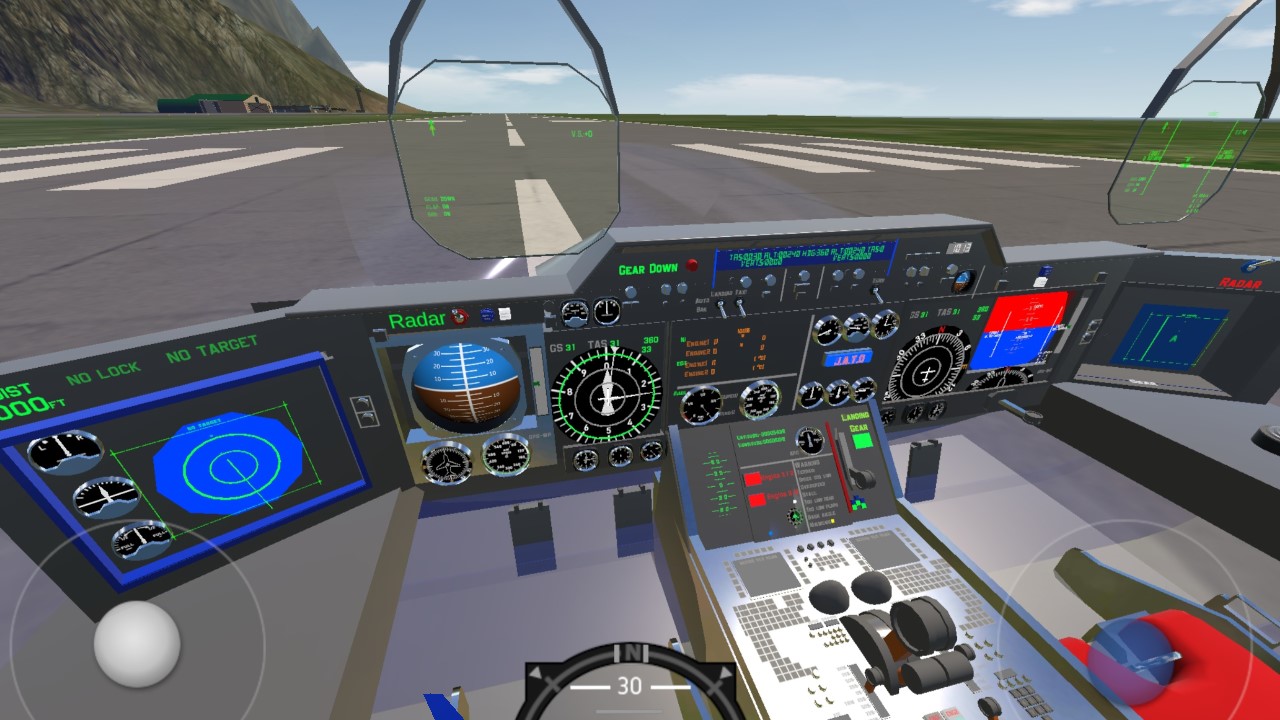
@jope, Thanks for the upvote ! Did you flip the radar switch in front of the pilot and see what happens to the left of the pilot (Radar appears ?) Also, did you press the "Hud" button above the hud on the ceiling ? (The hud will fold away) Lastly, I added your name to my list of friends (see bottom of the list) click Here to see ! Thanks again ! Z ; )
@Zaineman
You are right, it's proving ground that take so much time.
Many little things do contribute a nice chunk to building time but that's not all.
I think it's test flight that use most of my time, I have to make sure that how ever stupidly I fly it'll not be uncontrollable or at least try to eliminate most of the undesired behavior.
Also there is my final test, once I've put everything together I have to test every function no matter how small it is, mostly if it'll compatible to the whole system.
@GuyFolk It won't hit the ground !?!? In your post you talked about how much time you spent building this..... It's the little things like this that take a lot of time huh ? The proving ground if you will.......
@Zaineman
I didn't know if it get past people or not but if it didn't, they might be so exciting like you lol.
Also, my railgun will not fully extended when landing gear is deployed so the gun will not hit the ground.
@GuyFolk I understand.....btw I don't know if I mentioned to you but the railgun you have on your aircraft, the way it comes down from the fuselage and spins, that is just so sick. I think some of these things might get past people. I used orbit view to sit underneath the aircraft and watch the railgun go in and out of the fuselage. It's like art.
@Zaineman
I'm glad that you've made it!
It's still puzzle me that the targeting box work the way it is, I've tried reading the code from the original creator but can't figure how it work but know well enough how to modify it lol.
I just make it red when the target is locked and I made it more useful by adding gun/cannon aiming system.
@guyfolk. SUCESS ! ! ! Thanks to your advice,I was able to get your HUD to line up correctly. I copied where your HUD & camera are in 3 dimensions then pasted into my HUD & camera respectively. Next, I made a connection between the HUD and the camera. Next,I removed the computer from my fuselage and moved my aircraft as close as I could to the HUD and camera. Finally, I used multi-edit to make small adjustments to where the camera and HUD is in respect to my fuselage. (Once the X,Y,Z on the HUD and camera matched yours and I connected them to one another, it was gravy) My only wish is, I wish the HUD was 2X the sixeitis now...... Thanks Guyfolk, you're the man l
@Zaineman
lol
That happen sometimes, it's quite a surreal concept if you think about it.
And thanks again for your appreciation of my work but I think it's good enough for me the way it is apparently, first few people give credits and when the chain of copying get longer it get lost.
I don't mind you doing that, people gets new parts and I get to see good planes, it's a win-win.
@GuyFolk The Camera ! ! ! Of course ! "Big Red truck" I never would have thought of that and it's so obvious. I'm not lining up the plane with the HUD in order to get the diamond perfect, I'm lining up the camera with the HUD. I'll be darn. I have a pretty busy day today and I work early tomorrow but this gets me something to look at and work on. I hope you don't mind me telling other people about your pods and your other designs. In my opinion you aren't getting the credit you deserve case in point. X-02S Strike Wyvern ''Archange''.... well okay ....you did get a lot of recognition for this one but you understand what I'm trying to say....... People love your pods....
@Zaineman
I'd not be surprised because that much info will overwhelm just about anyone, even me at first.
I think you should start with mathematical logic and wrap your head around the concept of 0 = false, 1 = true and logic expression can be used in equation as well as numbers.
The link I provided is mostly reference of functions to use in FT, if you get the main concept the rest of the document are just as easy as adding more tool to your tool box.
For HUD positioning, I just use x and y from camera so it'll line up perfectly, z axis is a bit tricky, according to the original HUD, the HUD distance just (HUD scale)*(the actual distance from camera to the HUD part).
Distance from camera to the HUD part can be calculated by difference of z distance of HUD and camera.
HUD scale can be obtained by viewing it in overload, usually it'll be scaled equally in 3 axis (otherwise the HUD will be a mess) so just use one of the 3 number, it really not matter.
@guyfolk First sorry to bug you with this but.......I started to read the programming link you sent me and it was clear that it was Way over my head. So, I copied and pasted EVERY ONE of your variables into an email (just for safekeeping) Next, I copied all of it into my other builds along with your HUD. First, hurray the horizontal degree lines actually appear and work.
But here is the million dollar question. The small "Target locking Diamond" does not line up. So, I know the X axis is 0.00 that's easy to move the aircraft there. But the next Y axis and the Z axis how do I get your hud to line up ? Short of building an entire aircraft around IT.
I noticed the first line in your variable said HUD distance. But it didn't seem to correspond with any number.
So without me getting an engineering or programming degree, how do I get your HUD to line up correctly on one of my aircrafts ? That locking diamond you have is the coolest and I would like to make it work.
I know this is a rotten thing for me to ask you this. I'm hoping the answer won't be too complex.
@GuyFolk I found the original cockpit with the original colors. I have everything put together except for the nose cone. The colors look amazing you're going to like it. Maybe....... Lol......Z.....p.s.. I also got rid of all the extra bologna, just added your radar with my spinning twist on it.
@Zaineman
Fair enough, at first I just change one or two colors and that's it.
But over a span of many builds, I just getting used to the re-painting process so it eventually become my new normal.
@ILoveAirplanes Anytime my friend, let me know what you think of guyfolks HUD. Just one of the many things he has, is a small square that will chase the aircraft around inside of his HUD then when it locks up a red diamond appears inside the small square over the top of the enemy aircraft. It's like a real military heads up device, it's crazy. That plane is a ball to fly
@Zaineman thanks alot man!
@iloveairplanes https://www.simpleplanes.com/a/ik7Yjq/SARACONIK-Cockpitfree-to-use
@ILoveAirplanes you got it, just need a minute
@Zaineman if you made the cockpit, can you upload the cockpit? Need it for testing.
If someone else uploaded it though, can you please link it?
@Zaineman I probably just need a better phone to run it lol
@ILoveAirplanes sorry about the number of parts. I really am. I found the cockpit and loved it. Especially the overhead with the switches, APU, fire, fuel pumps. Once I saw the bleed valves I knew I wanted to build a plane for this cockpit. I actually removed a number of items from the cockpit. Whoever worked on it had layered up many of the panels, laying gauges over the top of one another and it was just a mess. So I removed probably a 100 parts then began adding my own touches like my spinning radar and horizontal sweeping radar that I created a few months ago. Usually my builds are under 500 parts and some are under 250. So believe me I feel your pain.
It has 860 parts :pain:
@GuyFolk That is really smart regarding the colors ! I will do that from now on. I'm using a tablet so only on the VERY last update was I able to manipulate things like Metallic, smooth, emission and hex code in paint mode. Earlier I was just stuck with basic colors and couldn't change them at all unless I was working on somebody else's design. (Which made no sense) I finished the P-38. It is certainly not a replica but it's the best I can do with my tablet and at my skill level.
@Zaineman
np, I just think your build is resemble luxury car gadgets so that's one way to get some more idea.
If gadgets look beautiful irl, they should look beautiful in-game too.
And sadly, the color things, it's the pain we have to endure lol.
For me I just set the color in the pallet first before building, not all but just some base color (optionally, other unused slot can be set to bright purple so it'll catch your eyes and will be easy for spotting to re-paint it, the choice is create new color or paint it with existing one) and some always-used-color such as matte black, matte white, chrome, matte/chrome green, matte/chrome red, tactical grey, etc.
And as the part count grow, I just paint it first before I put it on.
If you manage it well it'll be just like re-paint 1/4 of a plane at most.
@Zaineman it's my pleasure bro 😊
@GrizzlitnCFSP thanks for your upvote... Z