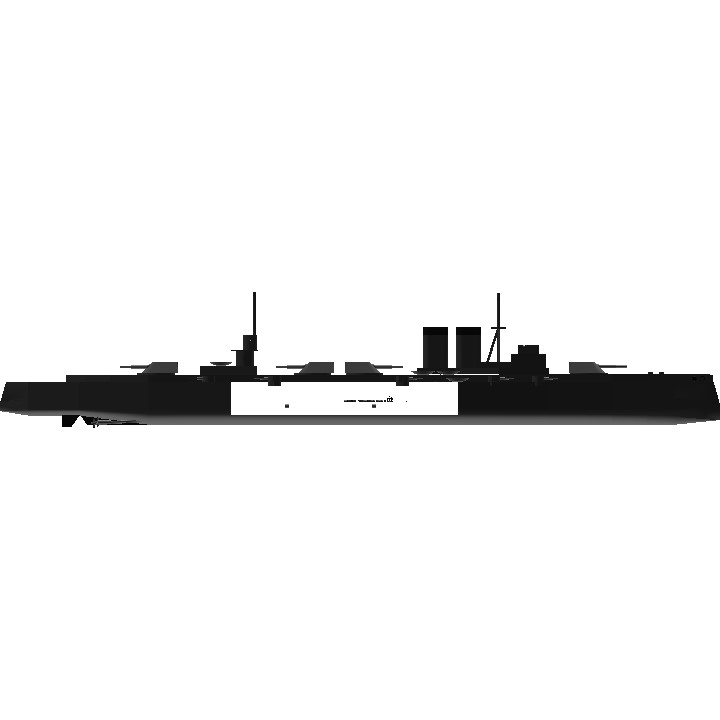
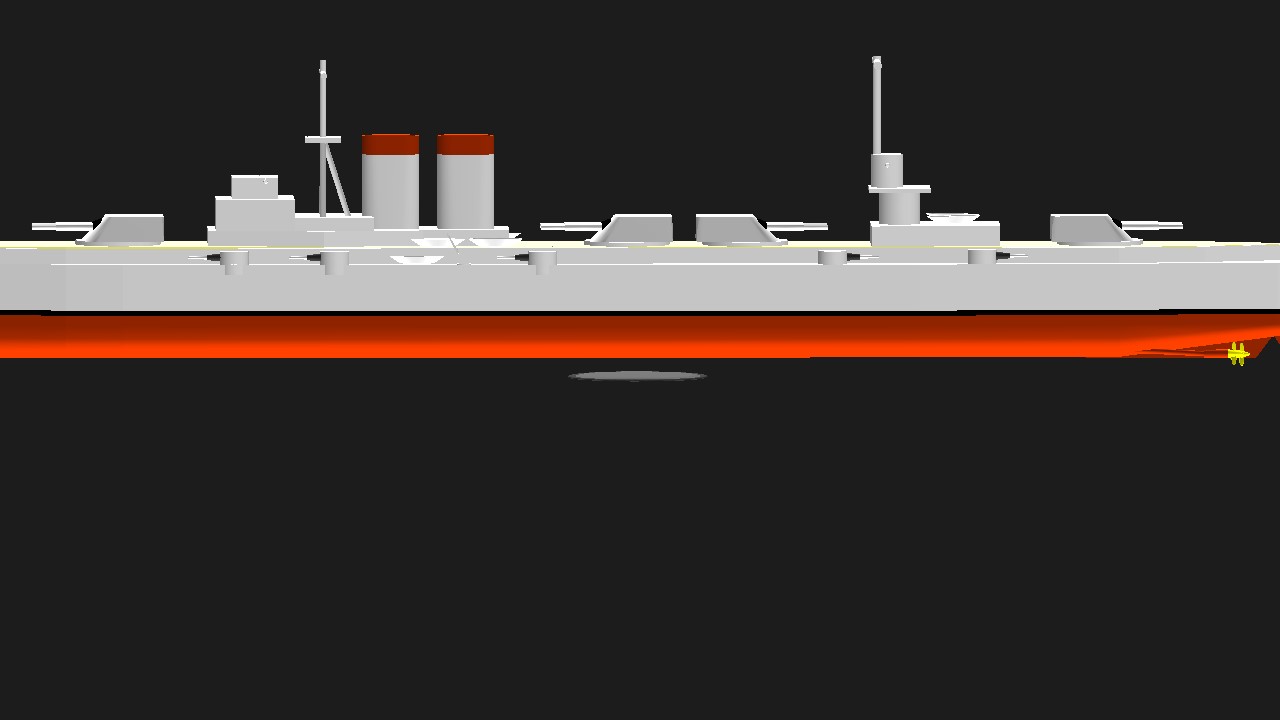
DMS Donder was the first Dreadnought Battleship built for the Northern Navy Navy in 1853. She was built in response to the Imperial South Grim's newly built Formidable, the first ever Dreadnought, which was already in service for the Imperial Southern Navy. She was built during the early years of The Great War of Coalitions.
History
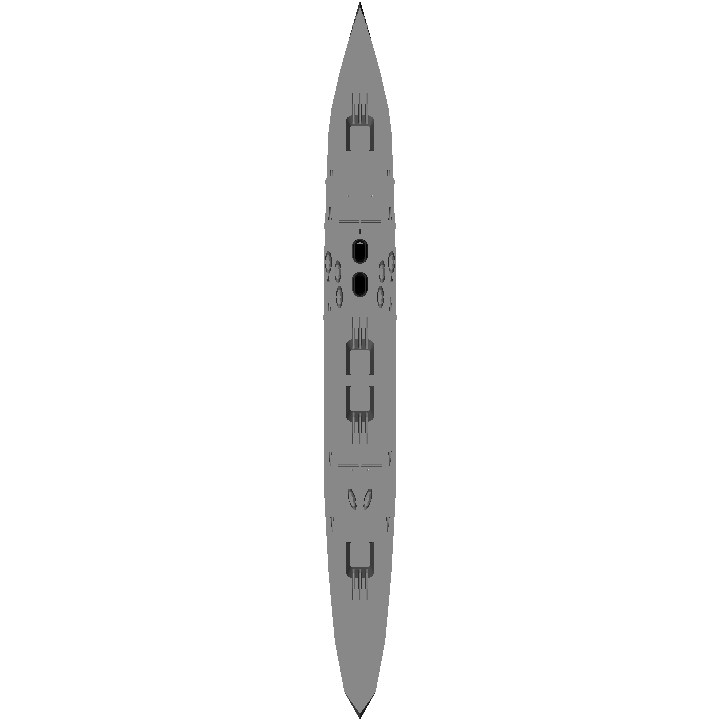
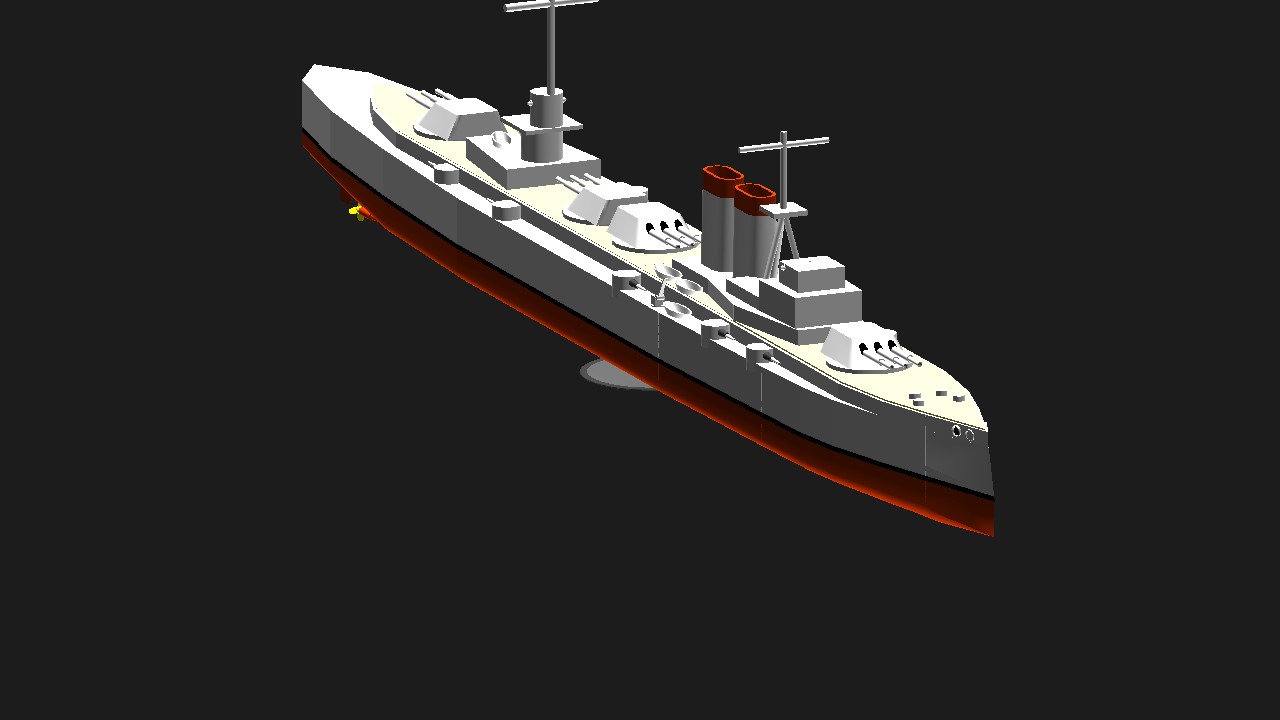
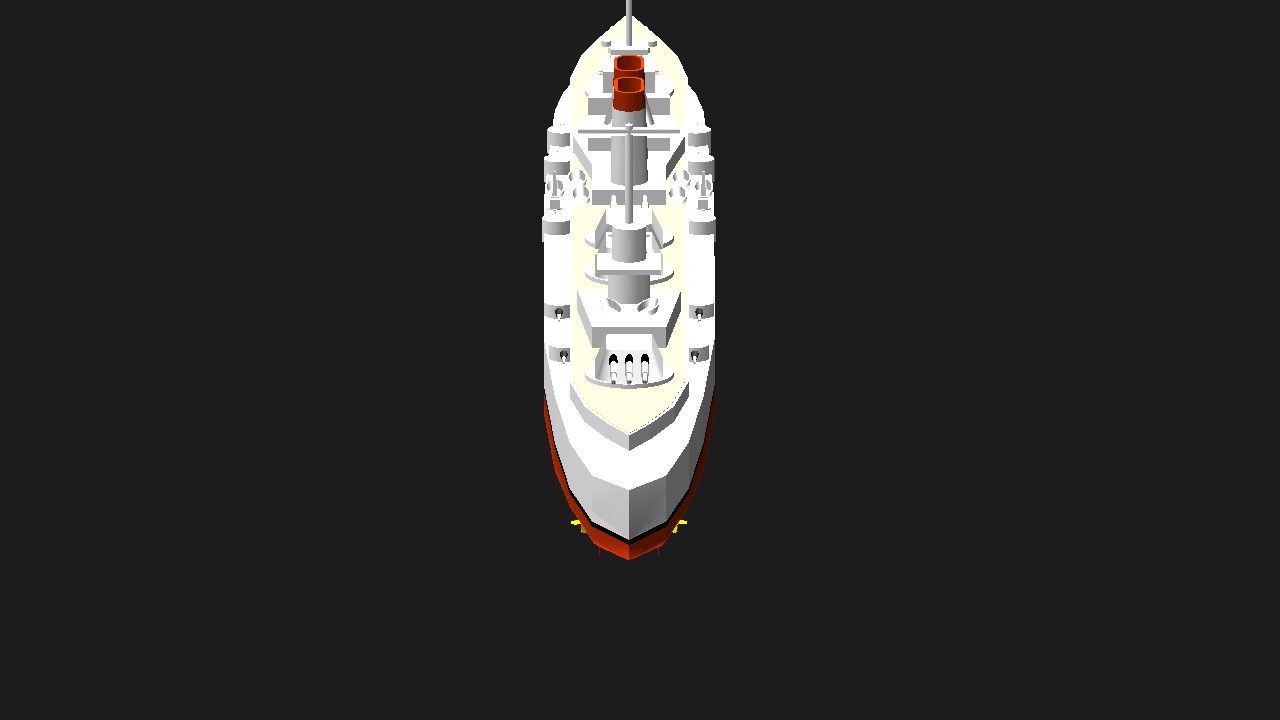
The debut of Formidable from the Imperial Southern Navy made a shocking expressions towards the Western Navies in the early years of The Great War of Coalitions. North Grim, being the one affected, made an immediate plan to level Formidable. Seeing Formidable in the Battle of North Sea and the Battle of Barren Islands made a great contribution of creating Donder. The drawings were finished in the early years of 1852, she was armed with 12x 13 Inch Ordnance produced Guns, smaller than Formidable's. Initially she was to be armed with the same caliber of guns with Formidable but was canceled due to the lack of time. She was also armed with 5x 3 Ordnance quick firing guns both on Starboard and Portside. When presented, she was immediately approved and her construction begun in the mid 1852. Due to incapability of the Northern Navy to build such large ships, they were built on Desert Shipyards. Her construction was finished in the Early 1853 and was immediately commisioned to the Northern Navy.
Service History
Donder was immediately sent into the war, she was the only warship that can level Formidable although cannot go head on head with her because of reasons. Donder was not shaken down, the crew doesn't have any formal training and lastly the lack of experience on long range Artillery warfare. Because of this reasons, she was fighting alongside older Pre-Dreadnoughts which main carries only 12 inch guns. She debuted on the Battle off Desert Beach, there she acted as floating Artillery platform against the invading ships. She was present at the 2nd Battle of Barrent Islands where she went head on head engagement with Formidable. Formidable with better experience and better trained crews, Donder performed poorly against the Dreadnought. As a result, Donder was heavily damaged but was able to keep herself intact with heavy armor. She was inactive for the next 5 months for her repairs but was able to participate in her final Battle, the 2nd Battle of North Sea. Lessons from the 2nd Battle of Barrent Islands managed to train her crew and gave her officers experience for this battle. She along with the Dreadnoughts Millennium and Duchy from the Navies of Sovereign and Shaterlot led their battalions to the North Sea against the Imperial Southern Navy. Donder engaged Formidable head on, the 2 exchange fire for the next 45 minutes. Donder and Formidable was able to inflict damage to each other. Vice Imperial Admiral Johnson Barry ordered to retreat in order to save the ship. This leaves Donder open, her captain ordered a full retreat but wasn't able to maneuver as her rudders were jammed. While Formidable was retreating, she was covered by her successesor ISN Glorious. Glorious finished Donder causing her to sink. She was the only Dreadnought lost on the Battle, Millennium and Gertsog Shaterlot finished the Battle with victory to the Alliance.
Controls
Standard ship controls
VTOL and Trim for Turret controls
Once any of the Ags were pressed, you can only move the Turret on that specific area only. While the Ags are not active, the Turrets will move but only affects the one their facing at. All the main guns are free and does not needed an activation group.
Ag1: Main Turrets trained to Starboard
Ag2: Main Turrets trained to Portside
Ag3: Starboard Sub guns
Ag4: Portaide Sub guns
Ag7: Lights
Note
All stories and events are fictional and doesn't have any connections to the real world.
Specifications
General Characteristics
- Created On Android
- Wingspan 67.4ft (20.5m)
- Length 654.8ft (199.6m)
- Height 123.9ft (37.8m)
- Empty Weight N/A
- Loaded Weight 91,132lbs (41,336kg)
Performance
- Power/Weight Ratio 0.949
- Horse Power/Weight Ratio 0.021
- Wing Loading 270.9lbs/ft2 (1,322.8kg/m2)
- Wing Area 336.4ft2 (31.3m2)
- Drag Points 2027388
Parts
- Number of Parts 363
- Control Surfaces 0
- Performance Cost 1,720