Blueprints How-To: Building the F-104
Part 1: Fuselage
Hello! This is part one of my follow-along tutorial, Blueprints How-To: Building the F-104, where step-by-step we build Lockheed's "missile with a man in it". Let's get started!
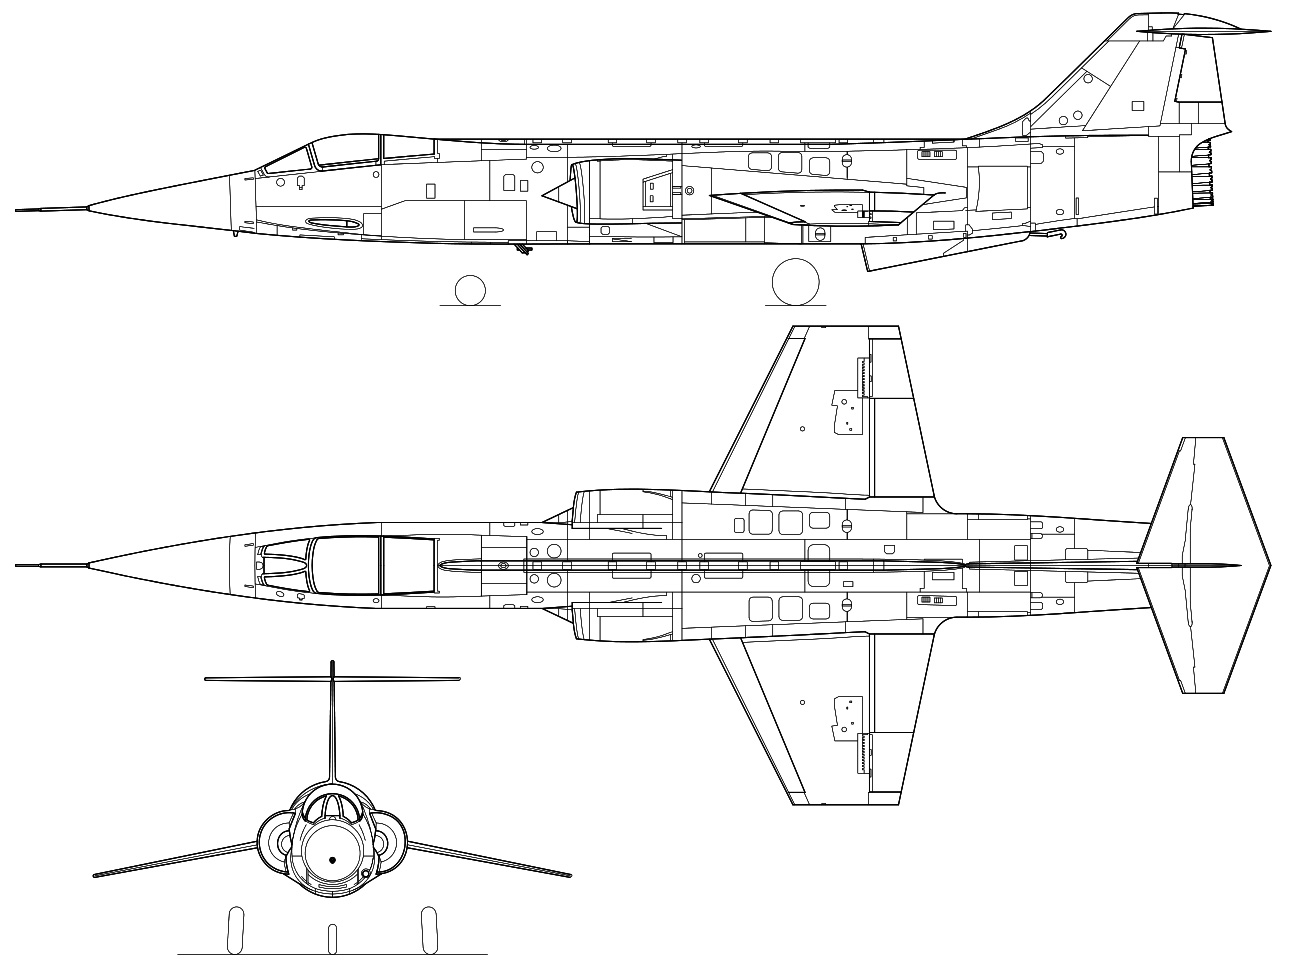
We'll be using this blueprint for the build. It's important to use clear and well-detailed images for blueprints. Thankfully the Starfighter has lots of them out on Google.
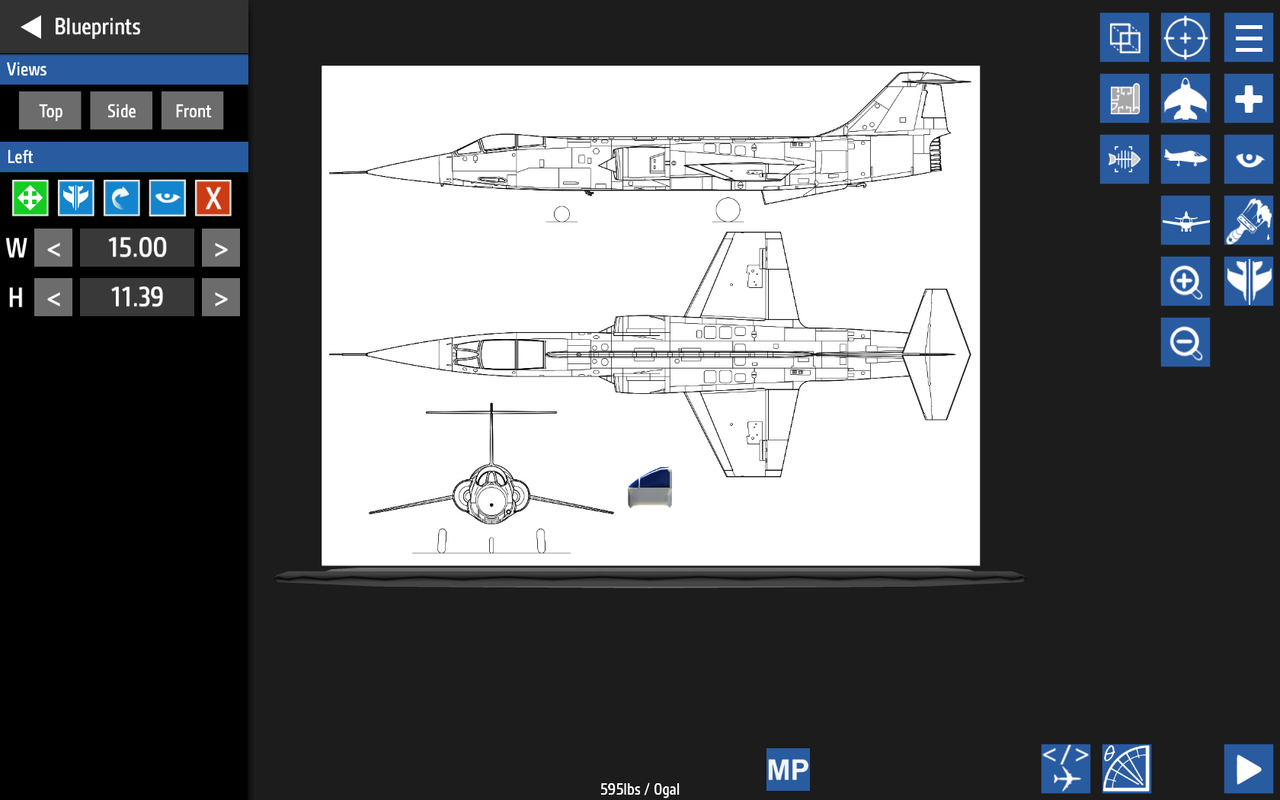
First, you'll load the blueprint into the designer. It should pop up like what's shown above. A large red question mark means the image won't work.
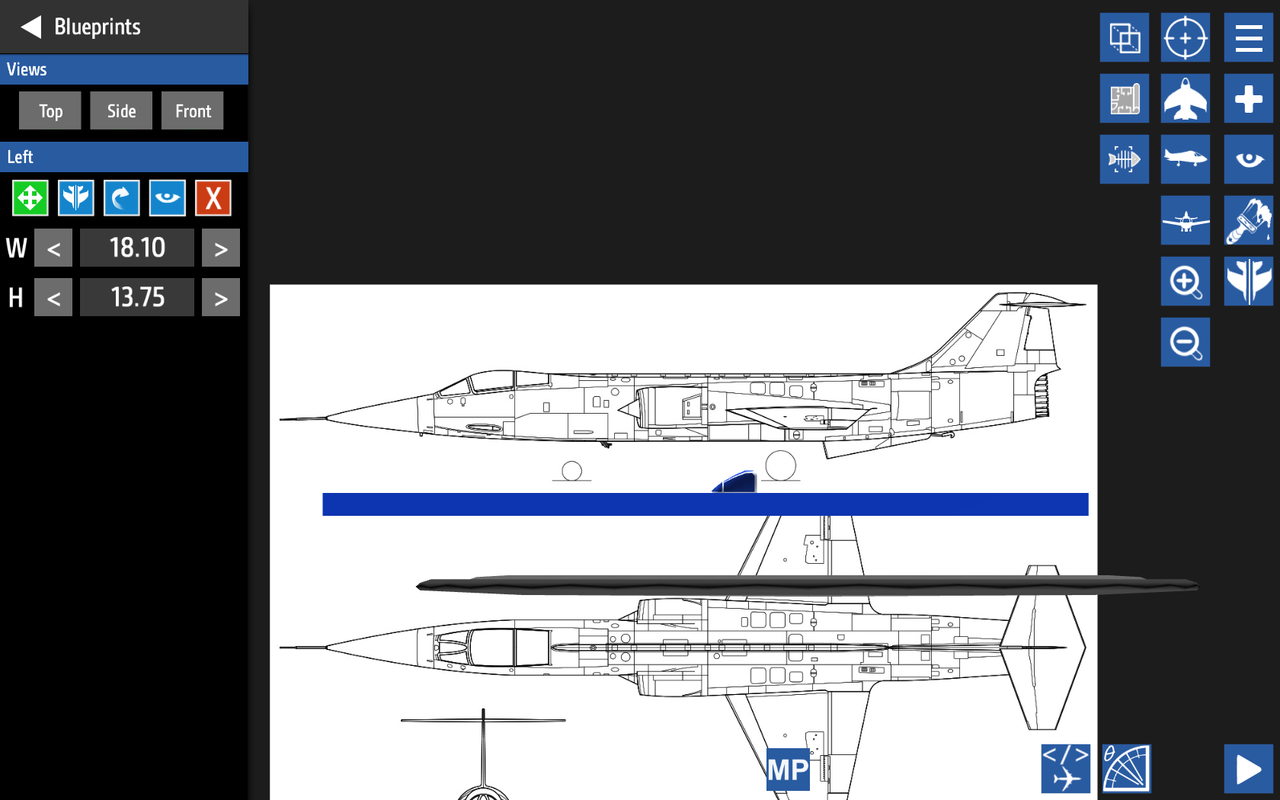
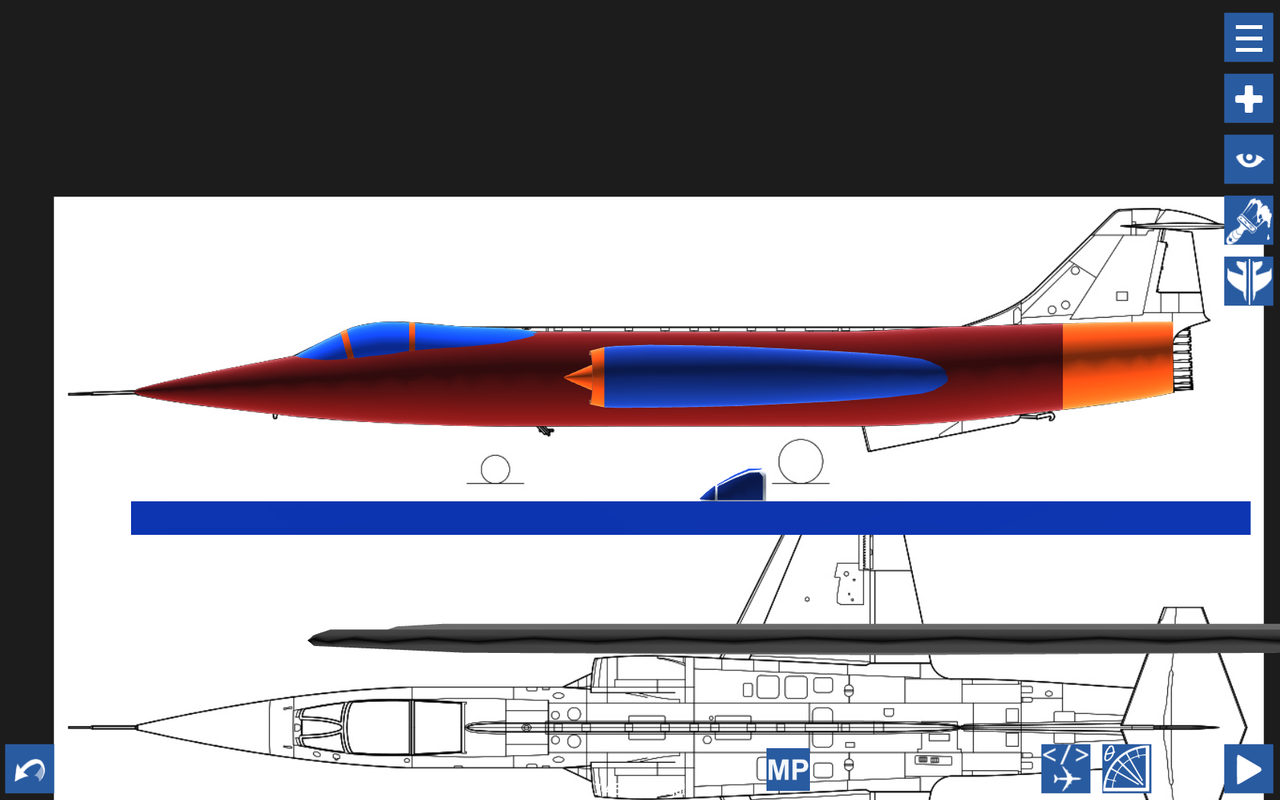
In order to make this aircraft 1:1 scale, the blueprint has to be sized. I use fuselage blocks and adjust their length until it reaches the aircrafts'. The F-104 is 55 feet long, therefore the blue fuselage bar you see is 55 feet. Then scale the blueprint to match the length of it.
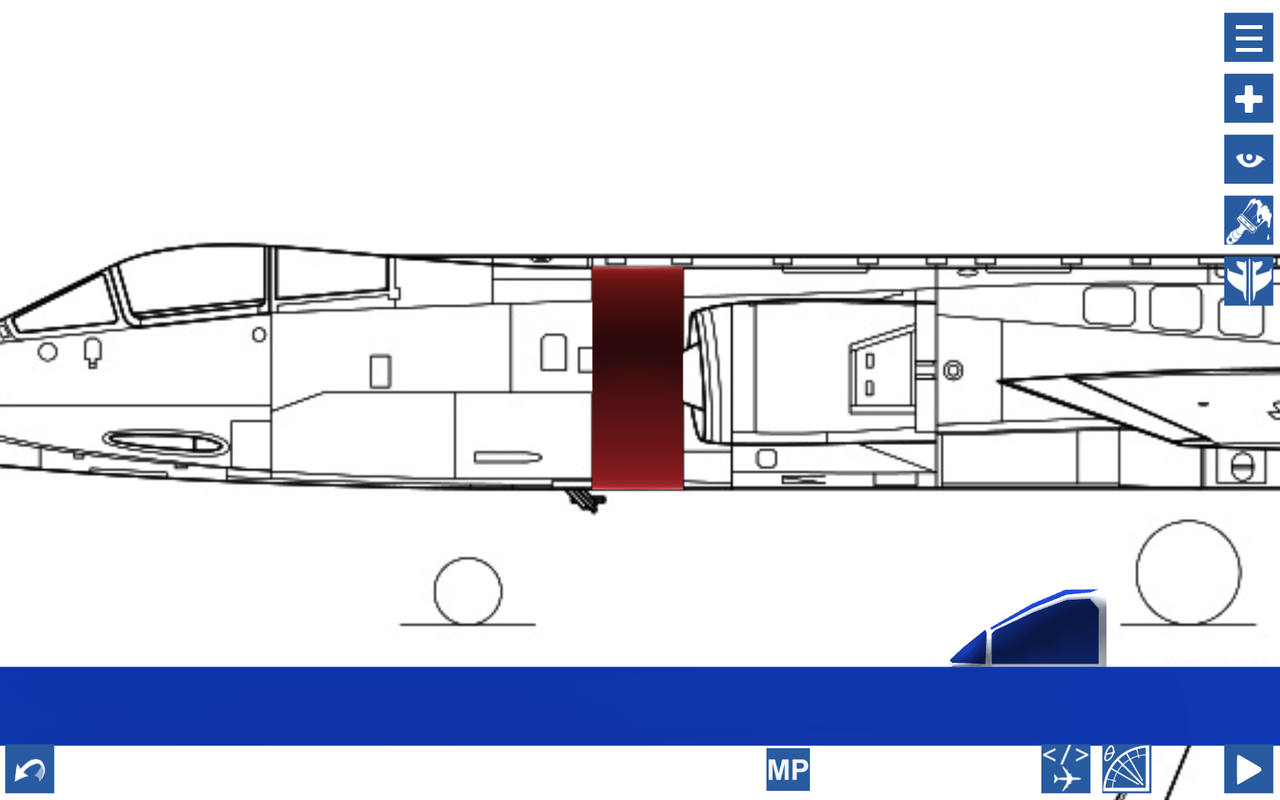
Next, we start building. I like to use dark red or blue because it stands out against the blueprint. Also, it is important to make sure your fuselage blocks have certain attributes to them. For this model, I've made the mass scale 0.5 and set calculateDrag to false for every part. It'll come in handy later when we create the flight model. Don't forget to turn on smoothing too!
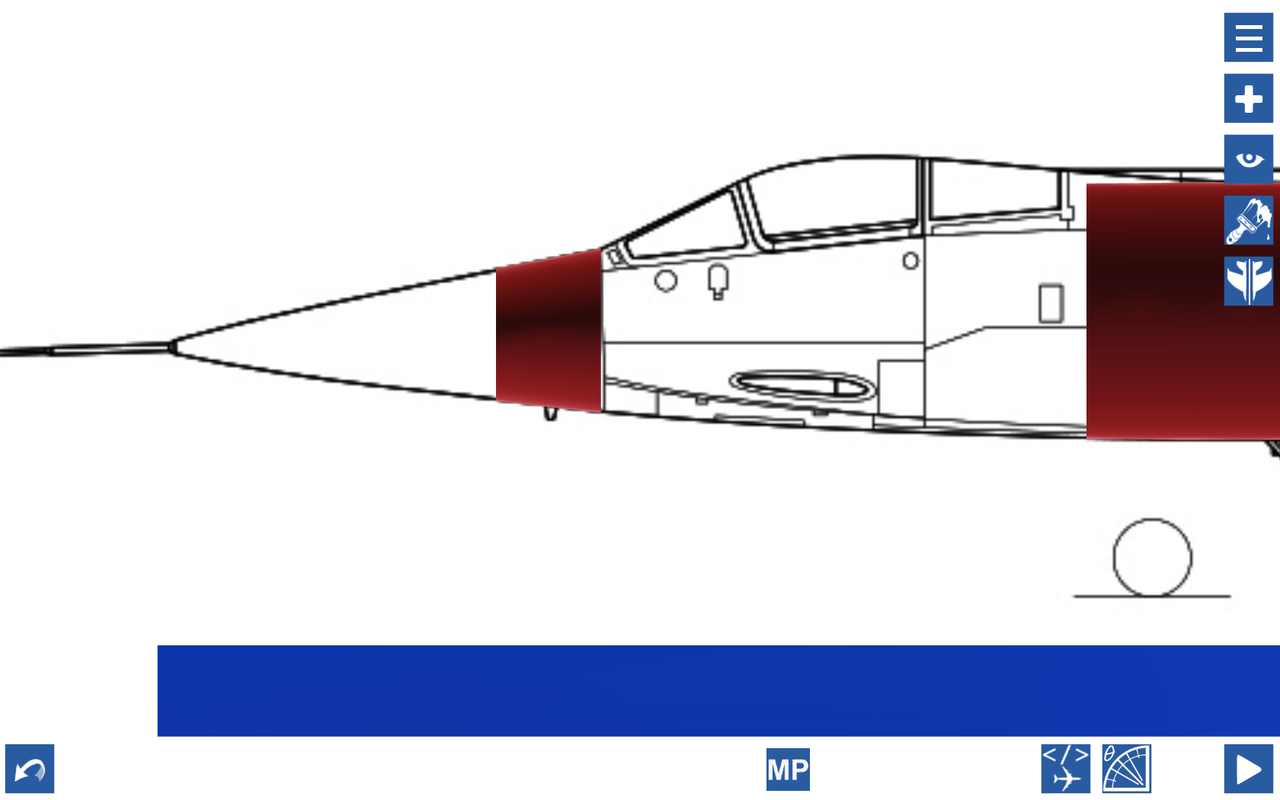
Skip the canopy section, we'll come back to it soon. Do the nose right now.
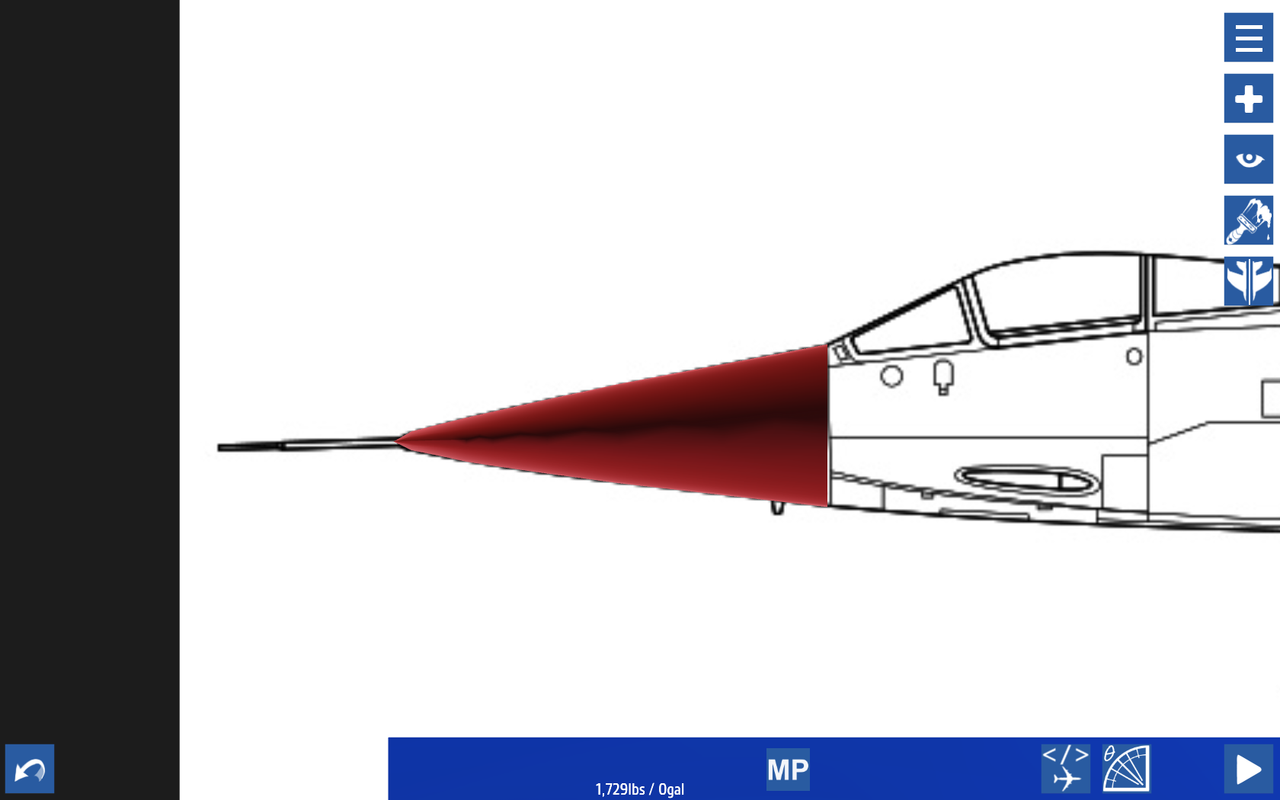
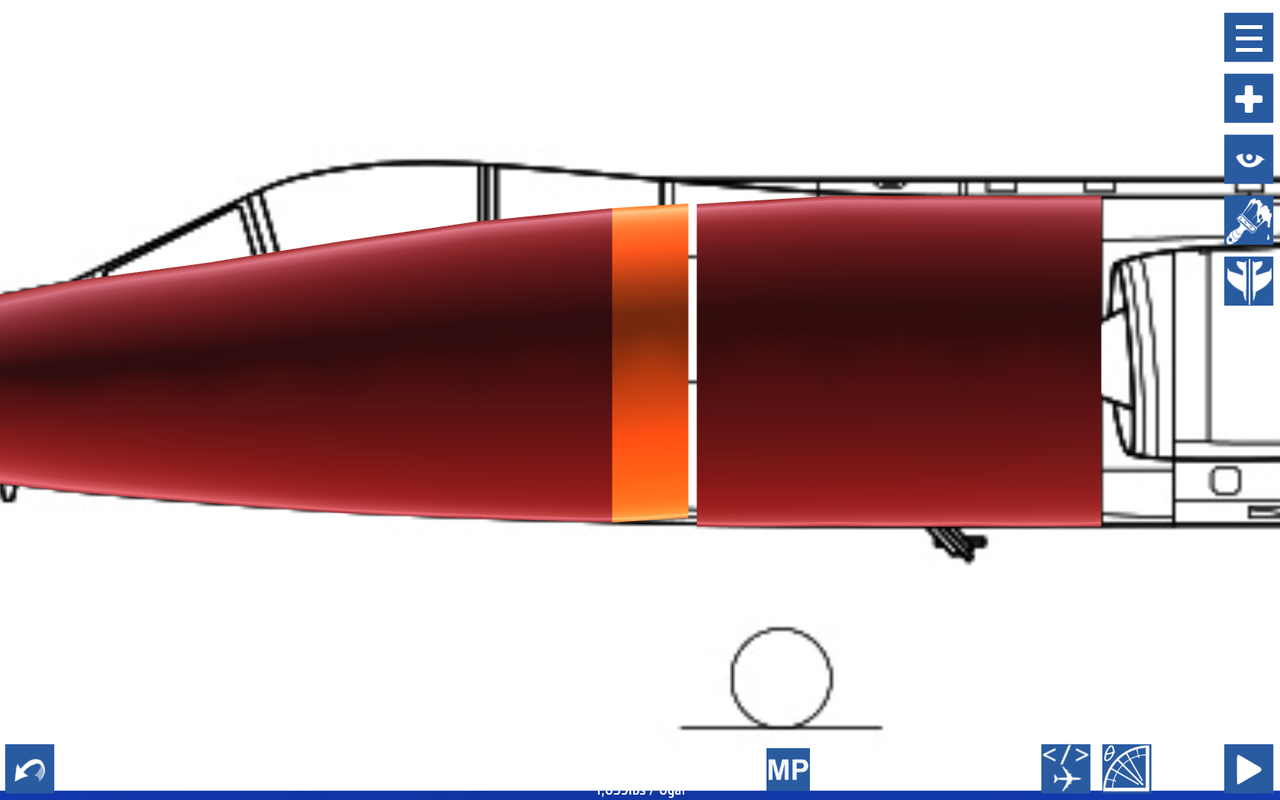
As you can see, there is no line to follow for the canopy section. This makes it a little tricky to build. But, we have a start point and an endpoint. Now just build from the front back, keeping a smooth curve.
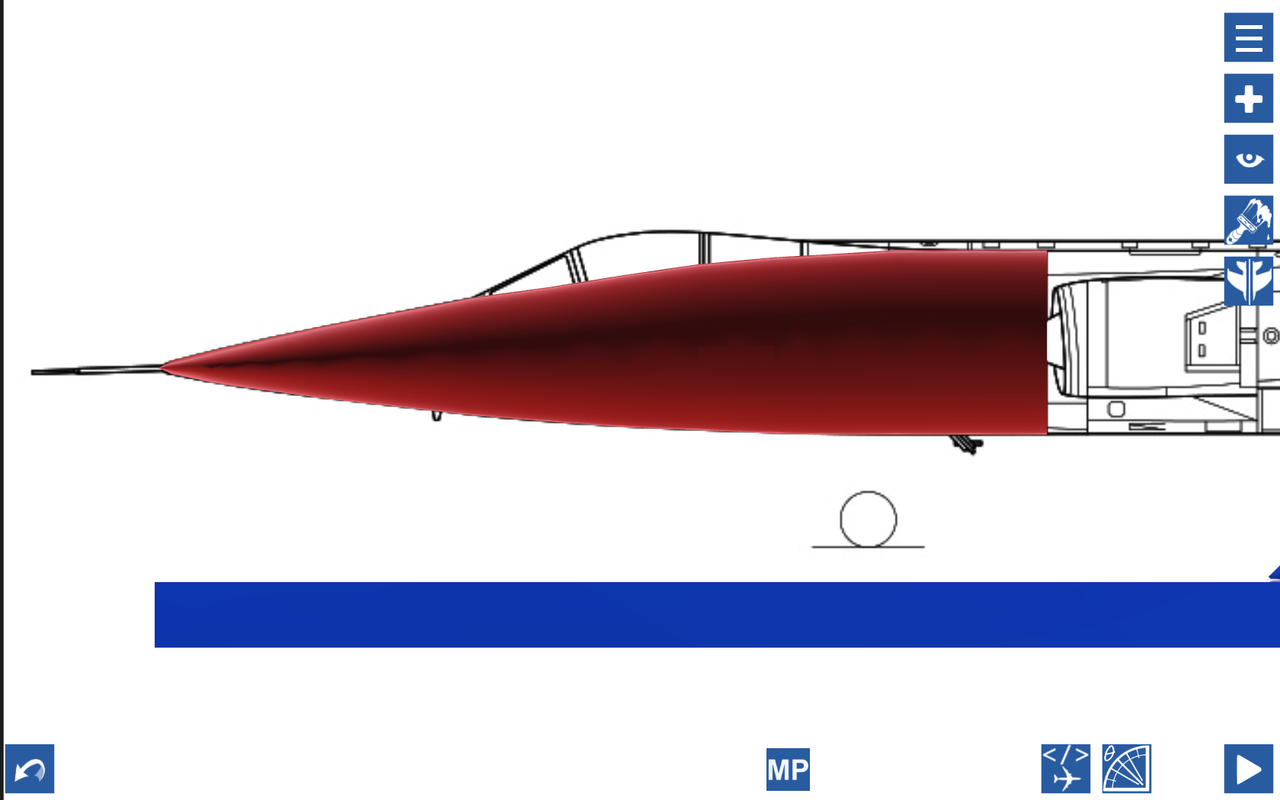
BIngo! Nice and smooth front fuselage.
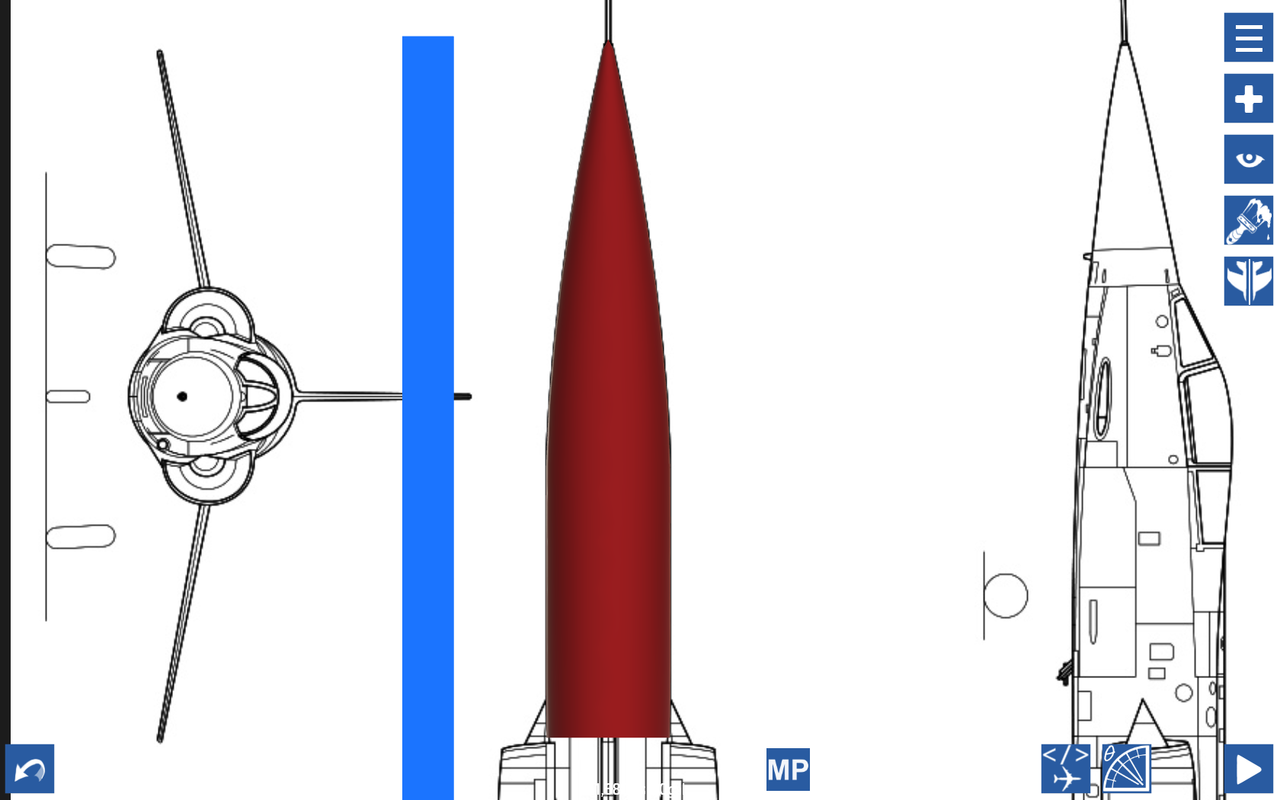
Now open the top blueprint and scale the sides along the blueprint lines.
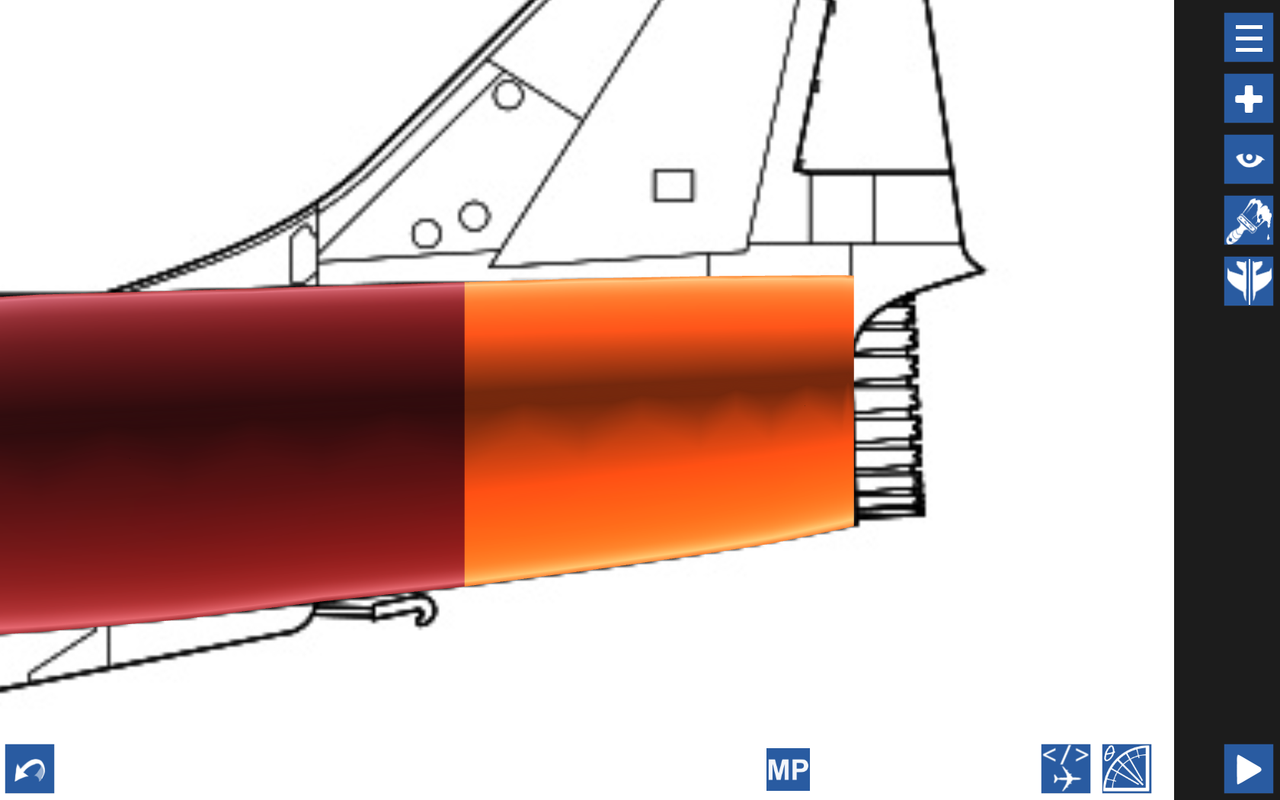
Now continue building along to the back of the aircraft. Take note of how it gently curves upwards to the engine. The orange-colored parts are hollow fuselage, we have to put an engine there later.

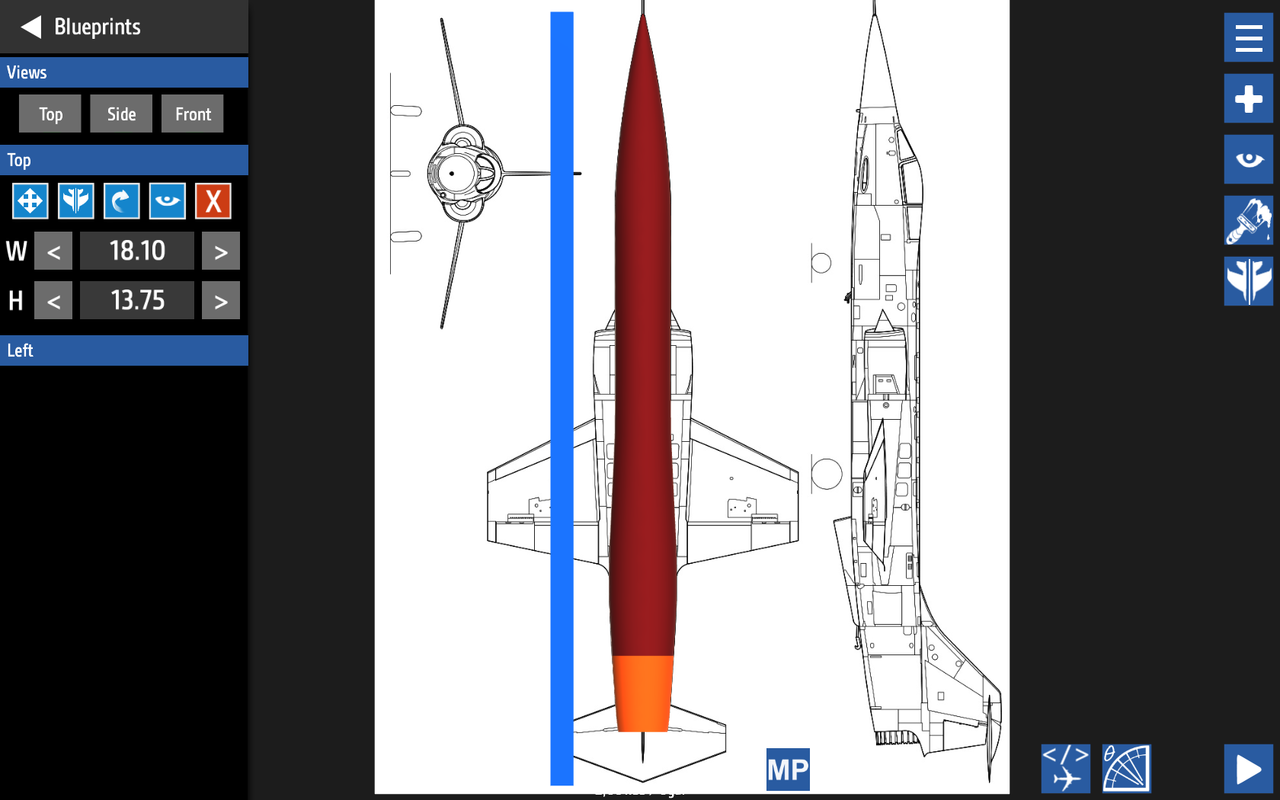
All said and done, your fuselage should look something like this. The top doesn't have a definitive line to follow on the blueprints, so just make it gently widen going backward. Next up, we'll do the inlets.
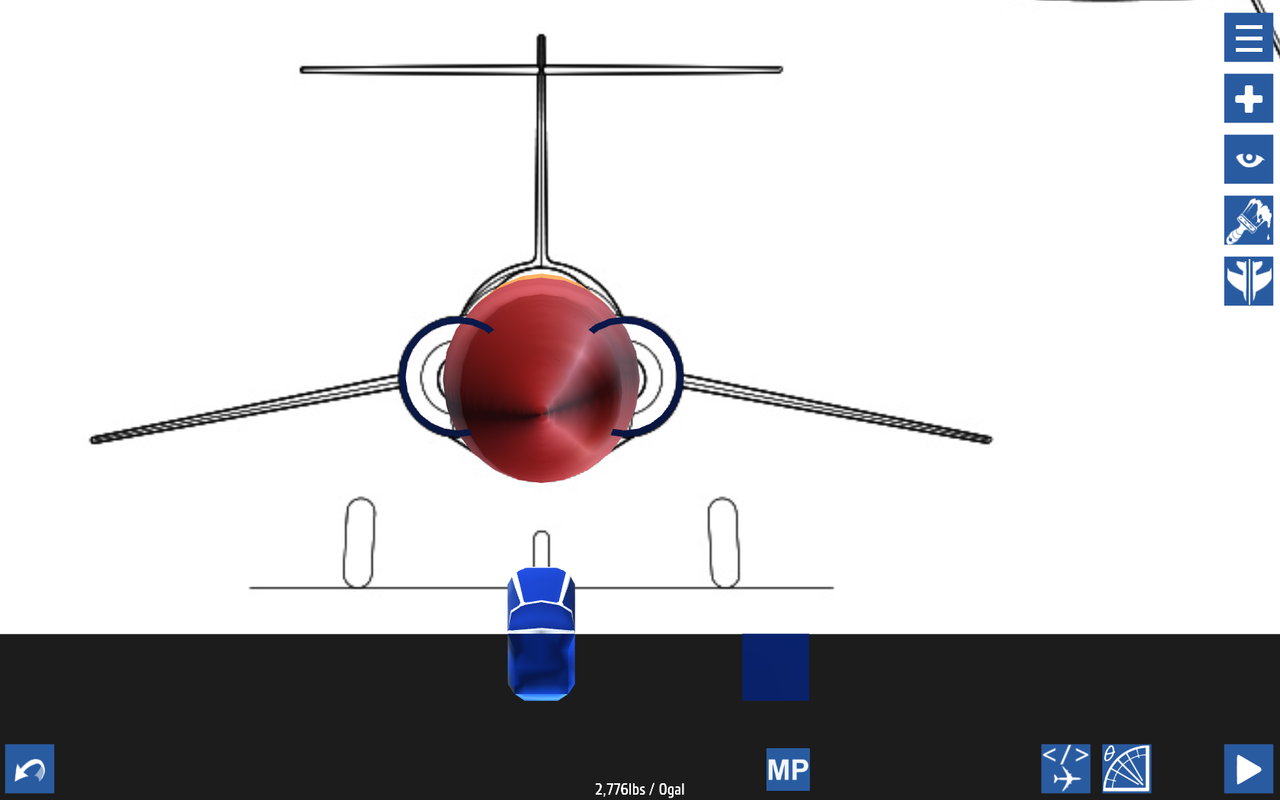
To start the inlets, we're going to take a hollow fuselage and make it fit around the widest part of the inlet. This will serve as our build-off-from point.
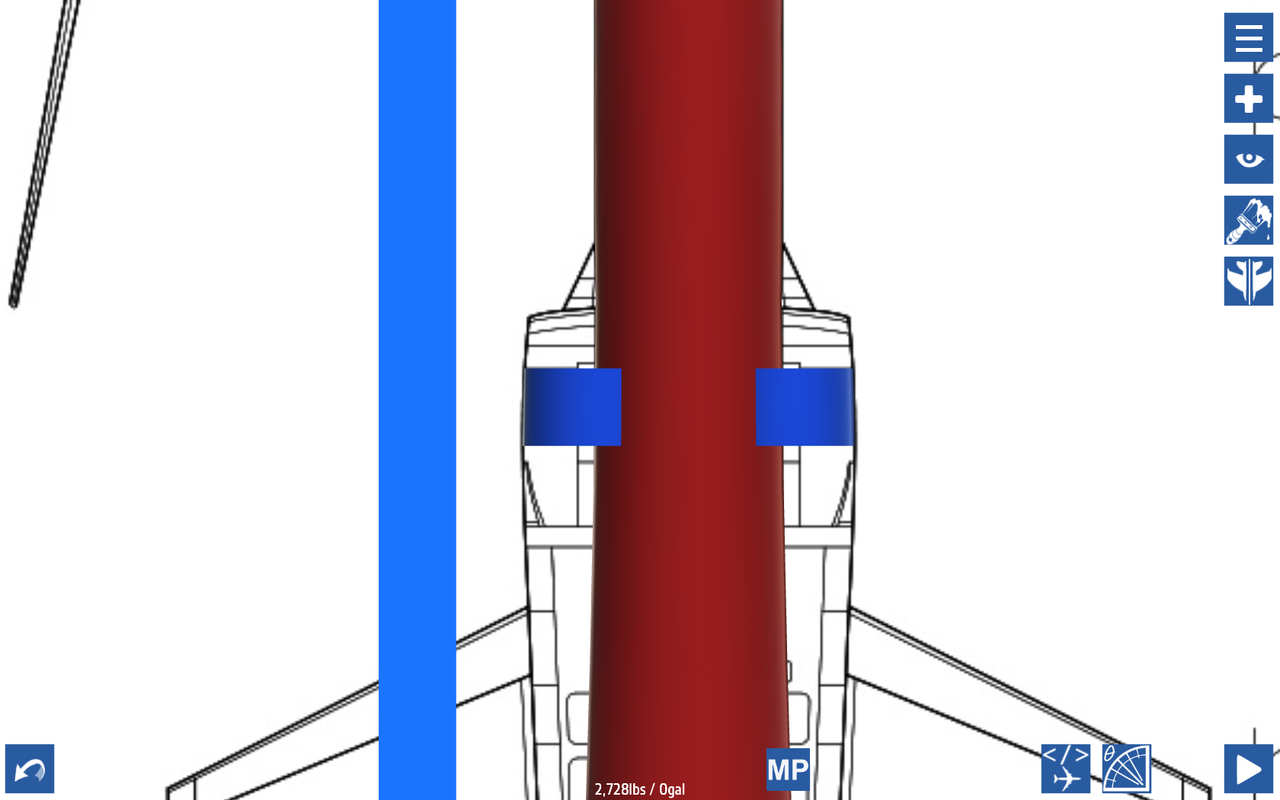
Now, nudge the hollow fuselage part along the Z-axis and into the widest part of the inlet. Lengthen accordingly.
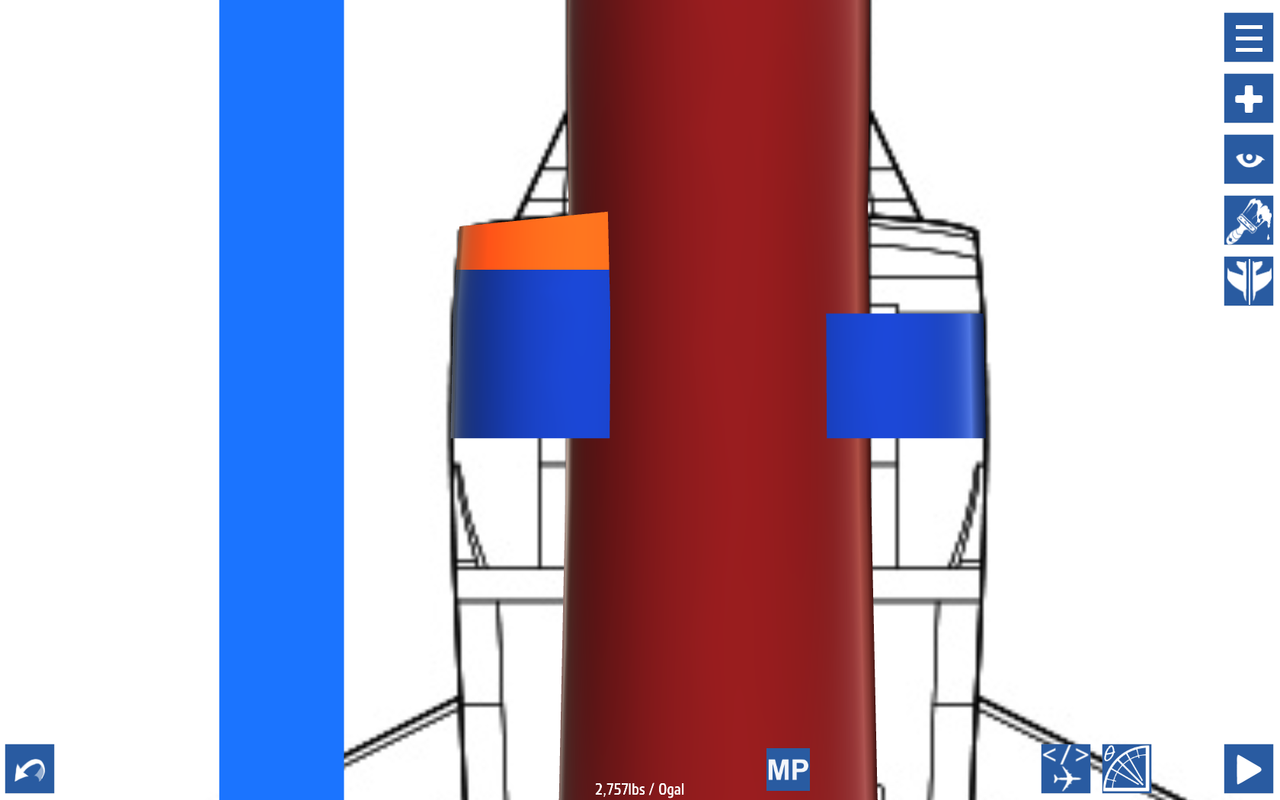
Next, build off and complete the front of the inlet. Make sure the inlet part at the front is rotated properly so the angle will be side-to-side, not up-to-down.
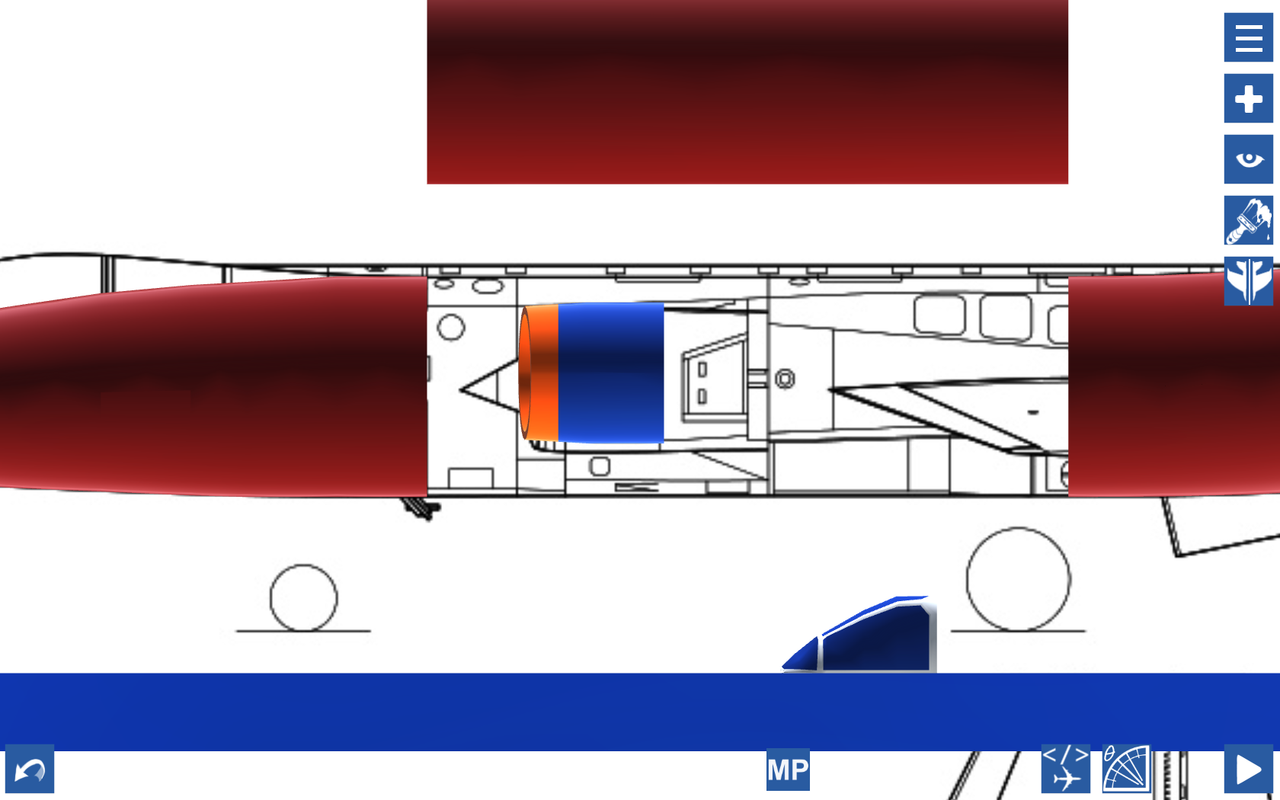
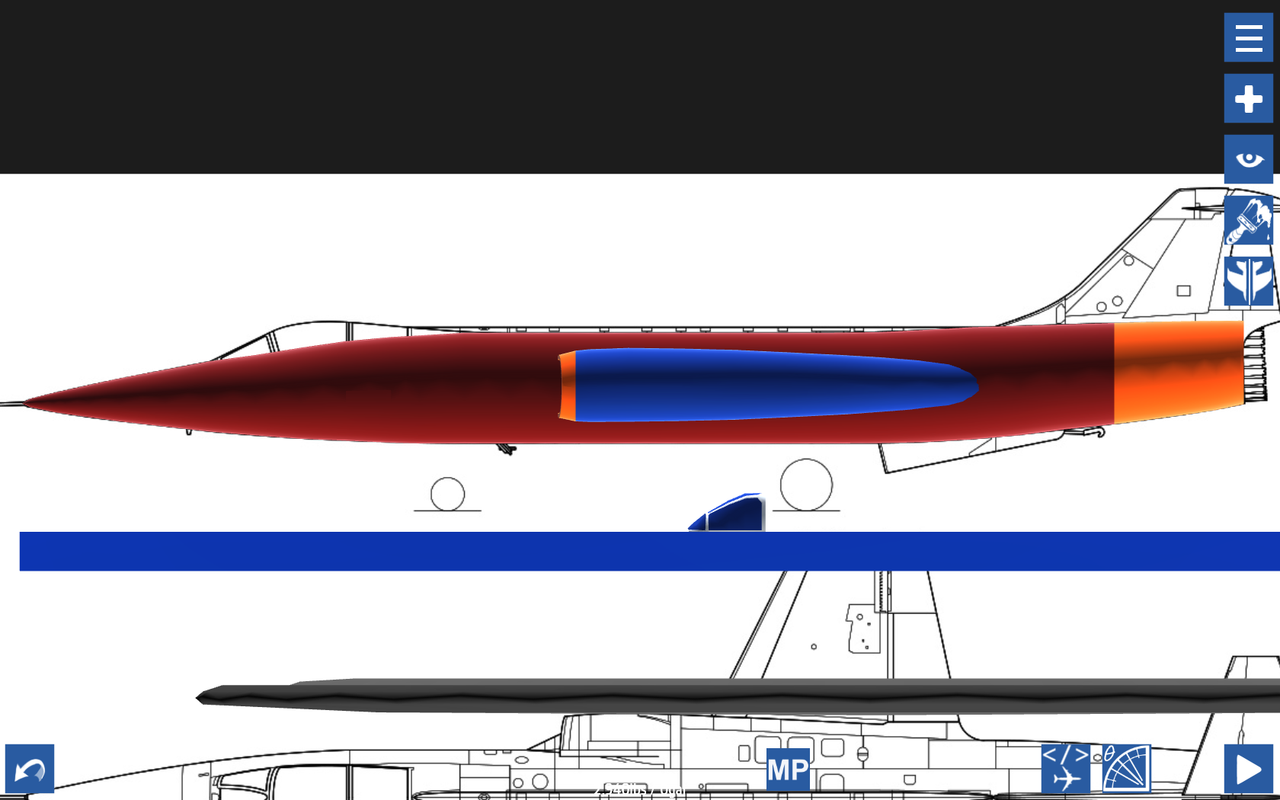
Nudge your main fuselage above and out from blocking the blueprint. See the gap underneath? Continue building the inlet to fit the blueprints.
 \
\
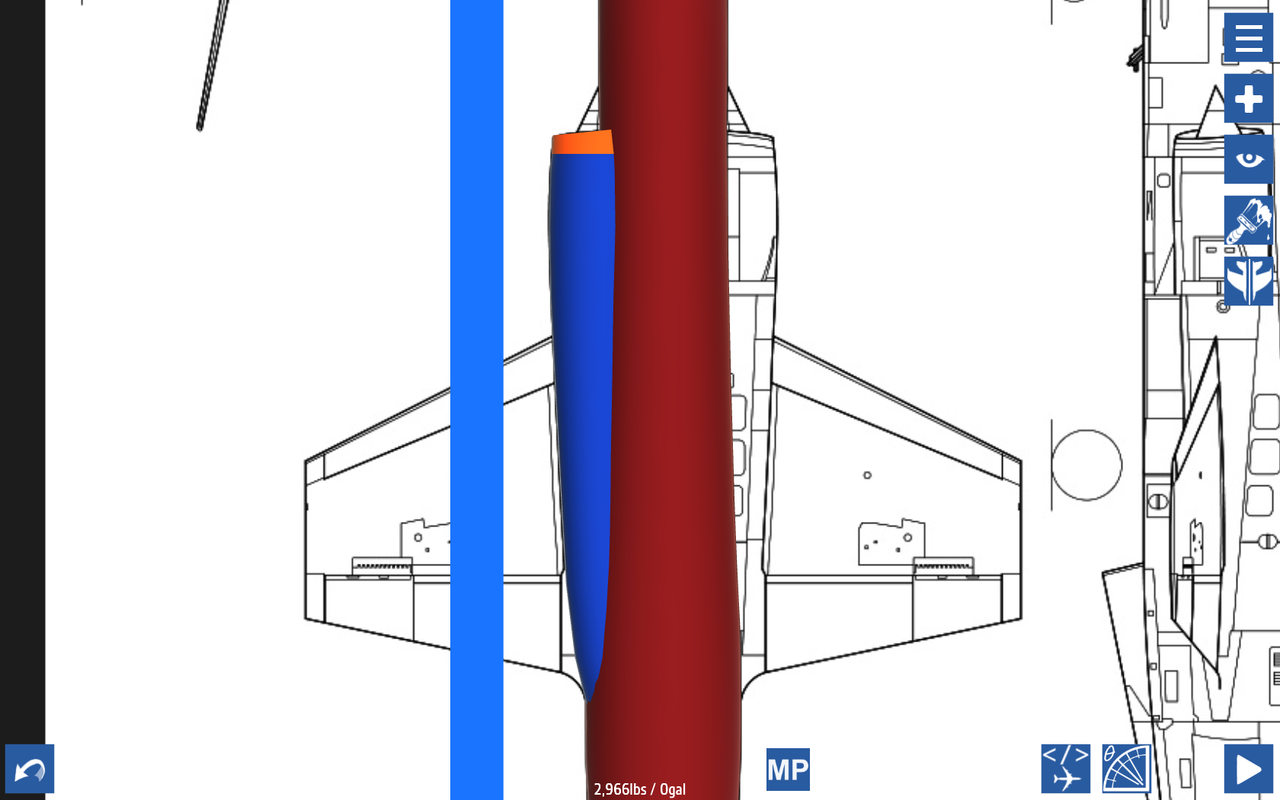
Once that is completed your inlet should look something like what is pictured above. This blueprint lacks a good line to follow on the inlets, so I completed it by looking at some real-life Starfighter photos. Now let's do the canopy.
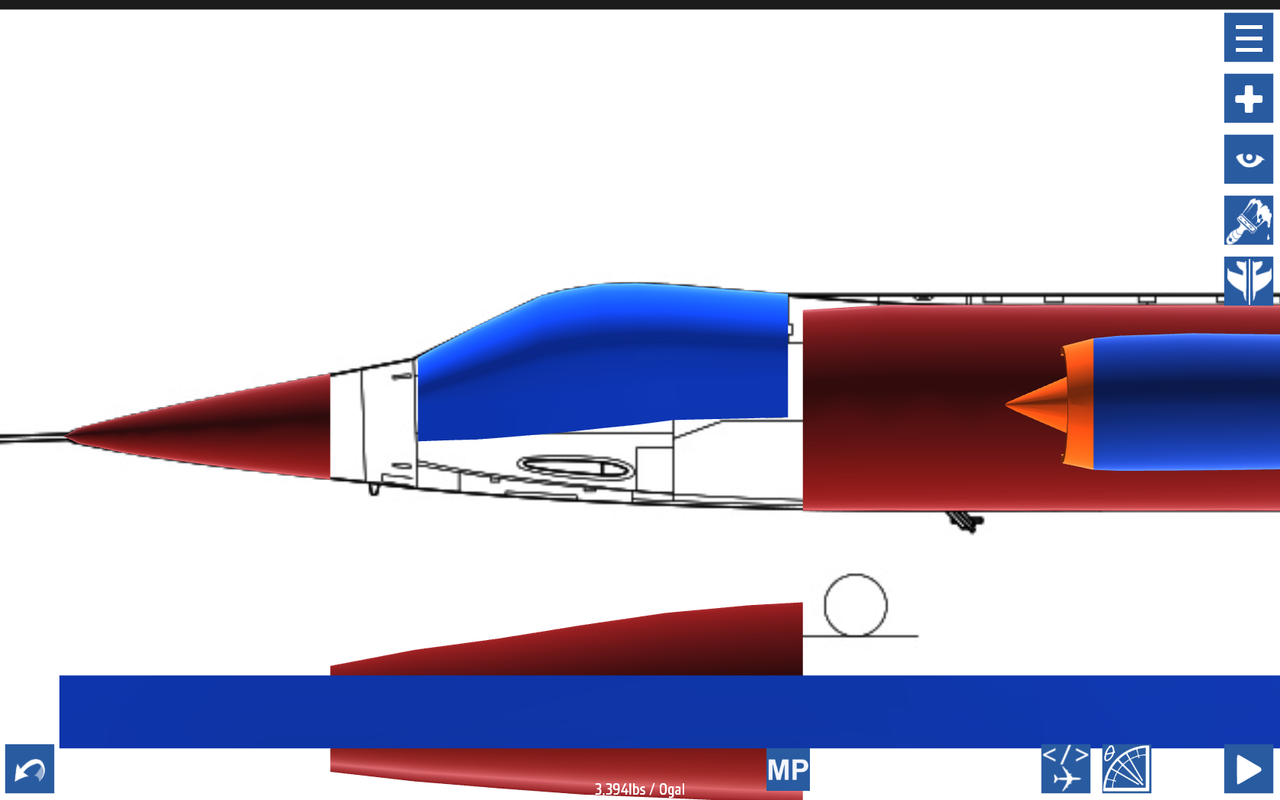
Now follow the canopy line with glass fuselage. Set the opacity to 100% so you can see it easily. All done is should look like this.
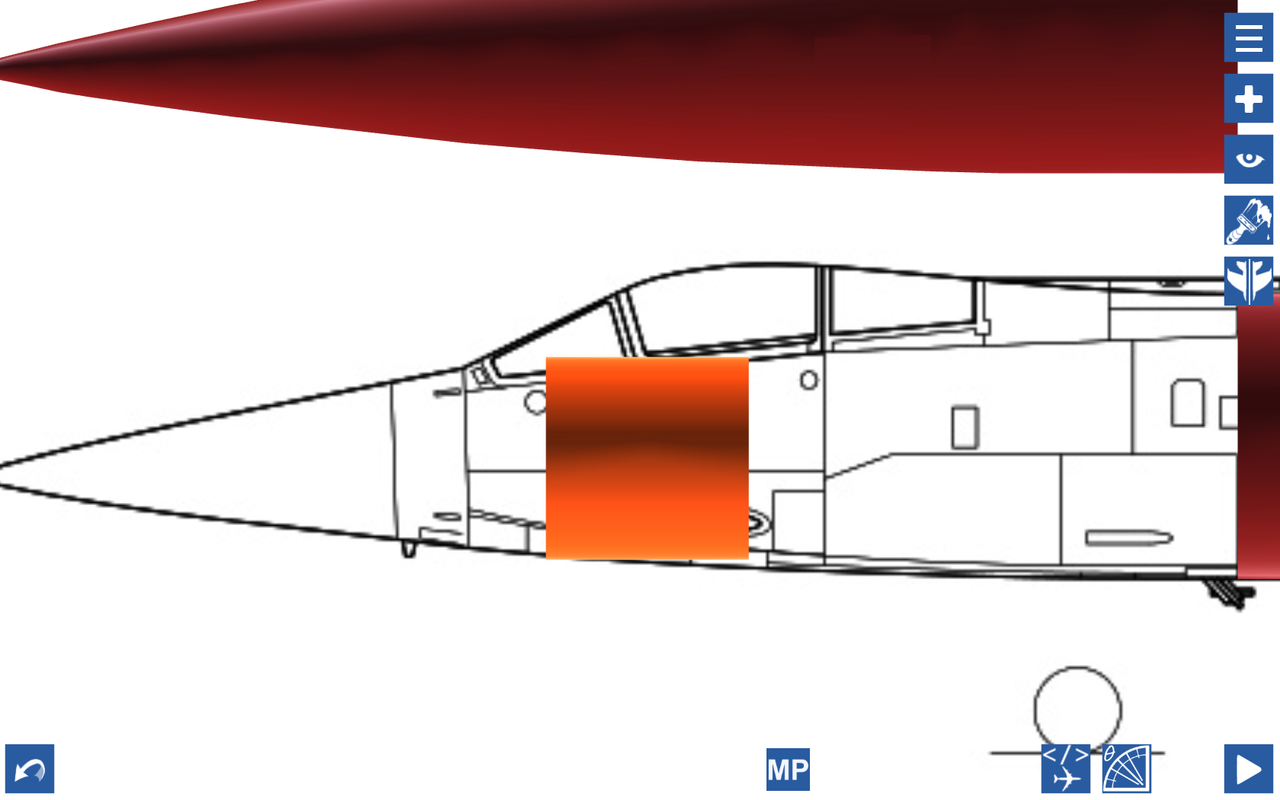
Here we have a hollow fuselage part. We're going to take this and create the framing of the canopy with it. To do so, you'll first angle it along the X-axis, and then use the Rise feature to match it to the canopy contour.
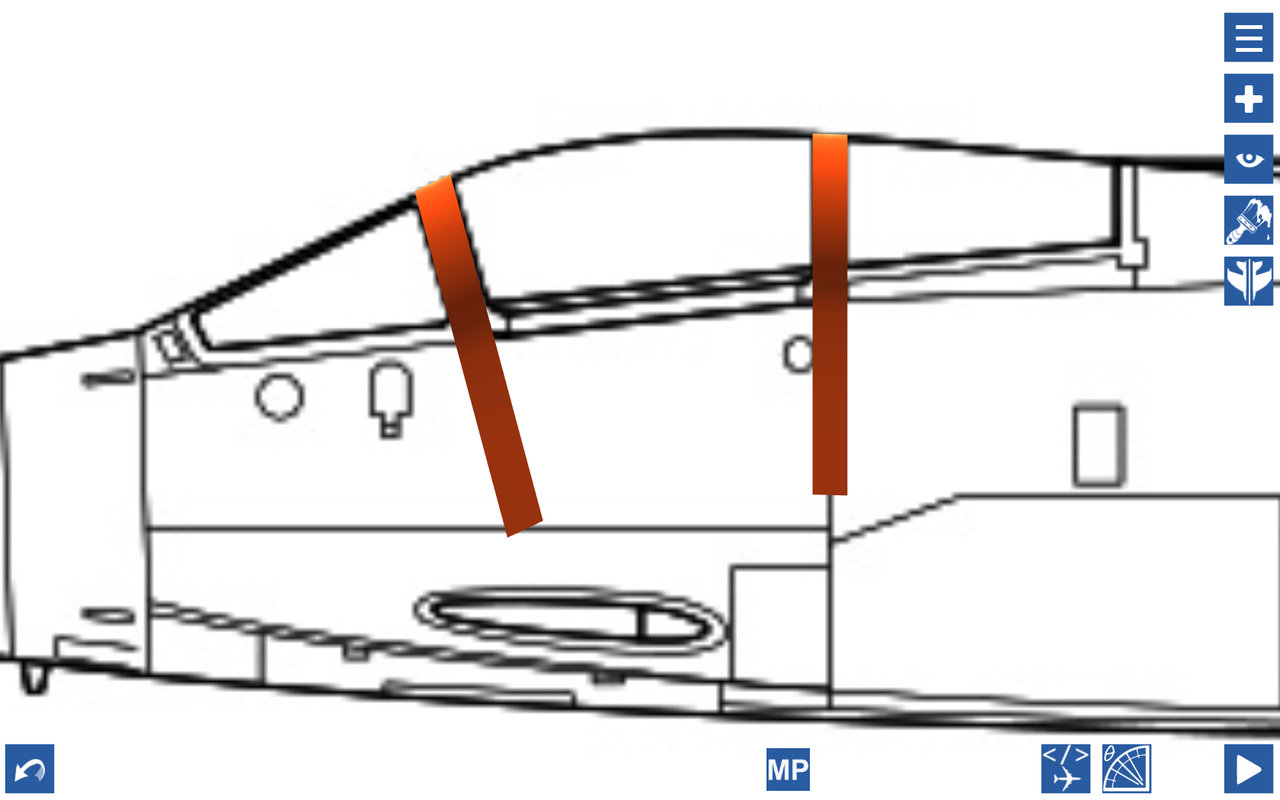
Now just do the front oval-shaped frame to wrap everything up.

To do the front frame, I just took a standard fuselage and nudged it in place at the top of the frame, and built my way downwards to the bottom.

Onto Part 2!

Who’s building along?
Je n'arrive pas à mettre le plan, est ce normal et je suis sur mobile
wonderful
@SkyBoogie1the1oringle yes, right here
Is part 2 out
@Amgtkids it’s under the eye icon
The thing to get to the blue prints. I play on iOS btw@BagelPlane
@Amgtkids find what?
How u find that tho?@BagelPlane
@BagelPlane oh gosh I can read minds!
@UltraLight That looks good! Right now I believe that my part count is hovering somewhere around 86.
I am building an eerily similar F-103 Moonfighter. Wait can you actually post this on your forum next to the picture of yours, they look really similar.
.
I am using a similar set of blueprints and I will copy your techniques, but I am keeping it fictional for freedom(ex. where I didn't do the front frame). I know I could get away with another 50% upvote gain making it a replica but whatever. Also, I am building mine smaller than scale, maybe 1:1.6 or so.
.
What is your current part count? I am around 60 RN, I am assuming you are at what, 85?
@KnightOfRen Na, you’ve got this. Please give it a try!
@KnightOfRen Plus I’d figure it would take people who are following along some time to complete the steps so far.
@KnightOfRen In progress. It takes time to build the plane, take pictures and write a description.
How do you put an image down.@BagelPlane
@F104Deathtrap I believe it was added with 1.8.
gotta love blueprints
T
something like that I always do.
@BagelPlane ?!?!?!?! When did they add that? I've been using the clunky BP mod all this time for nothing?
@F104Deathtrap I’m using the in-game default blueprint system. No mods needed!
THIS IS GREAT! You should include a link to the Blueprint mod, or pin it in a comment.
@PrinzEugen99 Yeah, that’s what’s it’s for!
@BagelPlane The tail shape is slightly different and the engine is slightly longer on the G version
I do the exact same thing! I use orange instead of red though!