Blueprints How-To: Building the F-104
Part 2: The Complicated Tail
Welcome back! Today we're building the F-104's tail. This parts a bit tricky to do, so pay close attention, the pictures really help.
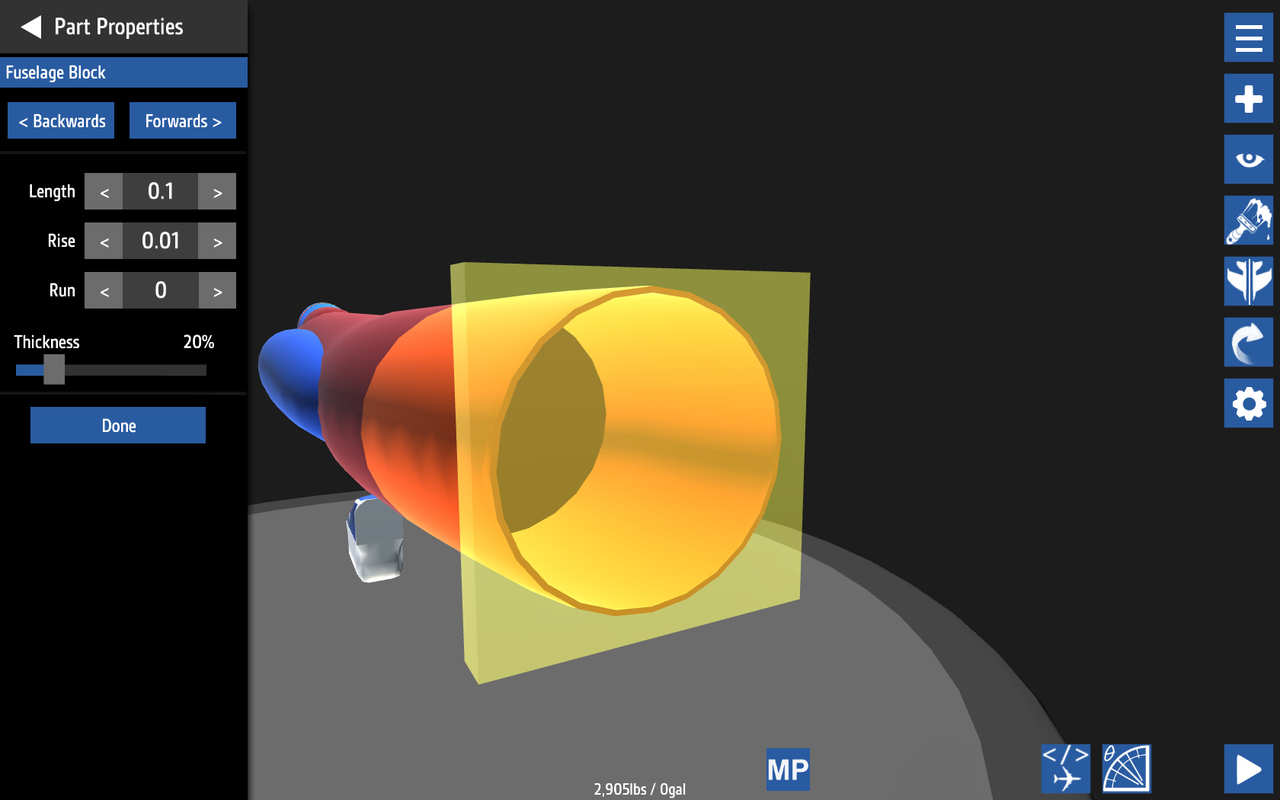
We're going to start with the tail of the aircraft. First we have to make the hollow fuselage the right thickness, I did 20%.
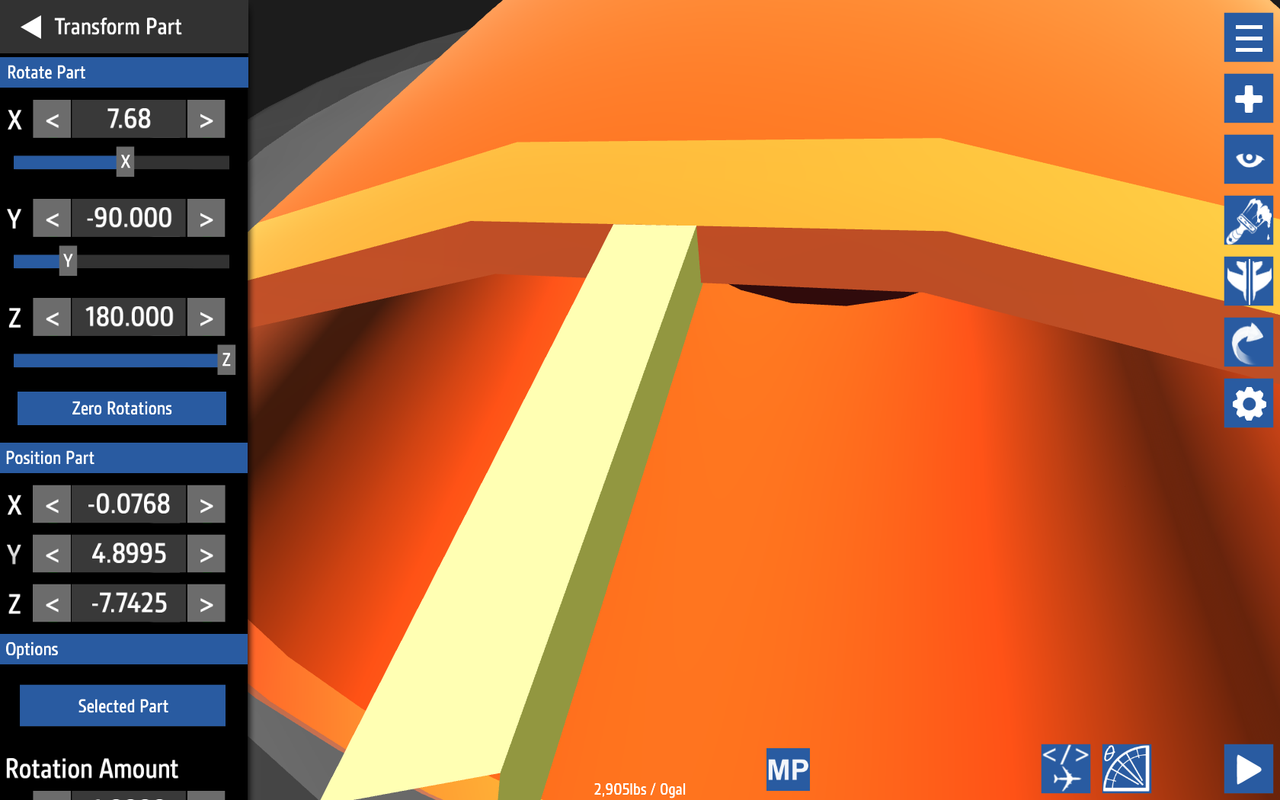
All F-104s have a pointy curve that hangs over the top of the engine. We're building this now because the tail has to sit on top of it. Be warned, this next part it tricky- it took me 45 minutes to lay out the next 8 parts.
To start, we'll take a fuselage inlet (standard fuselage shown here- don't make my mistake. Stick with inlet) and adjust it so that the side that can have the angle adjusted is facing towards the center of the aircraft. Make sure that is also angles up and down, not side-to-side.
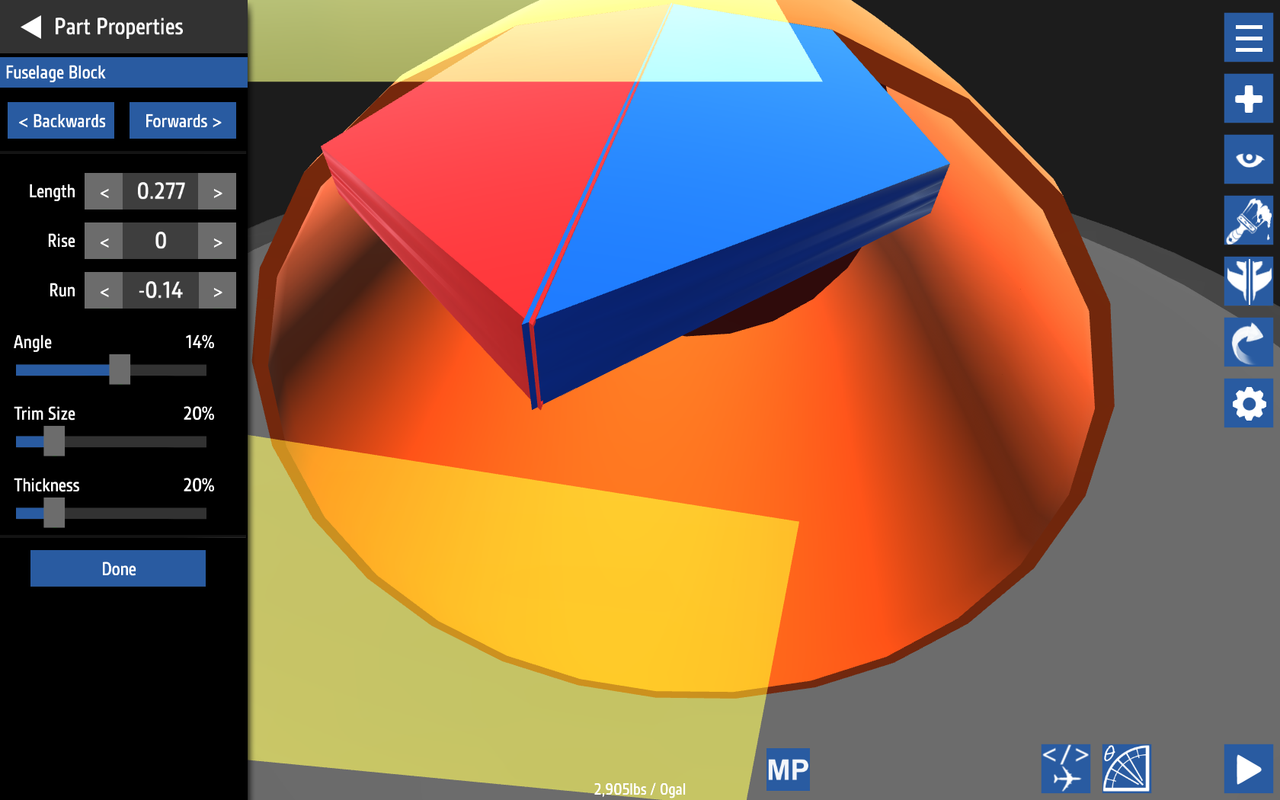
As you can see here, we've angled the whole inlet piece so that it fits flush with the curve of out hollow fuselage block. Now we have to adjust its length and inlet angle so that the centerline is seamless. This will take sometime, be patient. For me, the angle was around 13.8-14 degrees. You'll have to edit the angle via Overload to input numbers that precise.
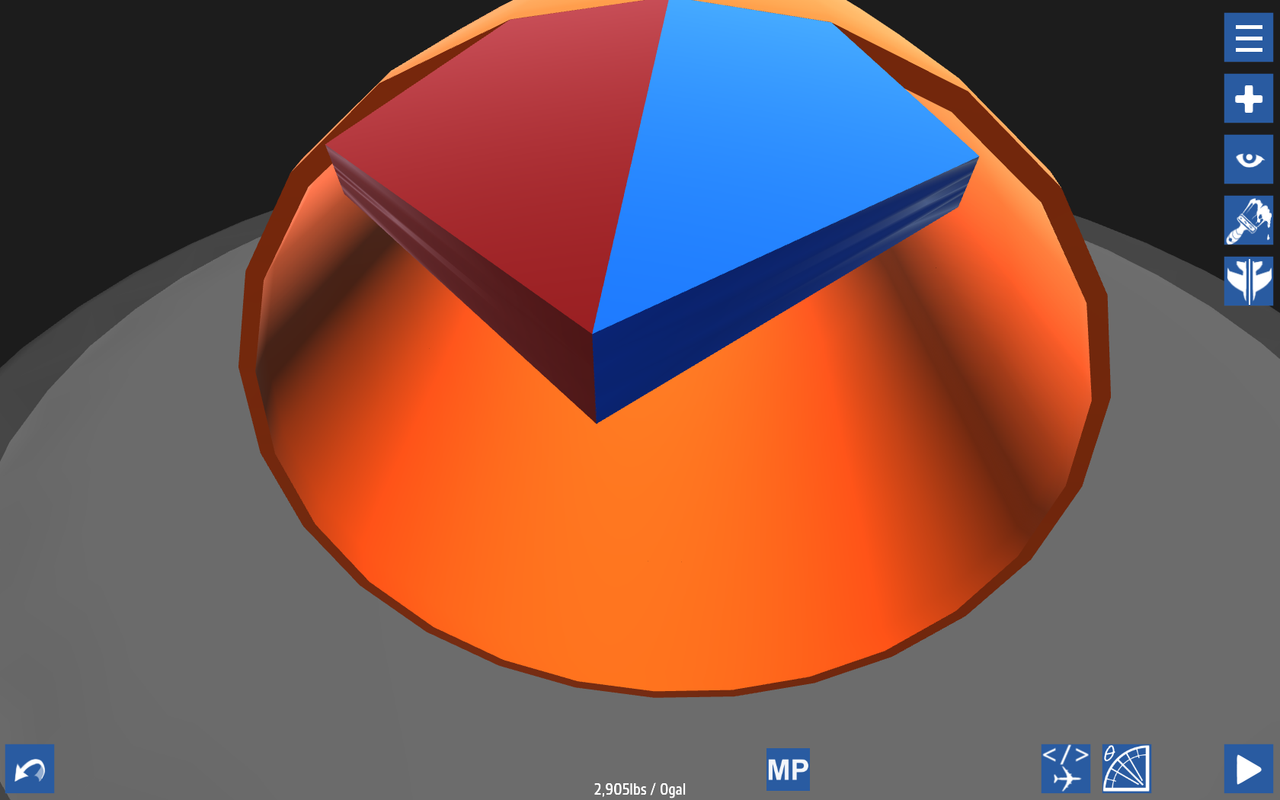
When done, make sure to use the connection editor and connect the two front faces together, this will allow you to smooth out the seam.
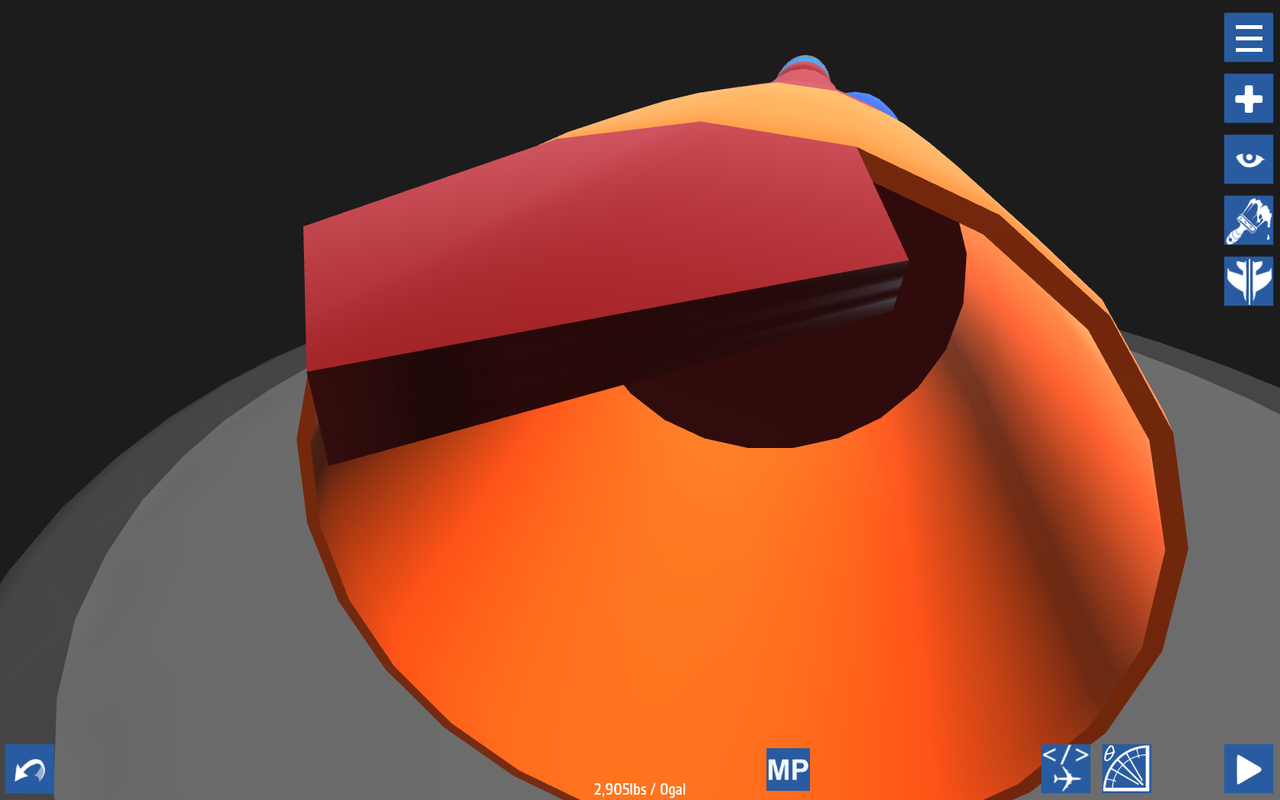
Bingo! Nice and smooth curve that blends with the aircraft nicely.
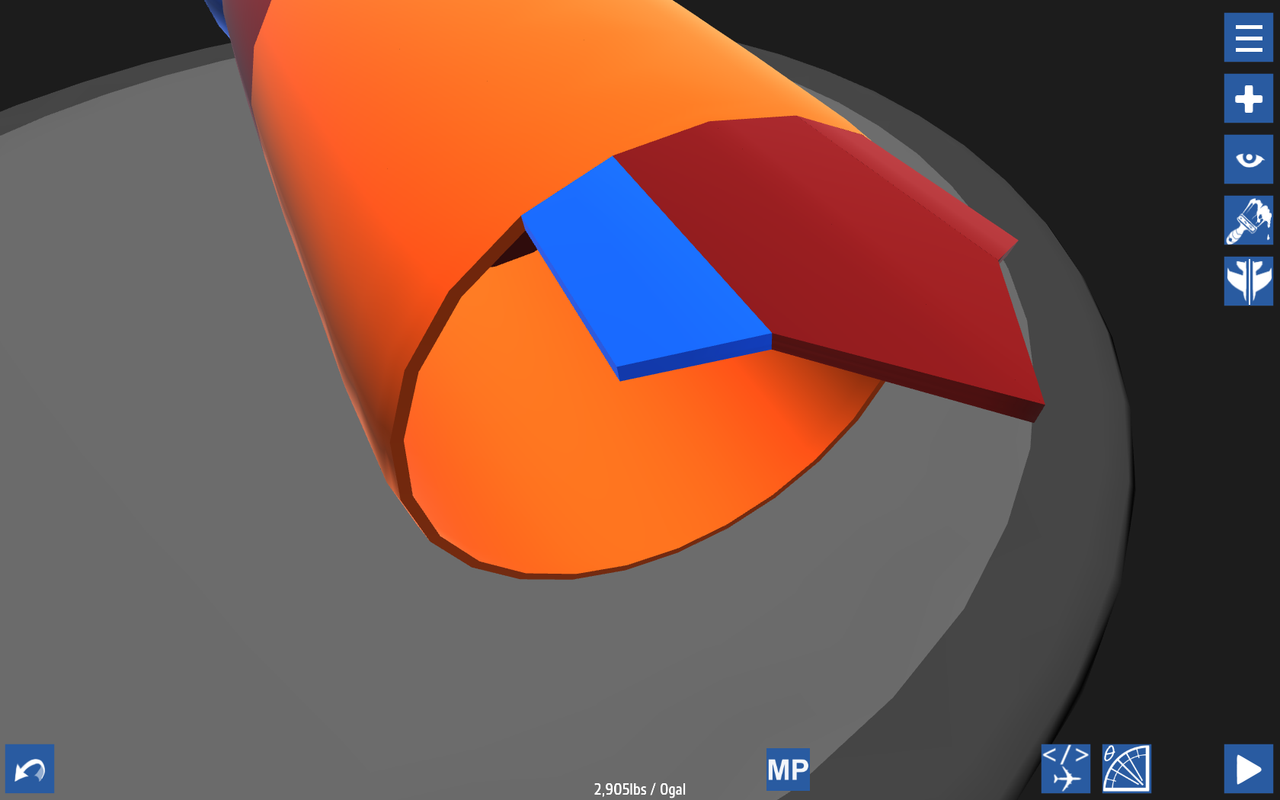
If you've been using inlets for a long time, then you'll know that there is no "add section" button on them. So instead, nudge one of your halves up by one increment and mirror it over. Then nudge your original part back down. Take the new inlet (just mirrored part) and change its ID to Fuselage-Block-1 in Overload. Then nudge it down by an increment of one into a half of your inlet curve. Go to edit, and click "Add Section". Now delete this part, and connect the new added section to your inlet. Make sure it it smoothed.
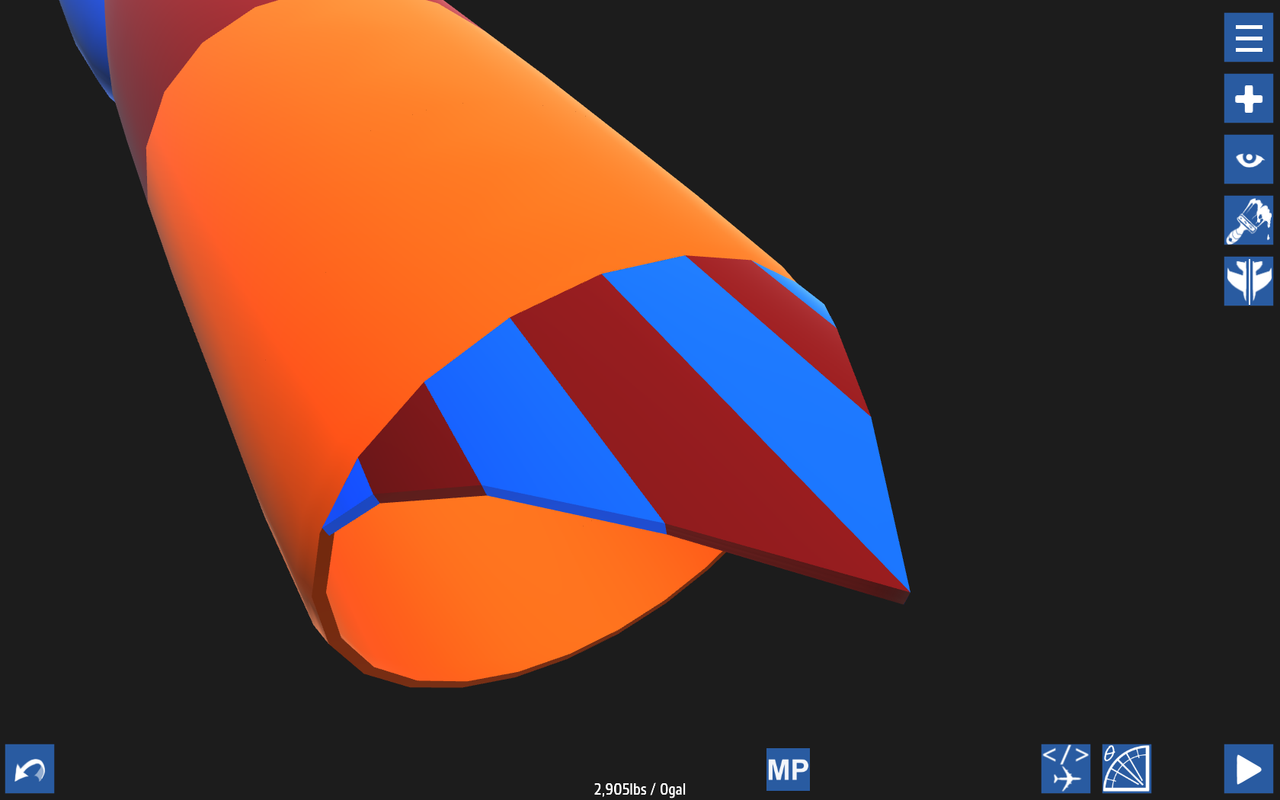
Continue building, using the side view on your blueprints, until your curve is complete. Make sure to lengthen each part accordingly so they don't poke out the sides of the rear fuselage.
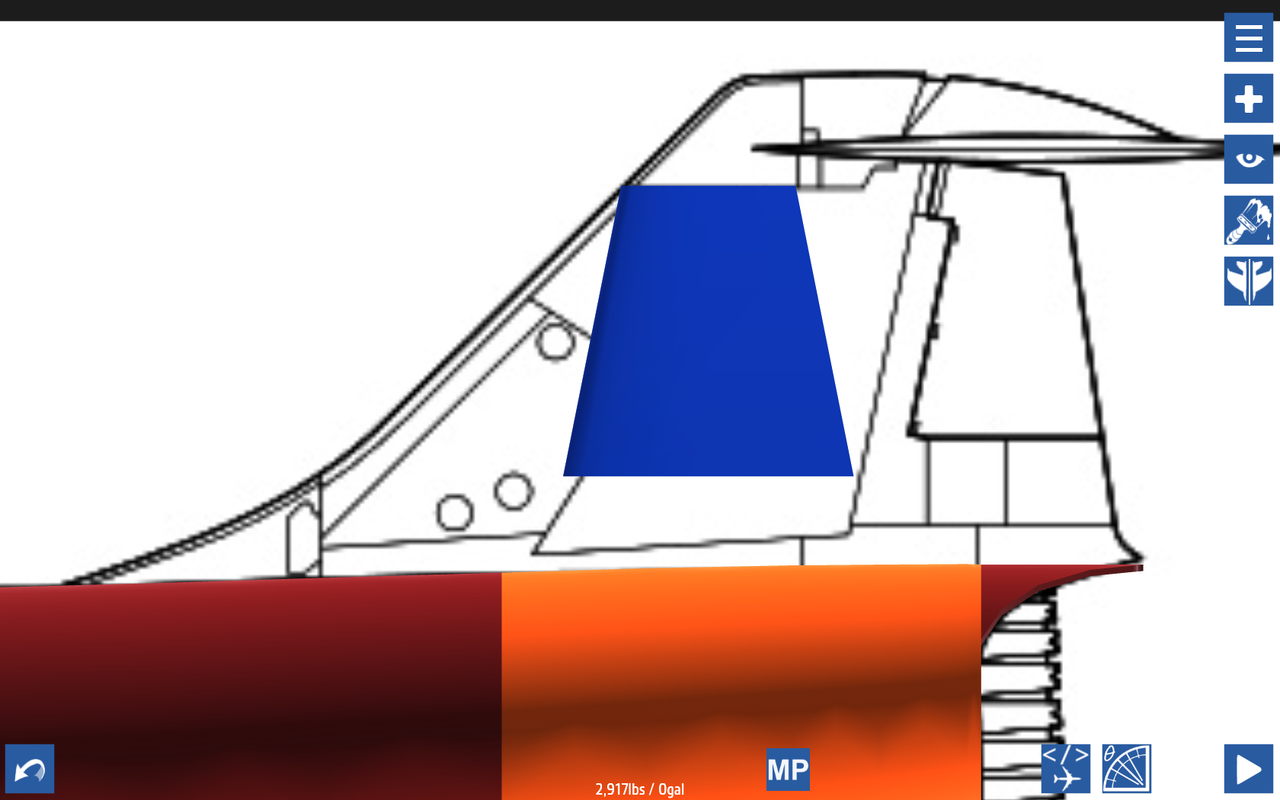
Now let's build the tail of the aircraft. Take note that in this picture the airplane is a bit too low on the blueprint, the point of the tail should line up with the point on the blueprints.
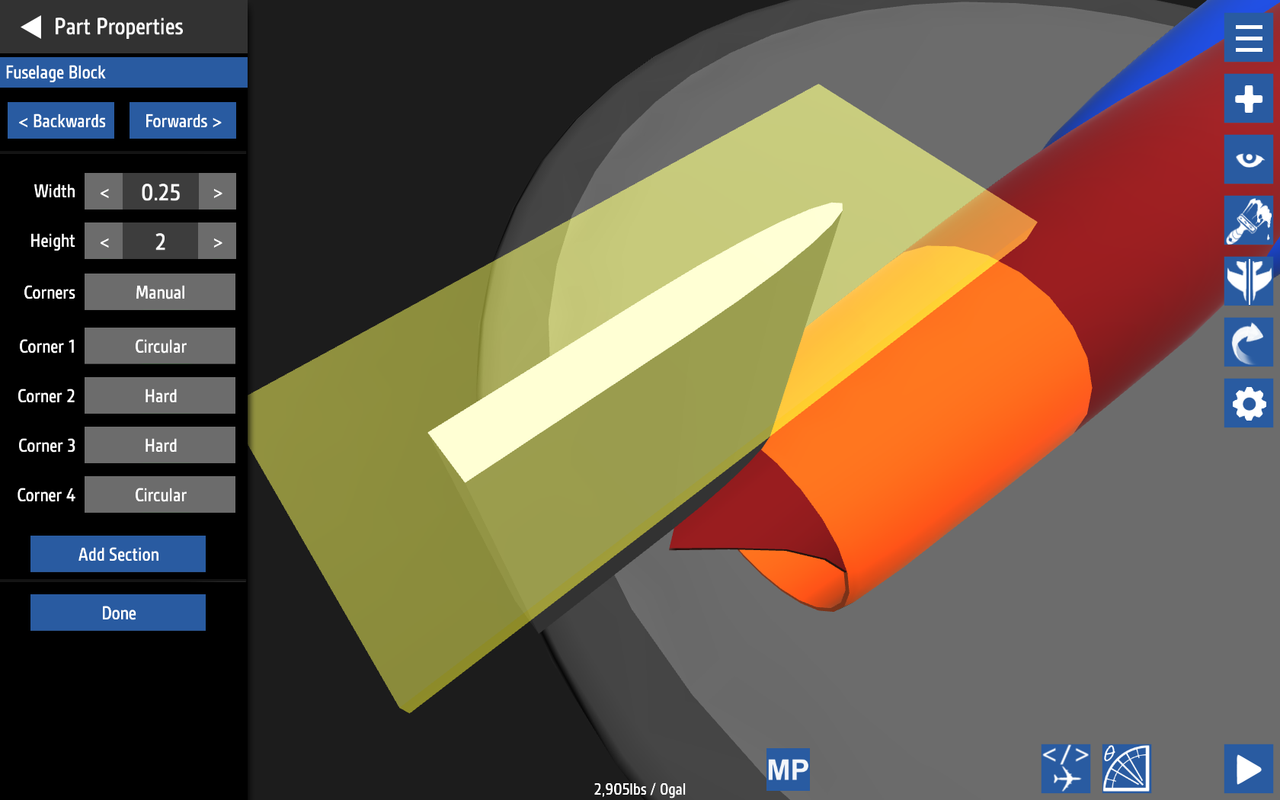
To start, you'll want to take a fuselage block and stand it upright. Edit the corners so that the rear hard edges and the front are circular edges.

Now nudge this fuselage part center and line it up with the line that runs just under where the tail starts to curve at the top. Then, adjusting lengths and using the rise feature, get it to line up like this.
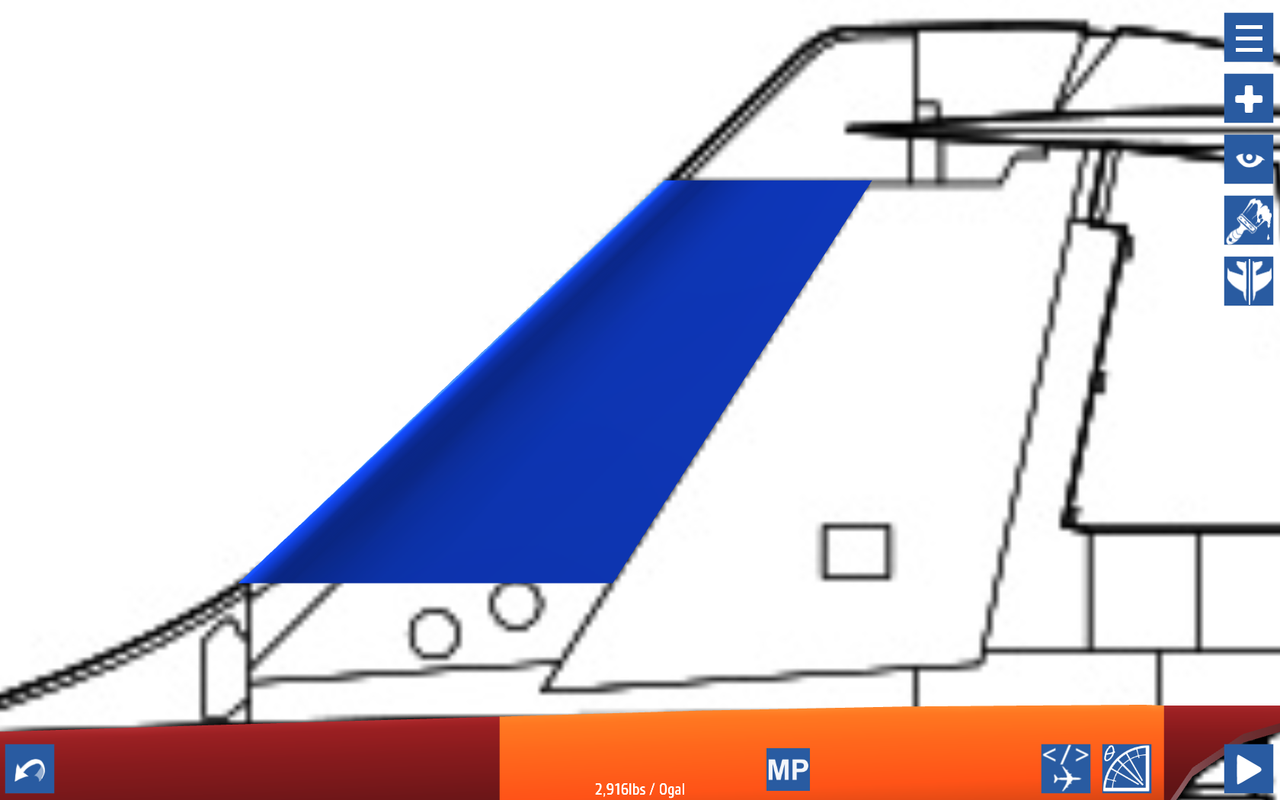
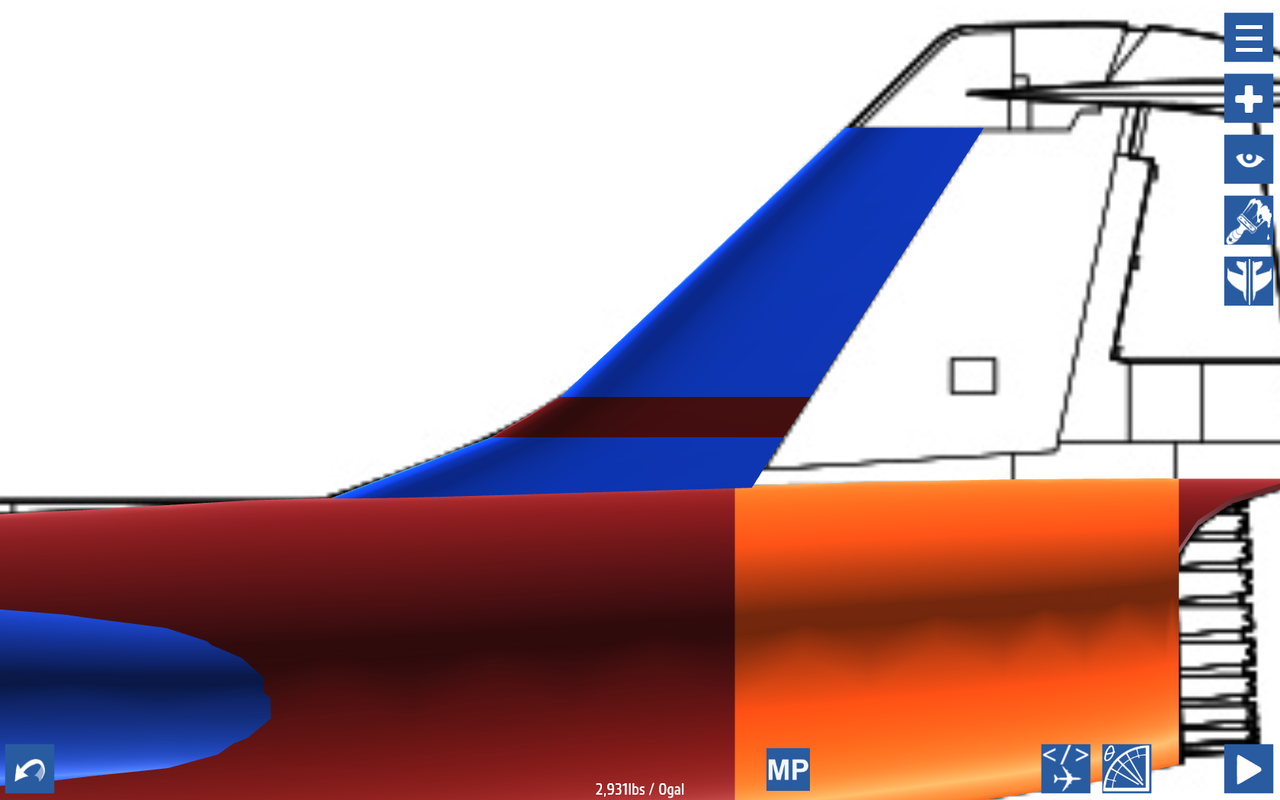
Continue downwards, and try to keep the rear hard edges as straight as possible. It'll make the tail look nicer later on. Then switch to the front view blueprint and make the tail thickness accurate.
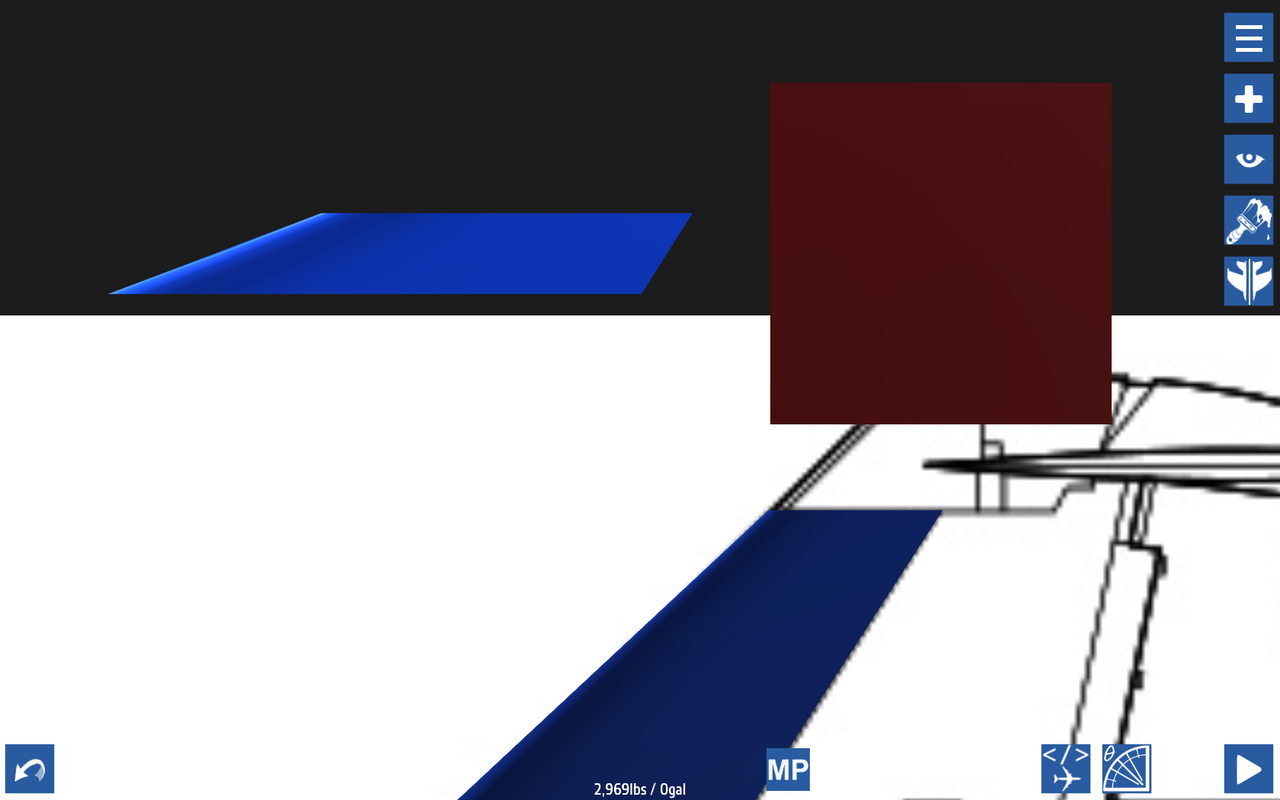
Now nudge the farthest tail fuselage part up by 2 increments and out of they way of the tail. Get another fuselage block, but this time make sure it is facing front to back.
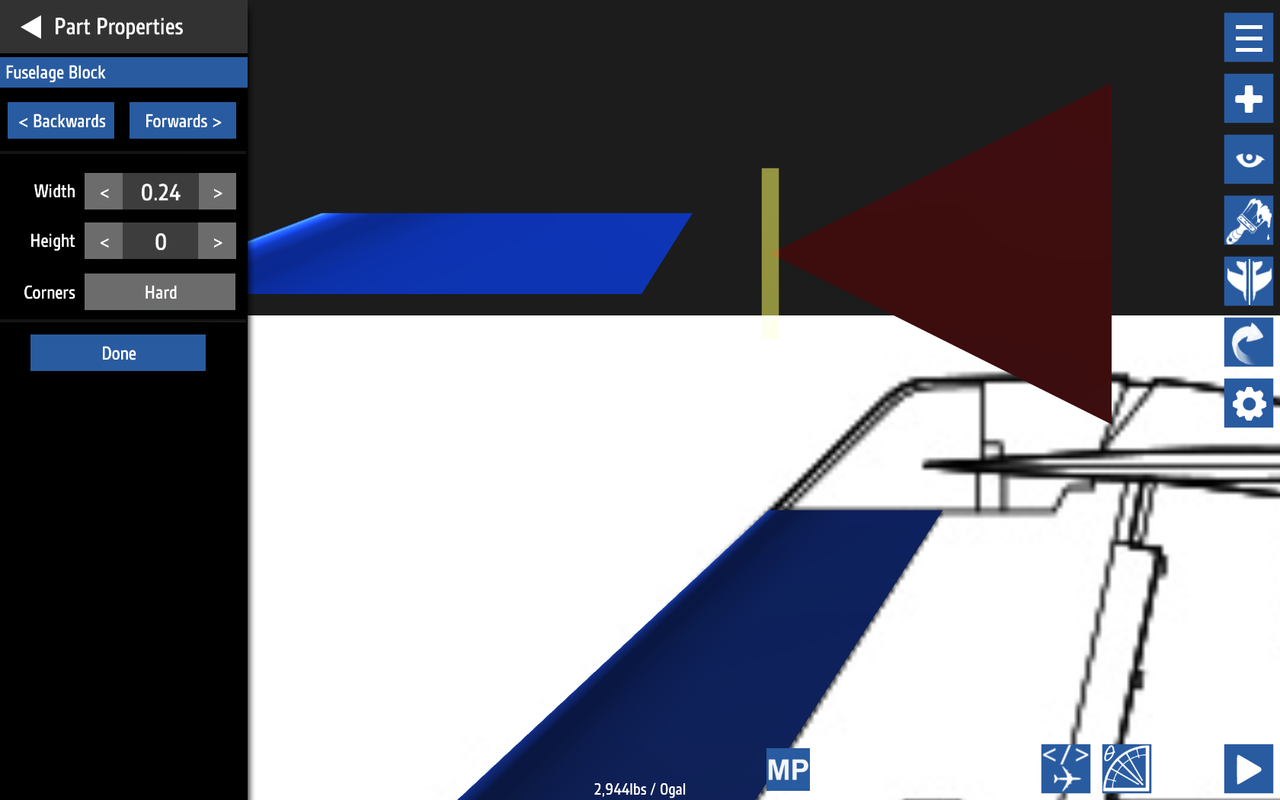
With this new fuselage part, edit the height to 0, and the width to what the bottom width of your nudged-up tail part. Then, nudge the fuselage so that it's point lines up exactly at the bottom of the tail part.

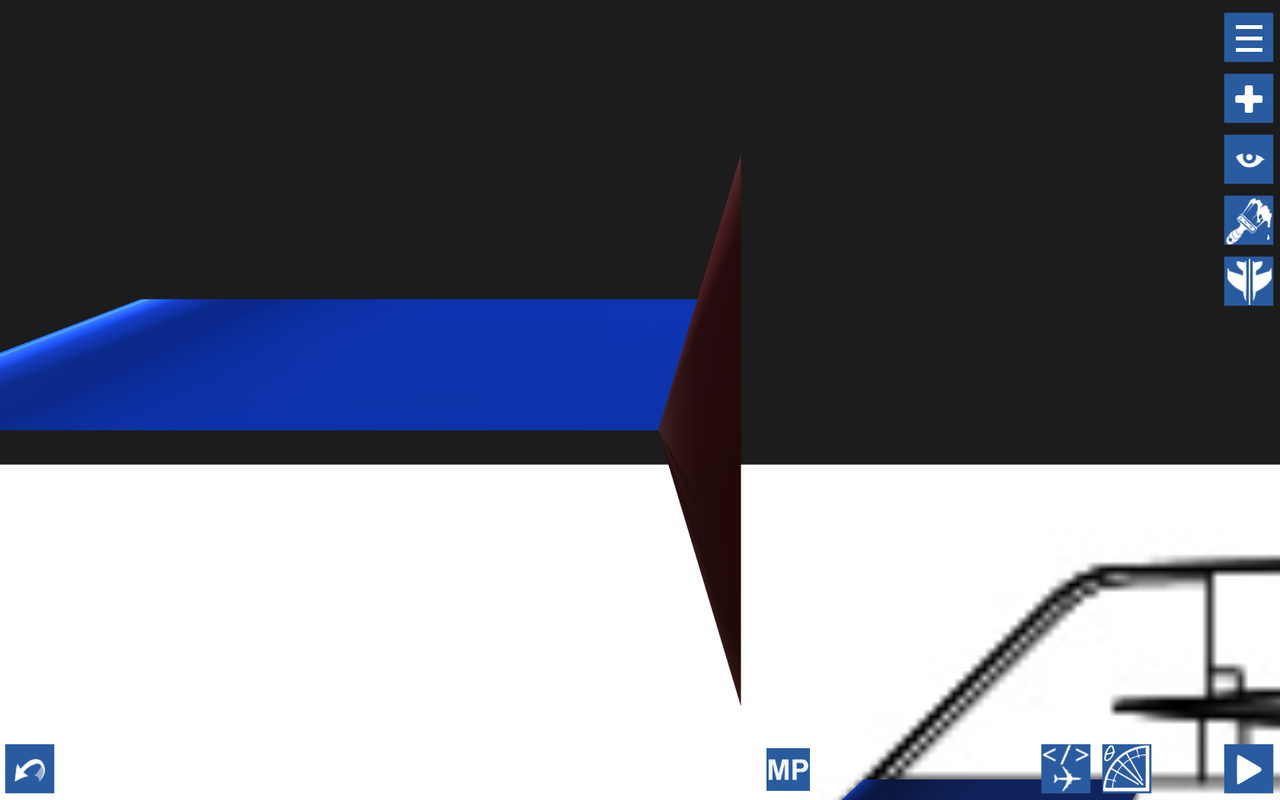
Now edit the length of this fuselage part so that it ends at the tip-top of the tail part. Then edit its height to the height of the tail part.
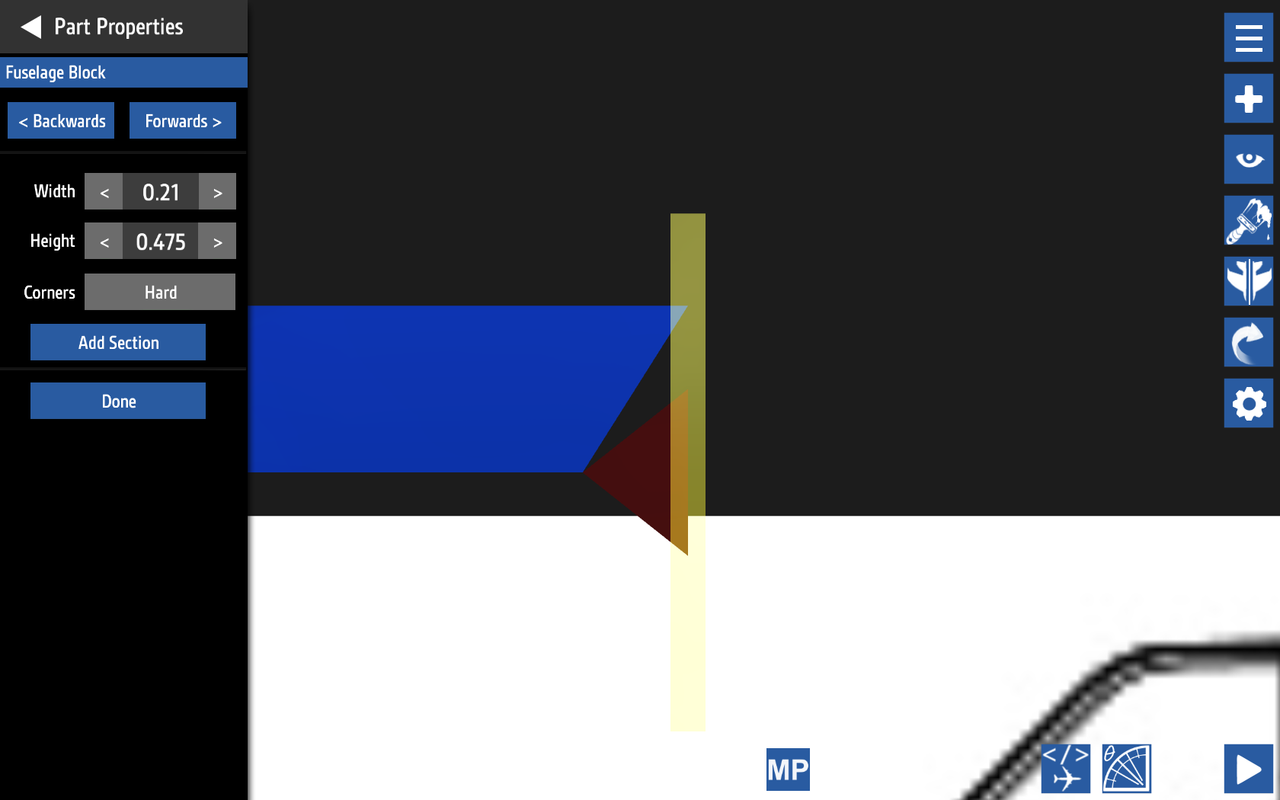

Finally, using the Rise feature to line up the fuselage part with the tail part. All done it should look like this. Repeat these steps for the other parts until your tail looks like this.

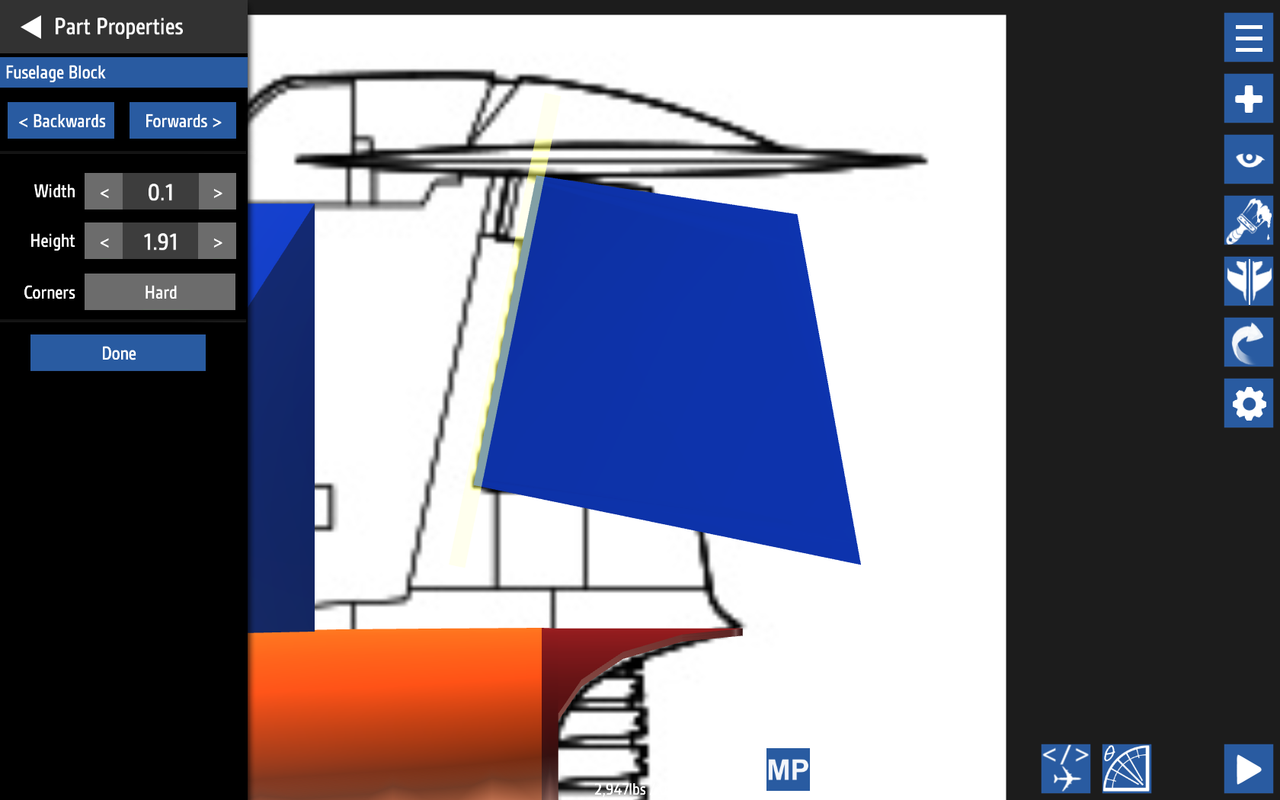
Now we'll take a fuselage inlet, slant facing backwards, and angle it so that it lines up with the blueprint control surface. Then, adjust the length and rise so that it is a clean fit with the yaw panel.
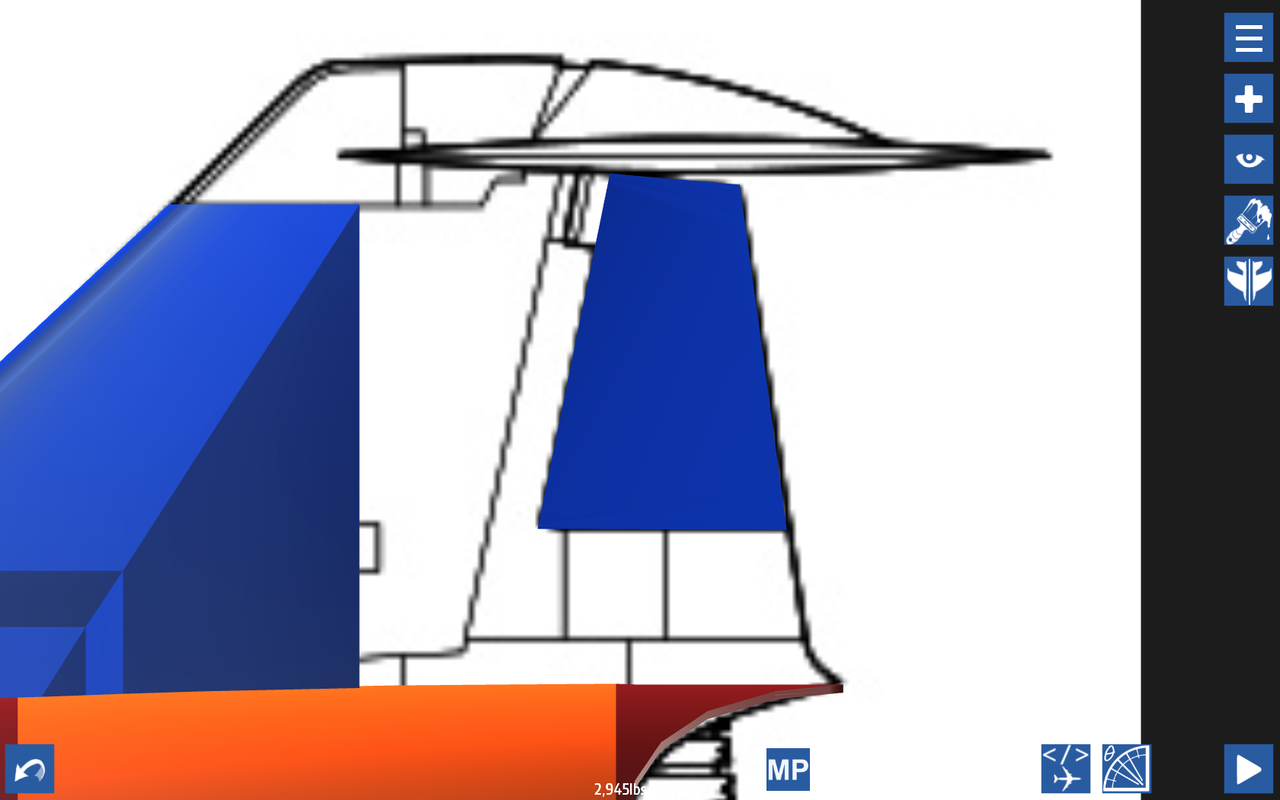
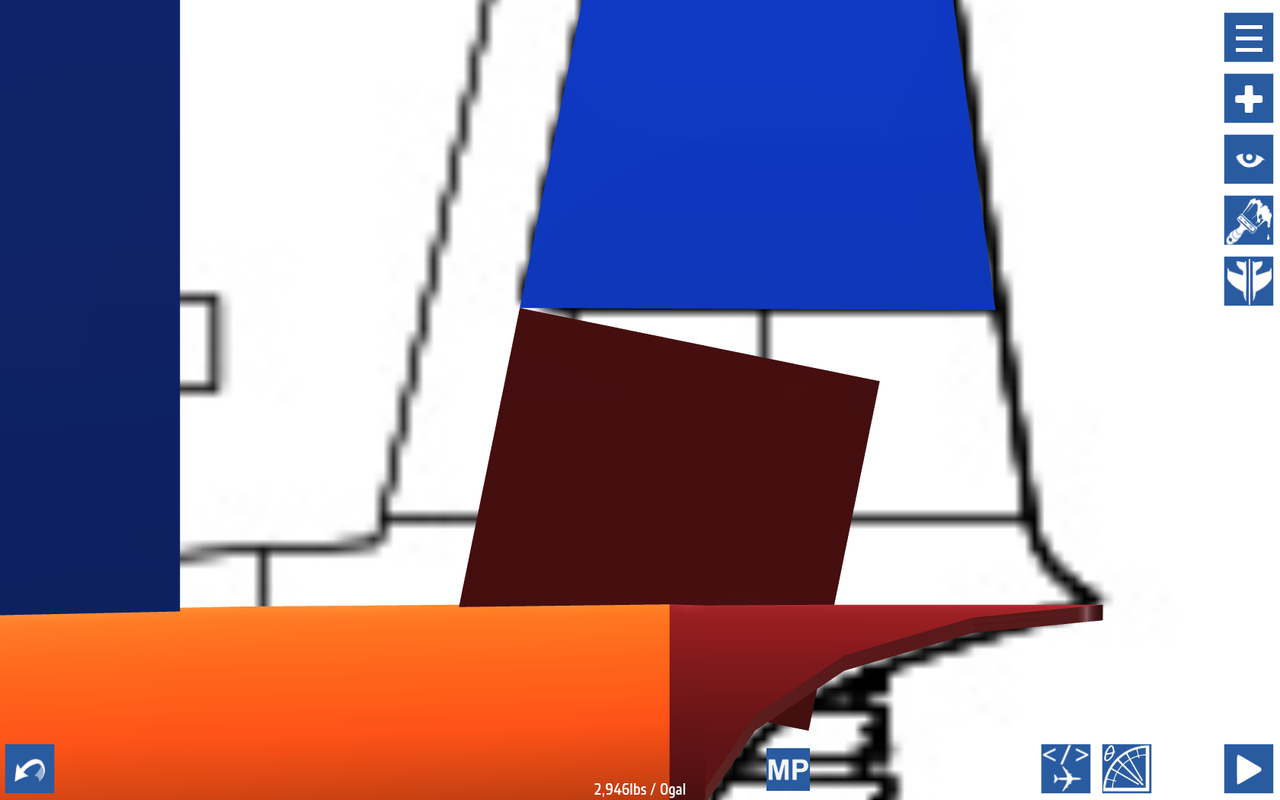
Following the same technique as above, do the rest of the back bottom. Don't forget to add the end curve (orange inlet in below picture).
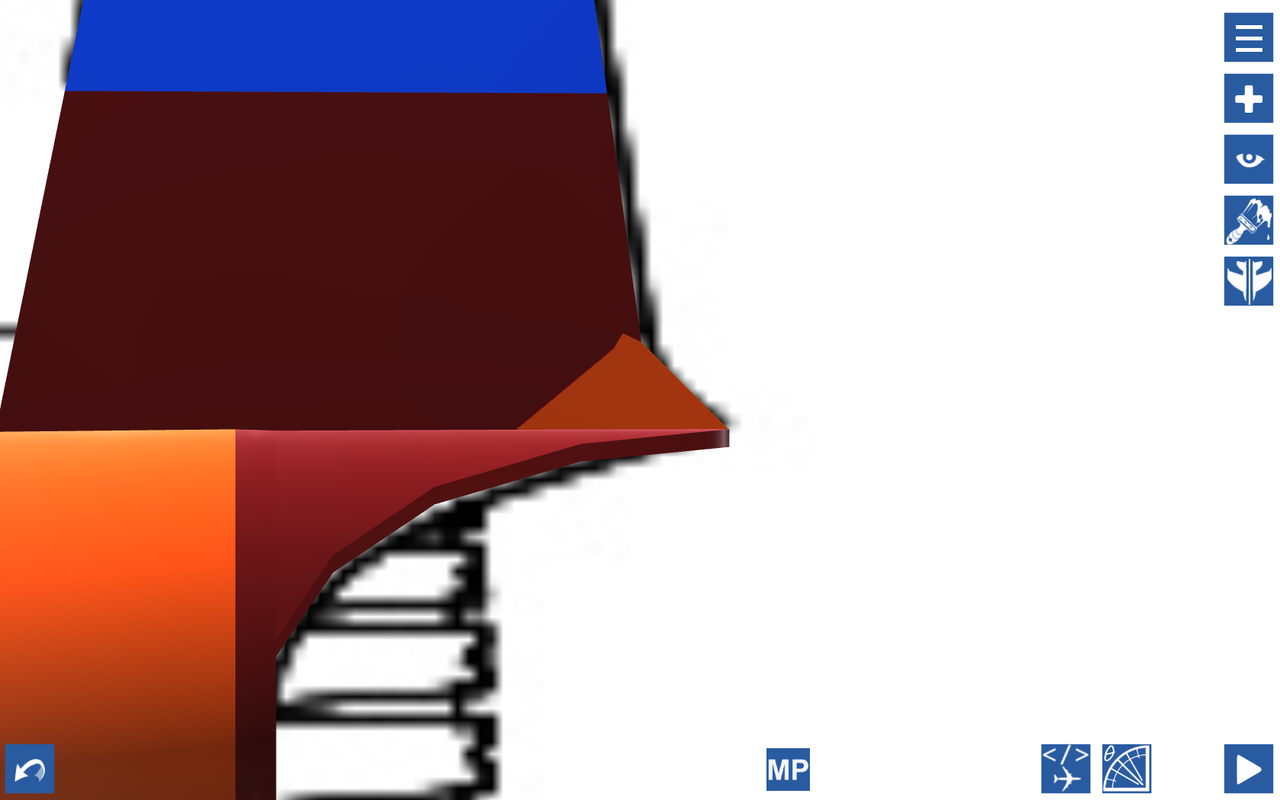
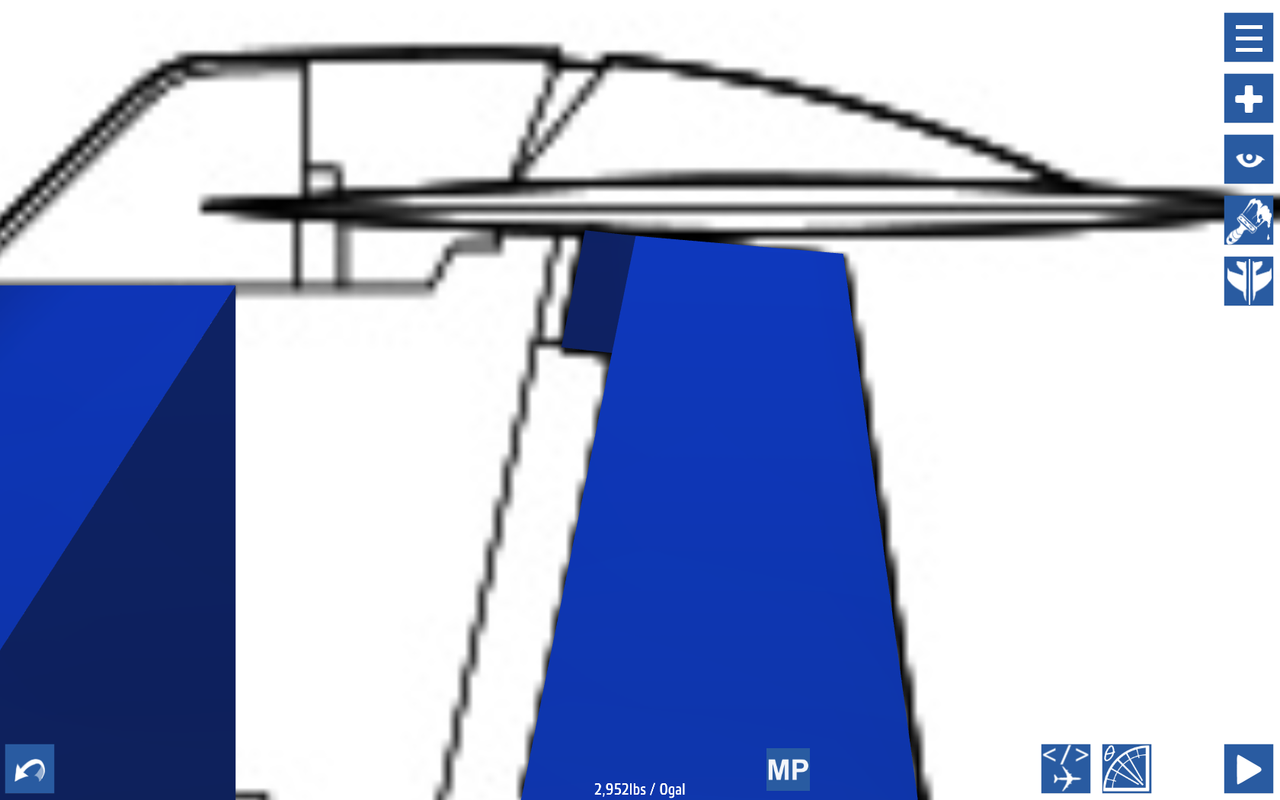
Now start adding the smaller "hinge" parts and surrounding filler to the tail. Its important to make sure all these parts line up, otherwise the yaw surface will look funny rotating. When done it should look like this:
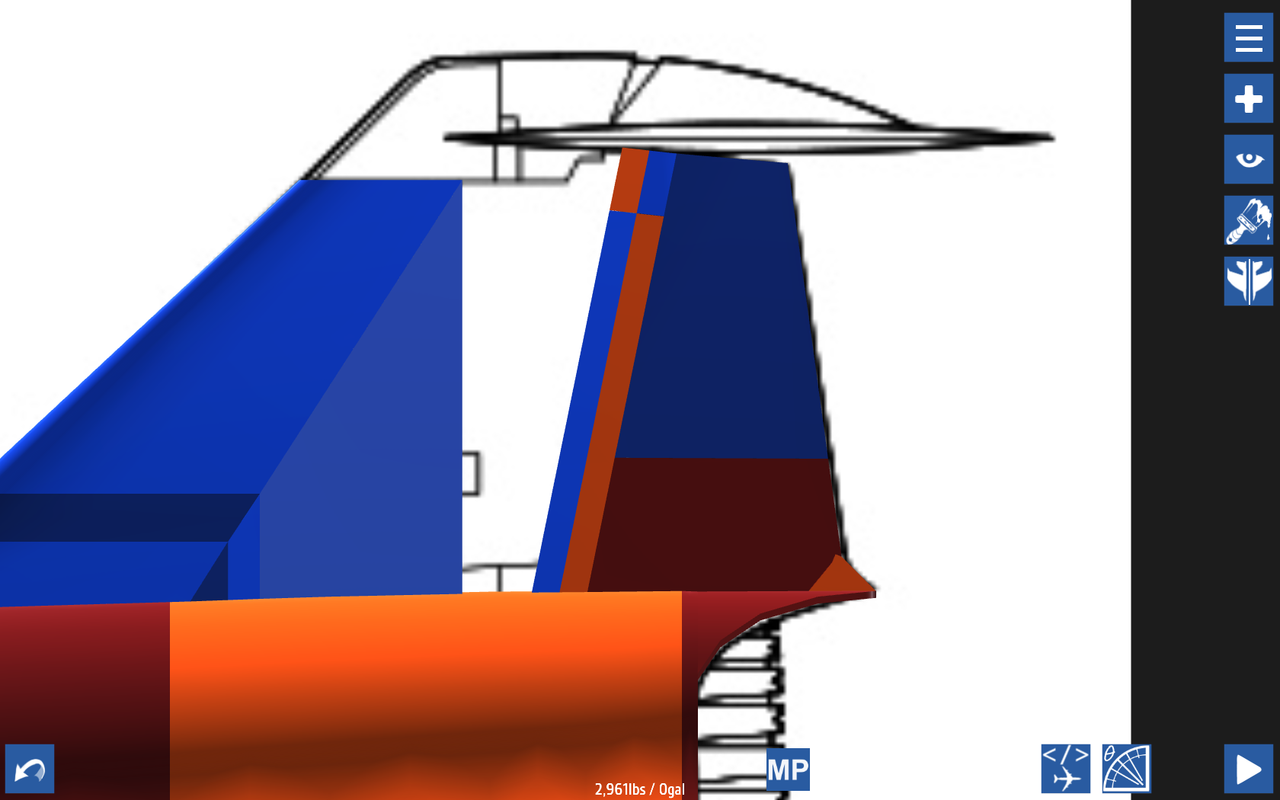
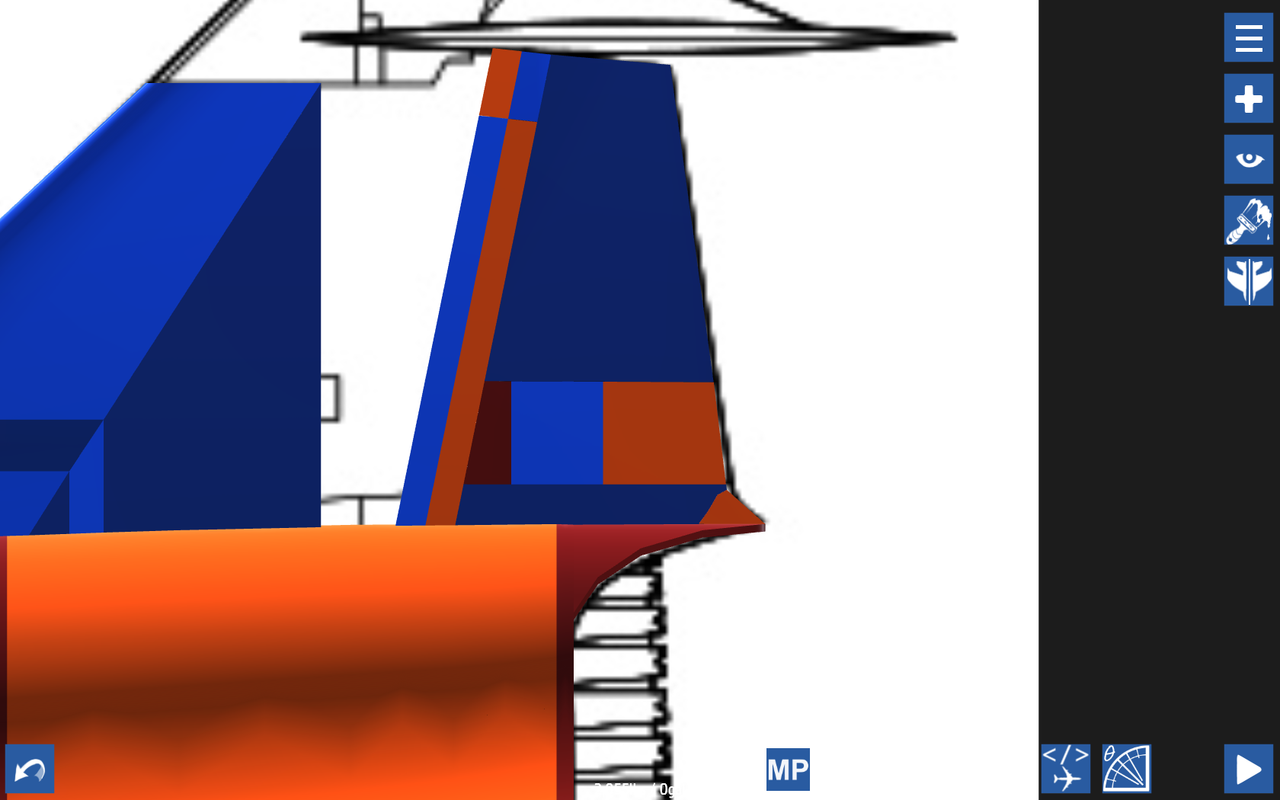
Upon reviewing a few images I decided to re-do the bottom below the rudder. Now we'll have a moving yaw-trim surface. It probably won't do anything.
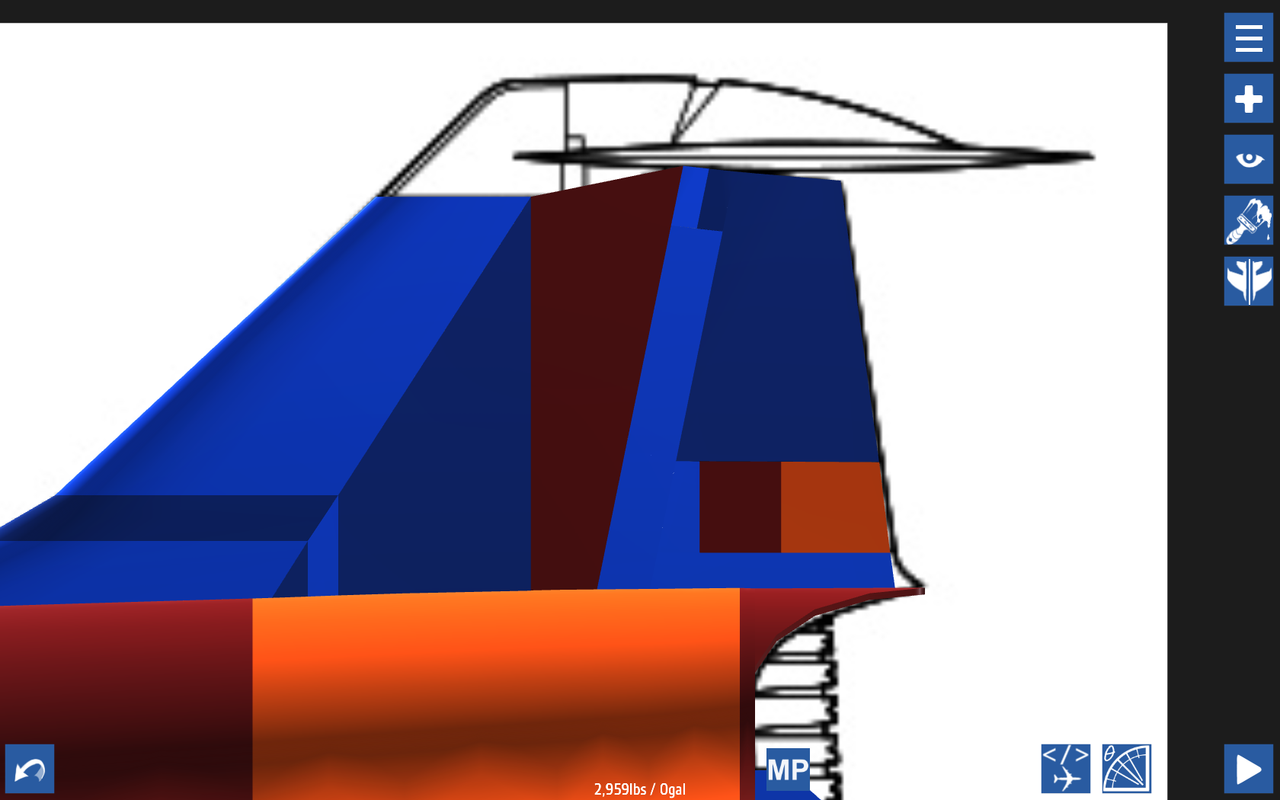
Now "add section" from the previous added parts to create the large red piece. Then lengthen it and use the rise feature to get it to fill the whole gap.

The newly added orange part is going to be used to guide the blue part to its left. This orange part has to be flat and strait. Then "add section" from the blue front leading edge part and adjust its length to match this orange part's top. Then adjust the new blue leading edge part to fit in line as so:
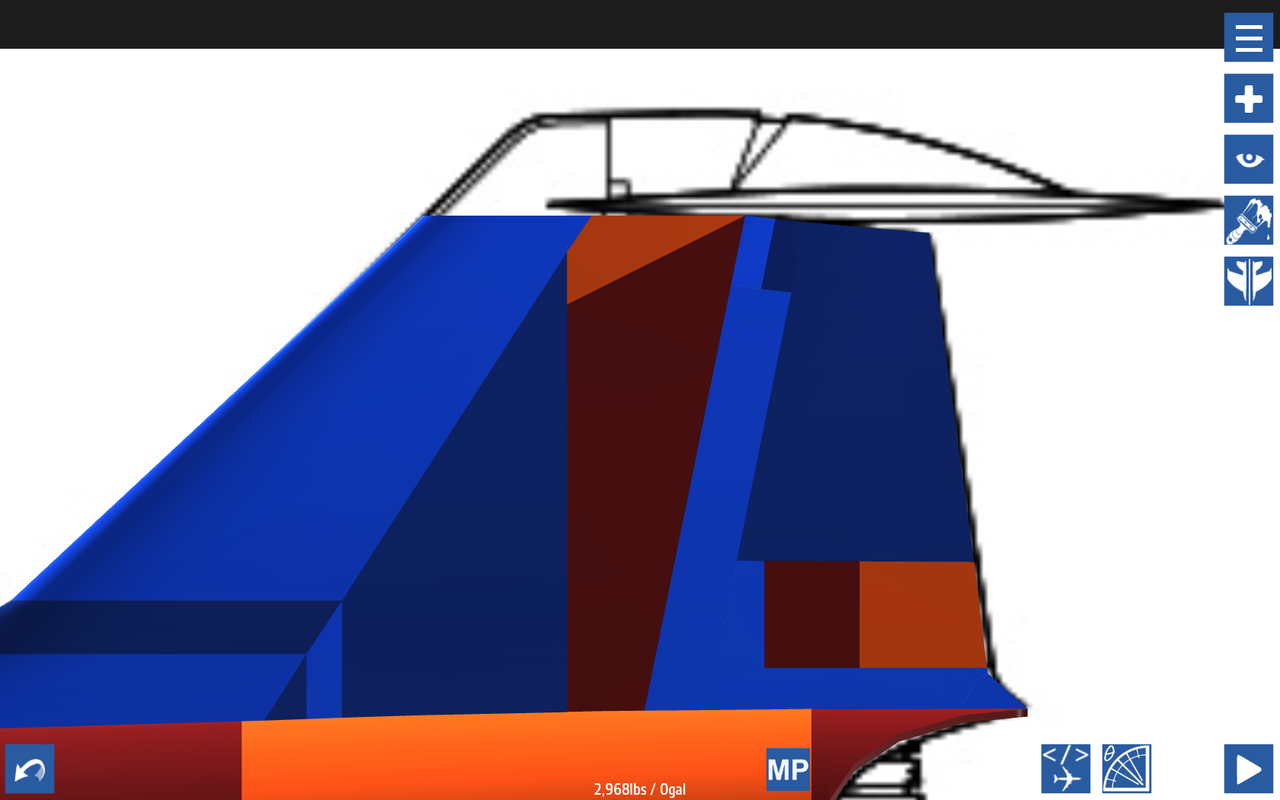
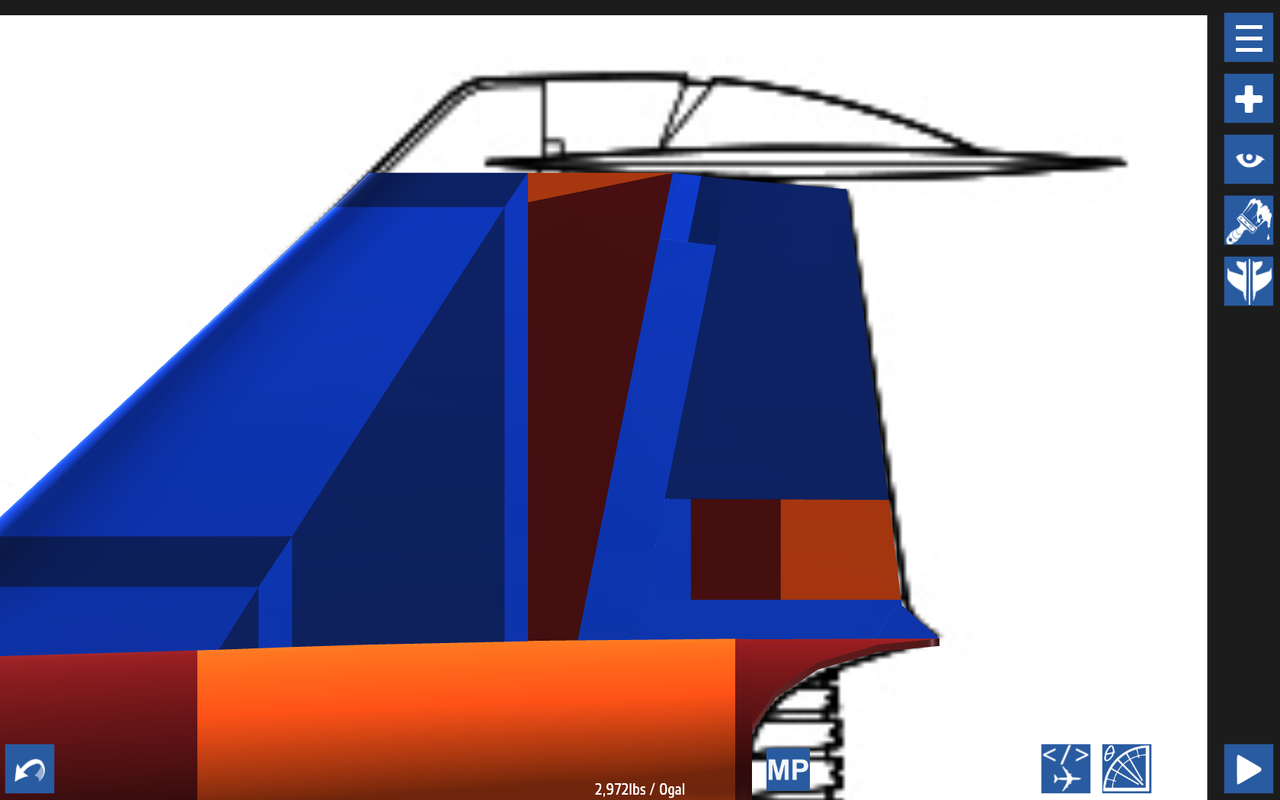
Now continue the left-to-right fuselage part located below the leading edge. Tapper it according to your leading edge thickness and length.
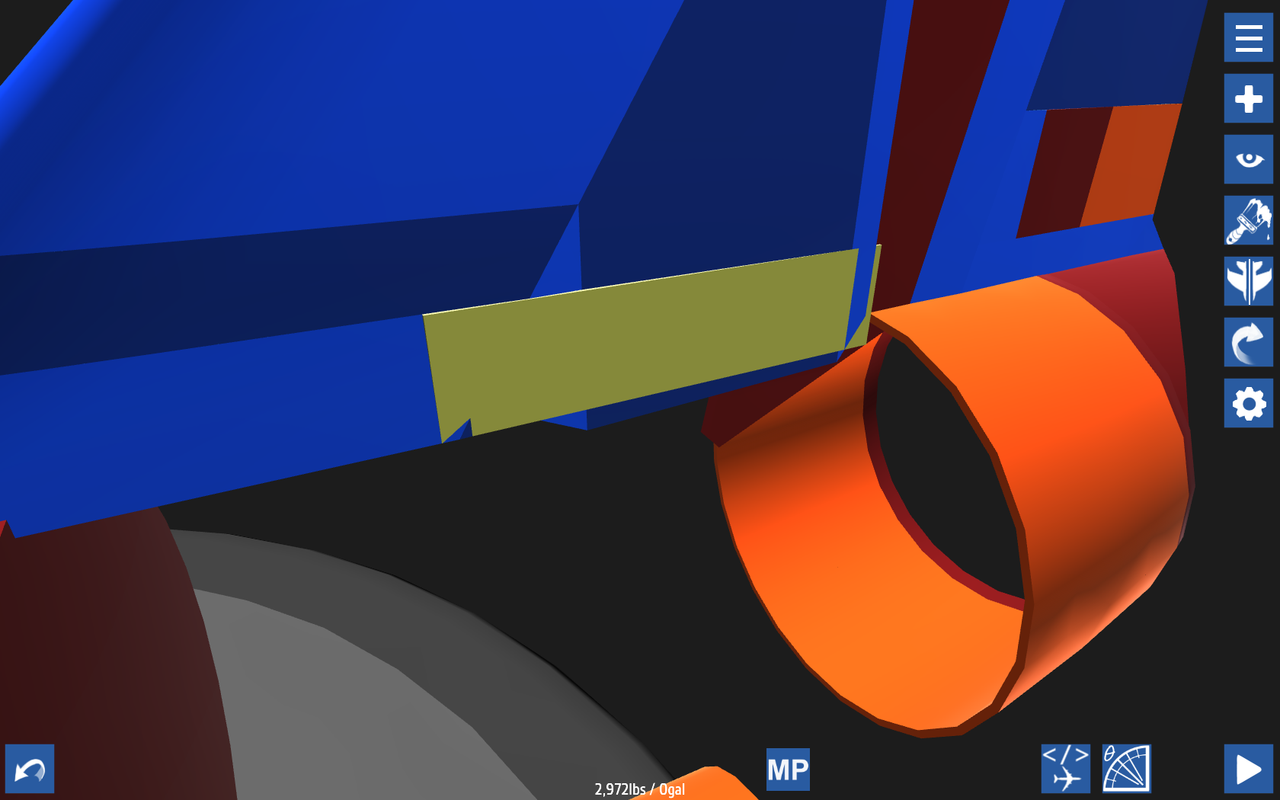
This part isn't necessary, but makes the tail look smoother. Its simply a thin fuselage part angled into place and then, using rise and run, is fitted into place to cover up some sharper edges. All done it looks like this: (red and light violet panels)
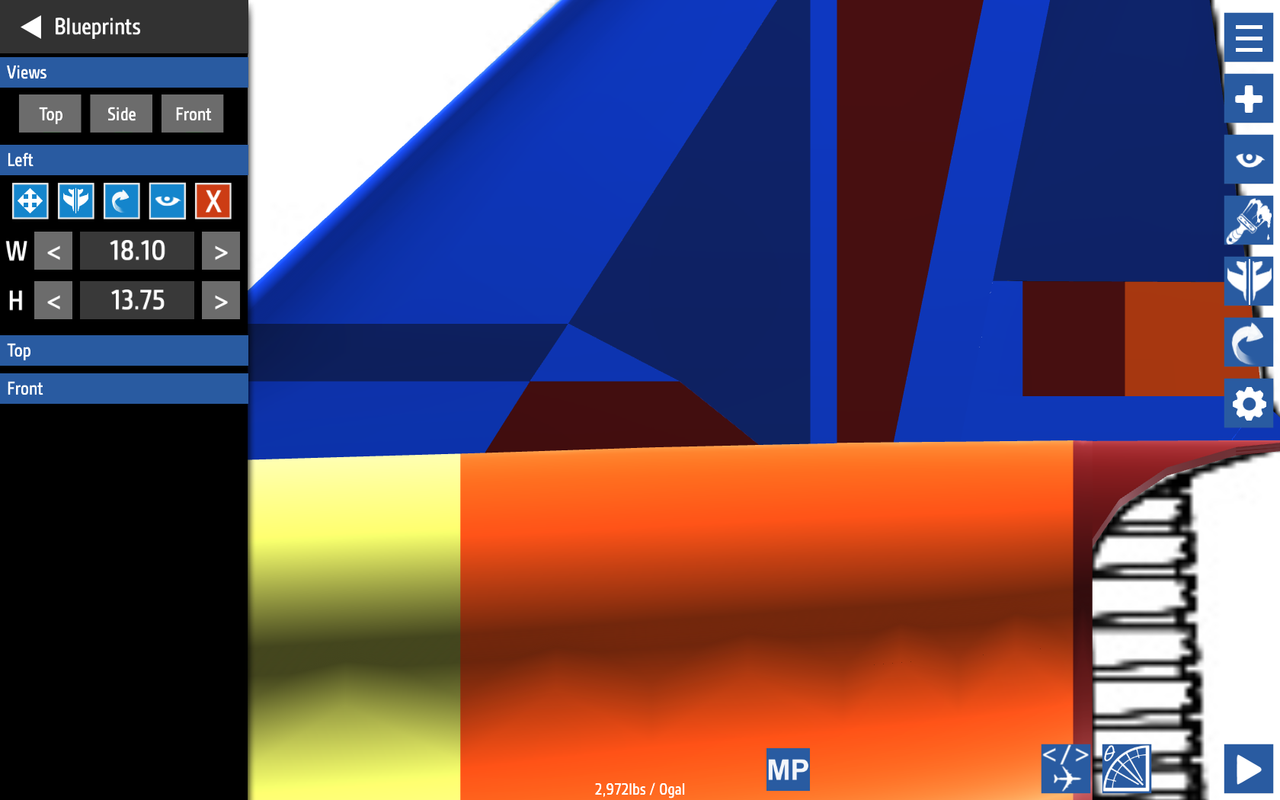
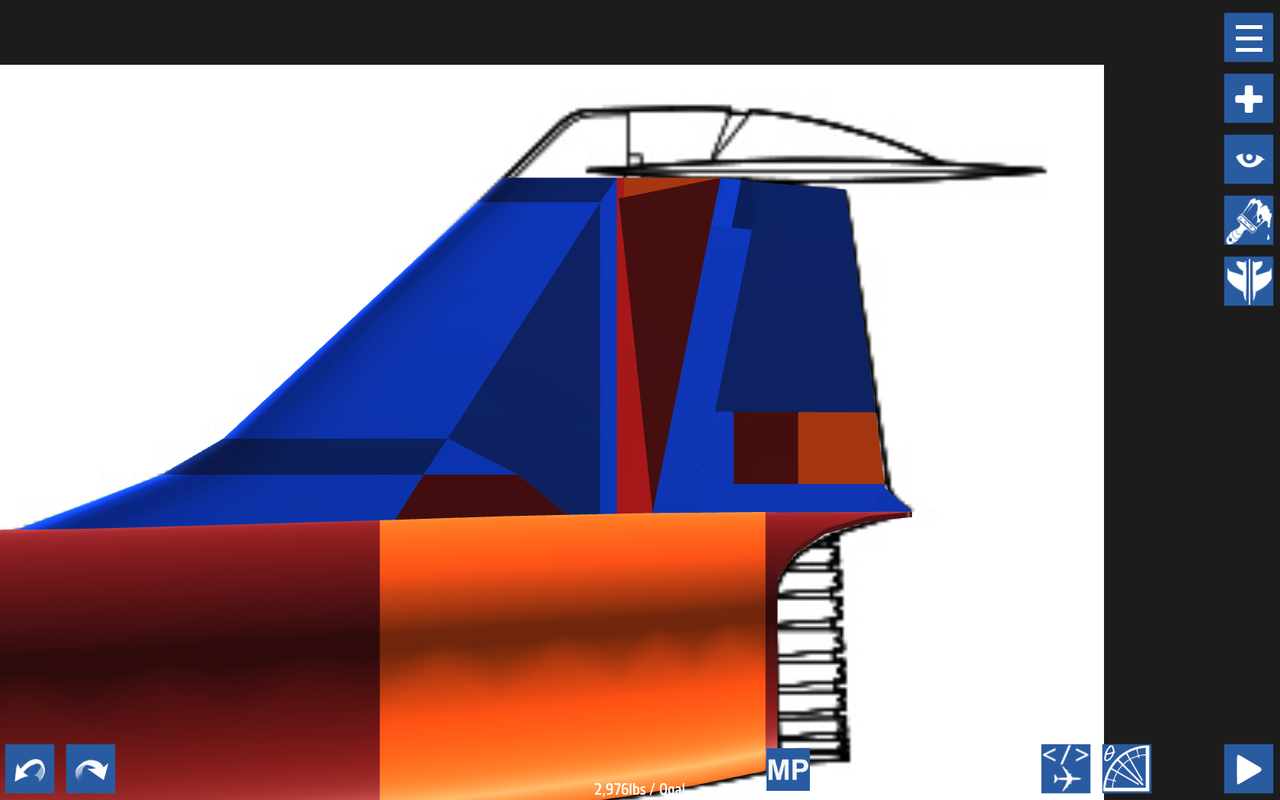
Here add a few more tapering fuselage parts in the middle to smooth down the hard edges and make the tail smoother. One example is the bright red part in the center. It tappers from front-to-back, connecting out leading edge and central tail.
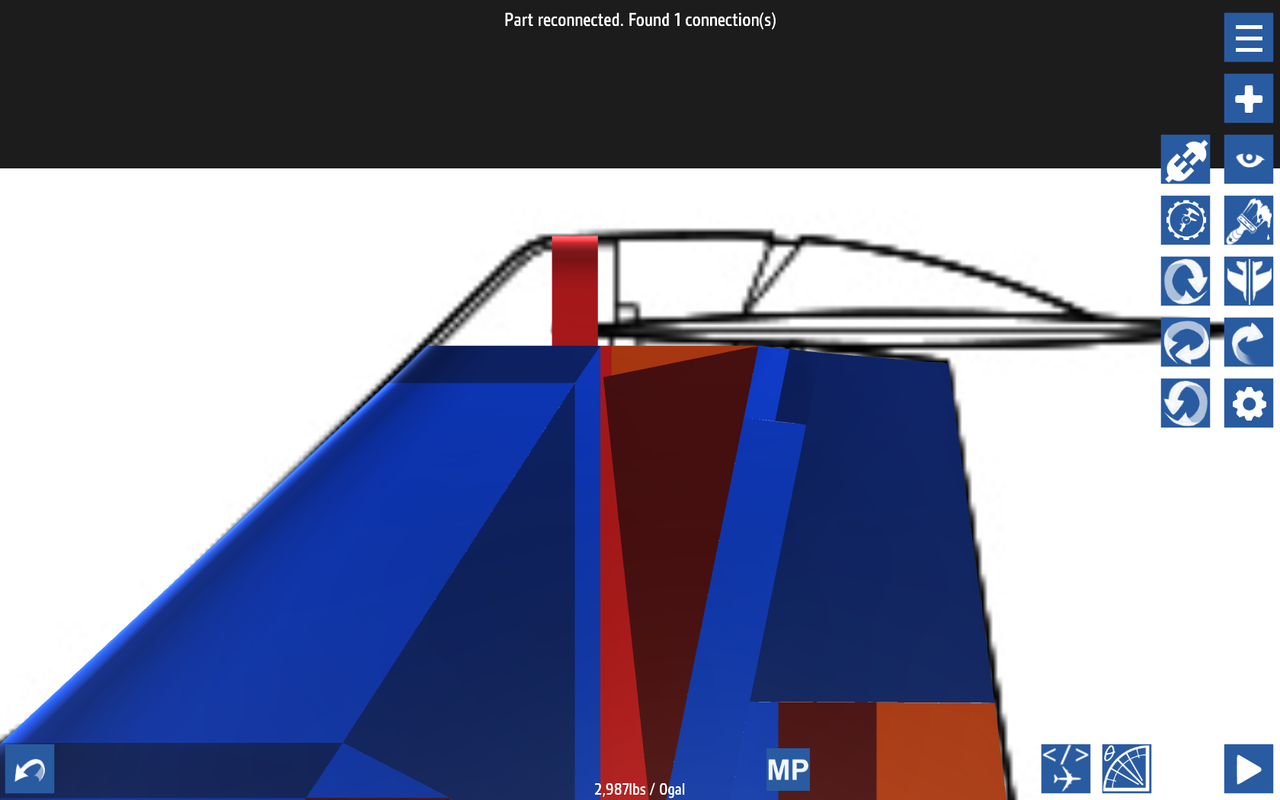
Now to do the top part, we take a fuselage block with circular edges and rotate it so that the circular edges face upwards. Then build outwards so that it matches the blueprint curves.
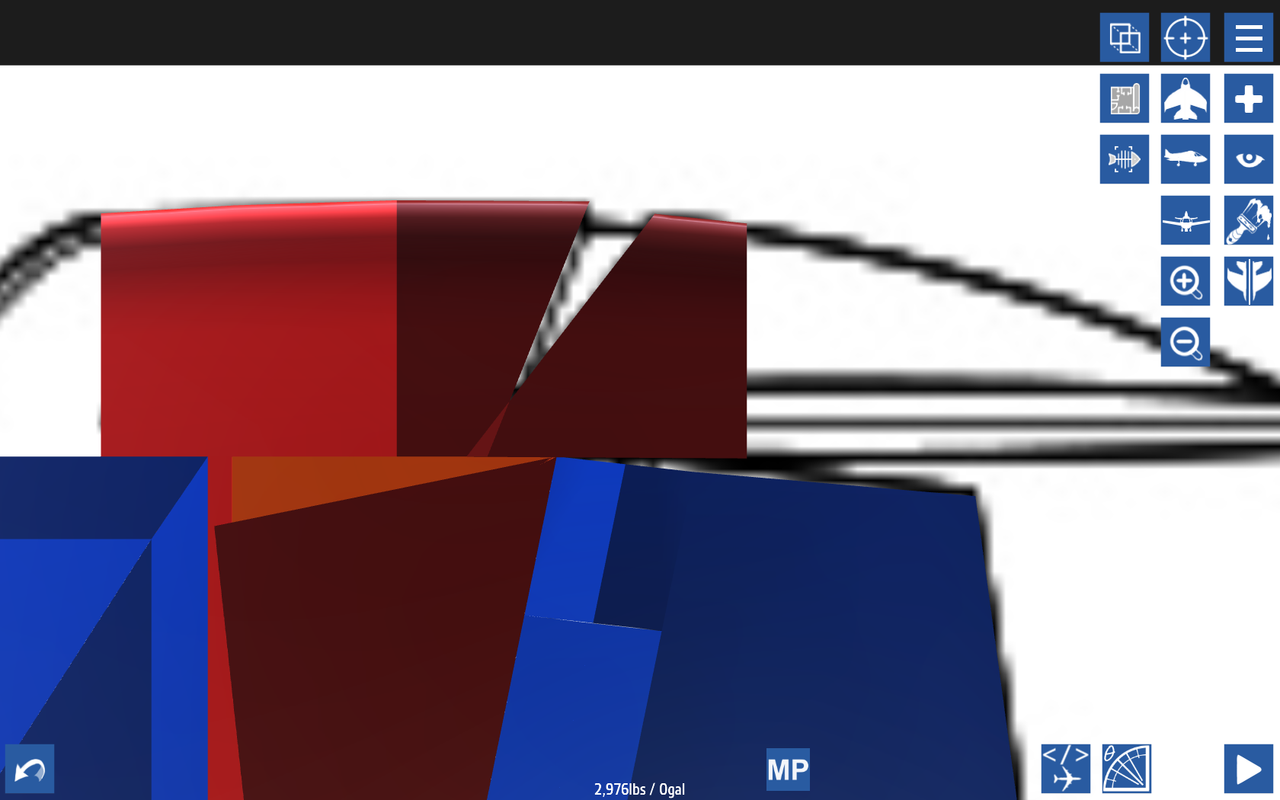
Now for this part, we take two fuselage inlets and angle then to the blueprint. I'm not sure what the function of this area is, but to finish it just add a small curved fuselage in the center. Continue building backwards.
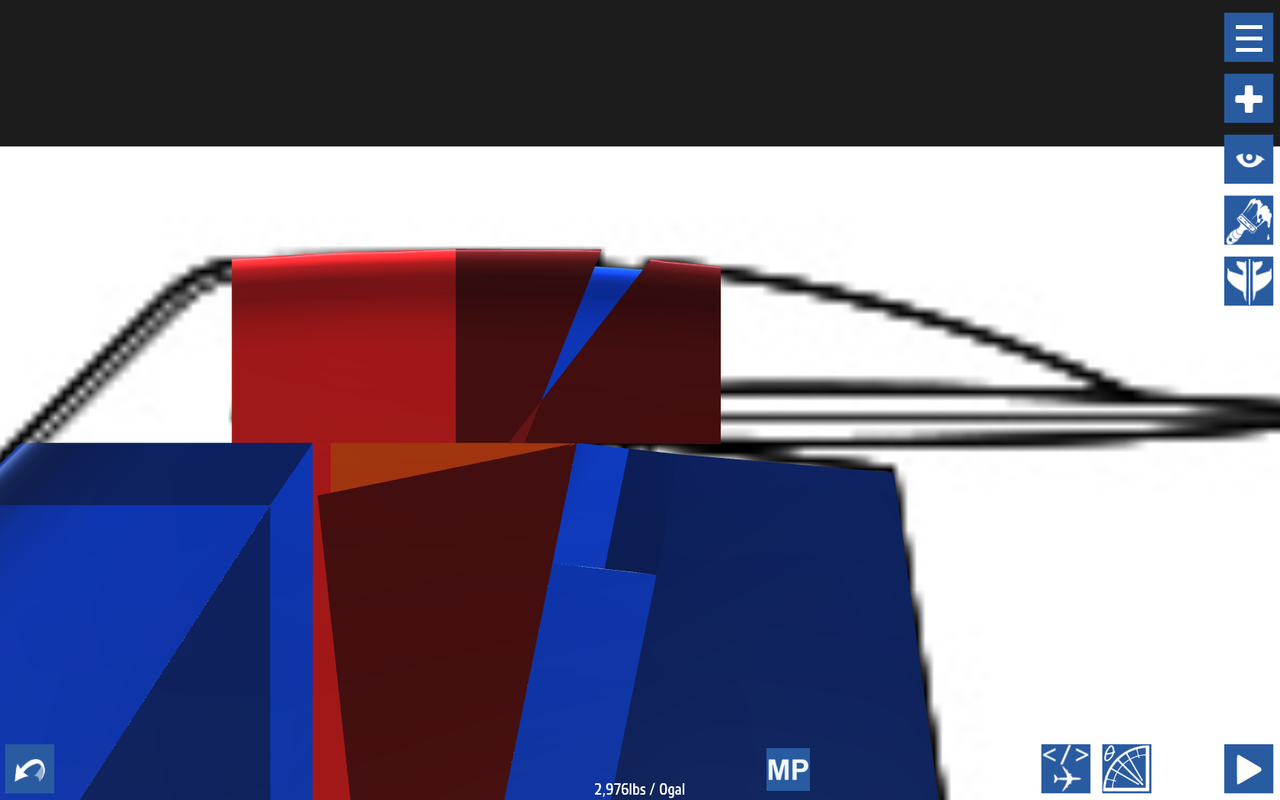
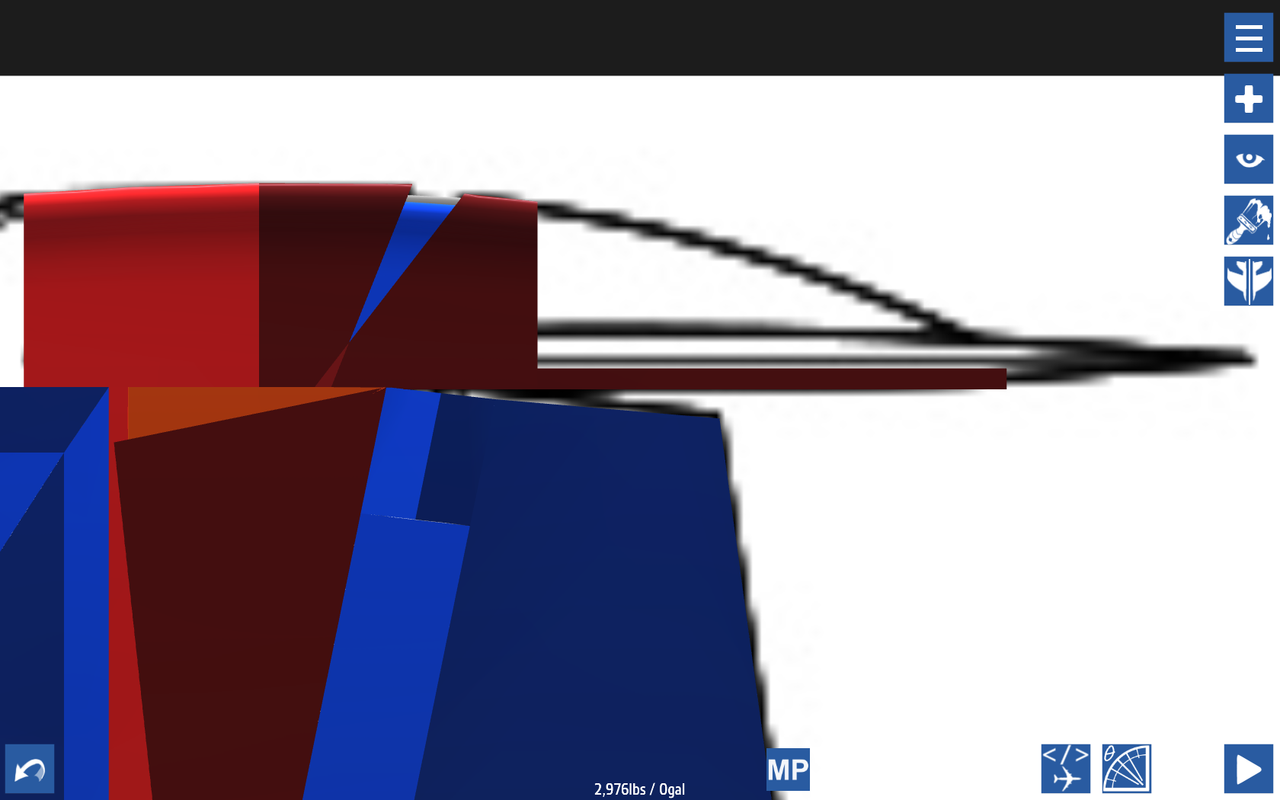
To make sure the rear is straight, I've laid out a thin fuselage block. Its rear corners are curved, fitting with a top-view of our blueprint. Now continue building along this fuselage, making sure to tapper your upper fuselage according. All done it should look like this:

Do the same for the front, it should look like this when done:

Now there is a slight gap in transition between the leading edge and top fuselage parts. To smooth this out, add a section to the leading edge and then adjust its thickness.

All done, your vertical stabilizer should look like this:
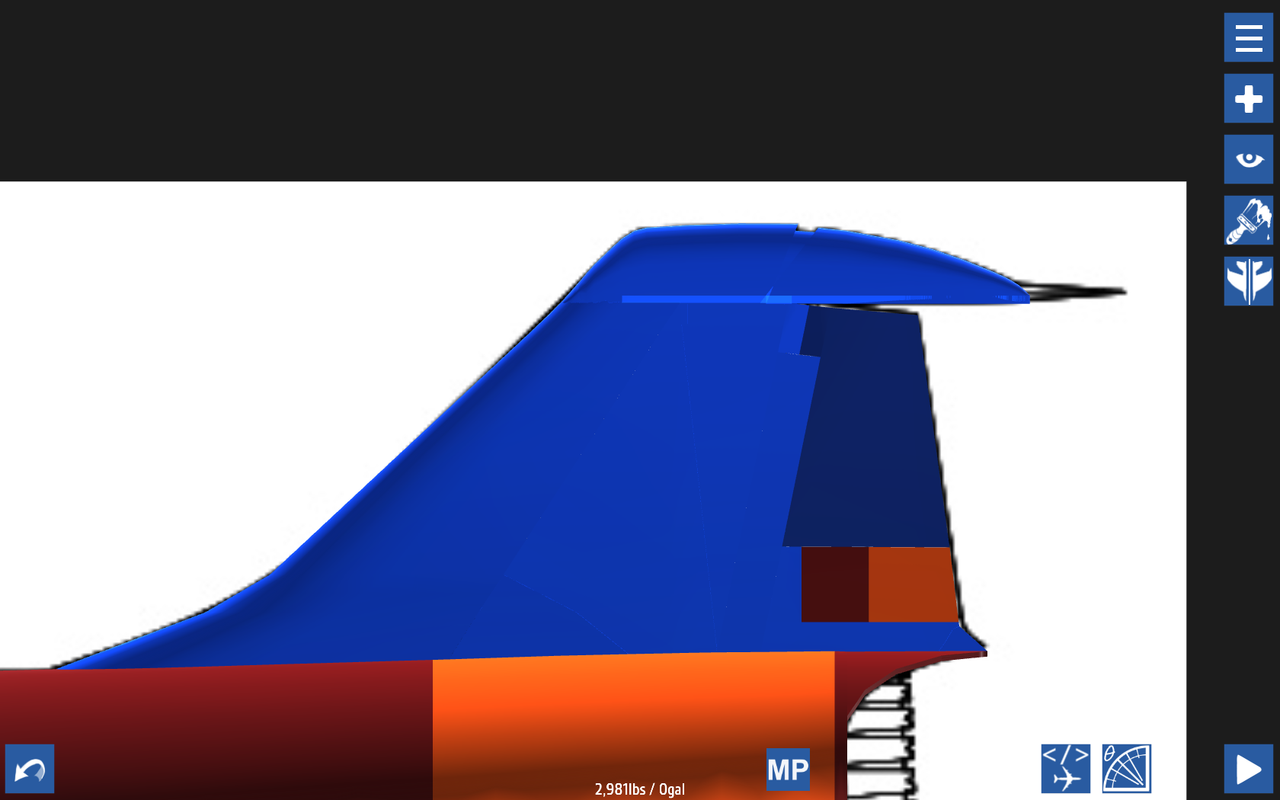
Time for the horizontal stabilizer. This will be fairly simple, its literally 2 parts. Start with a fuselage part like this, and adjust it until it fills the entire dimensions. Then mirror.
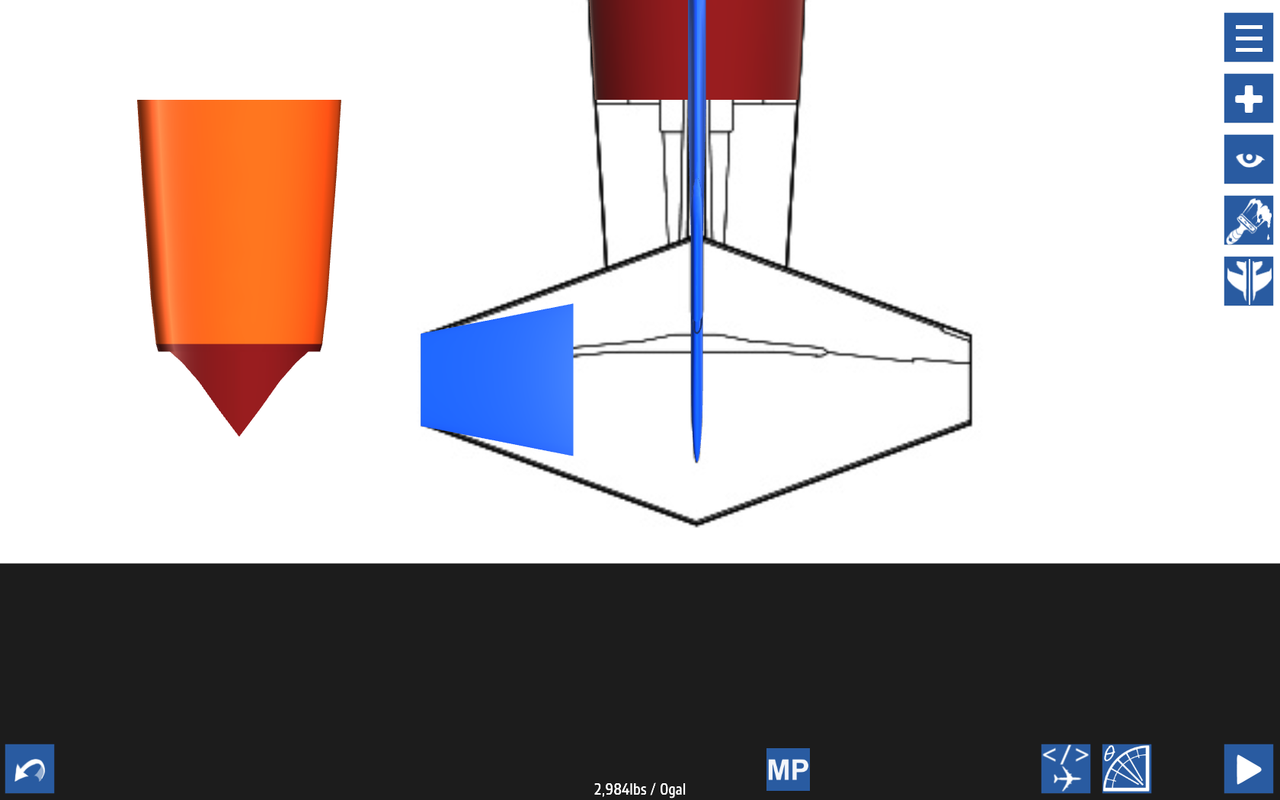
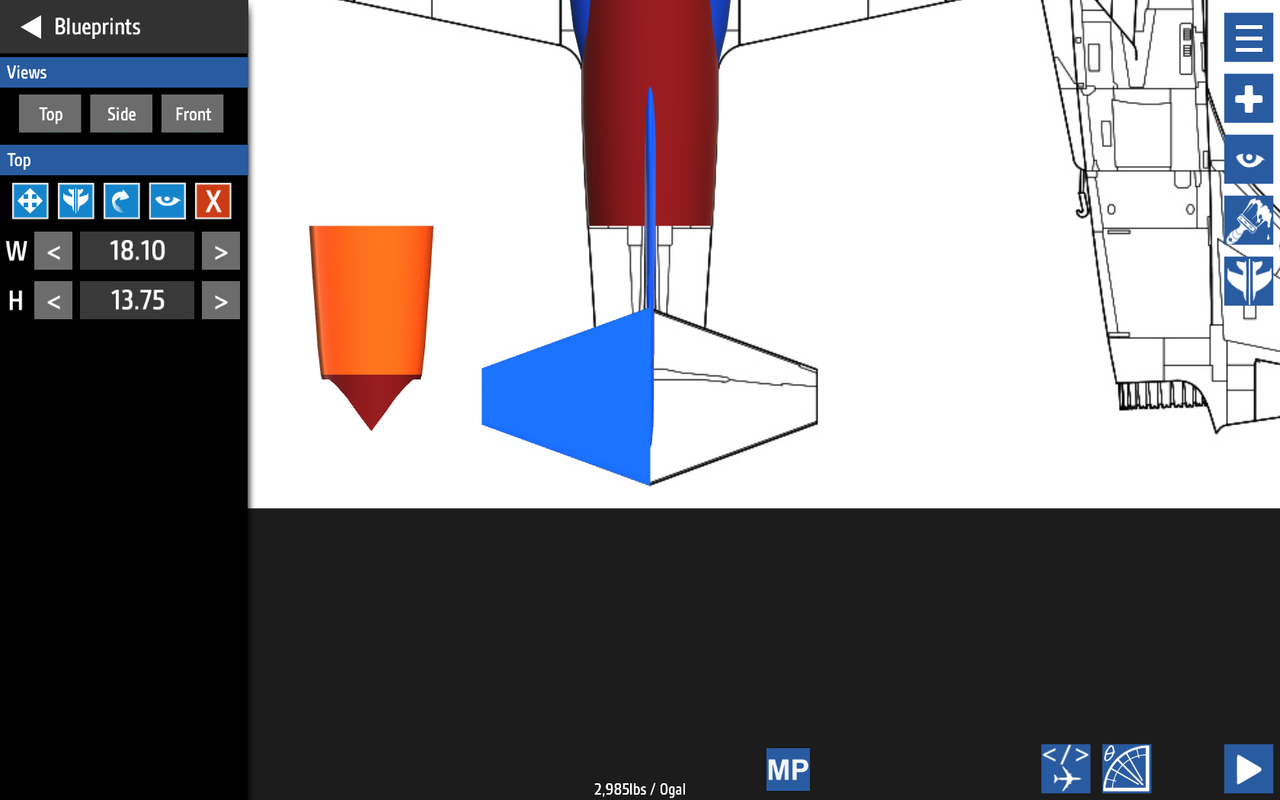
Now just nudge to the proper height and adjust the thickness.

Now we'll add the hinges. 3, one for pitch, one for yaw and one for the yaw trim, which won't do anything.
For the elevator, we need to disconnect this assembly from the rest of the tail.
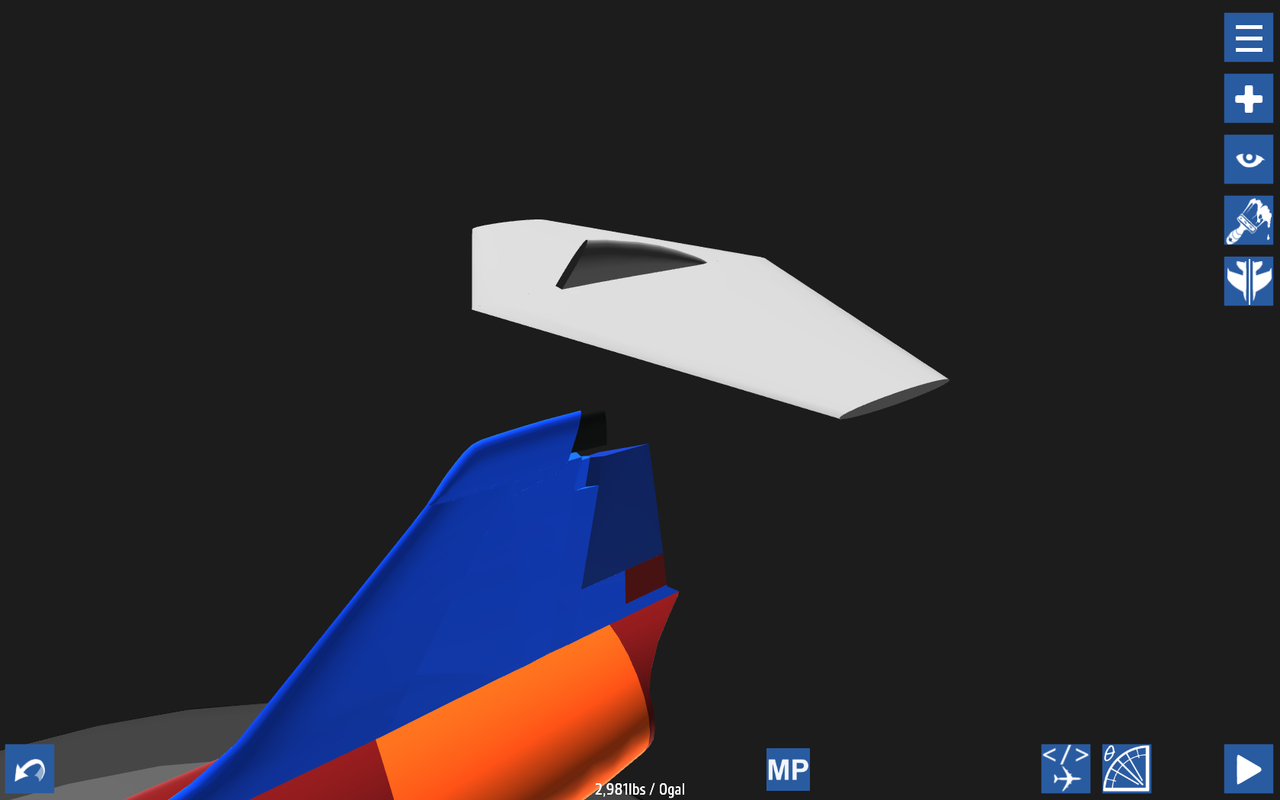
Then add the hinge, use the provided code if you'd like, or write your own.
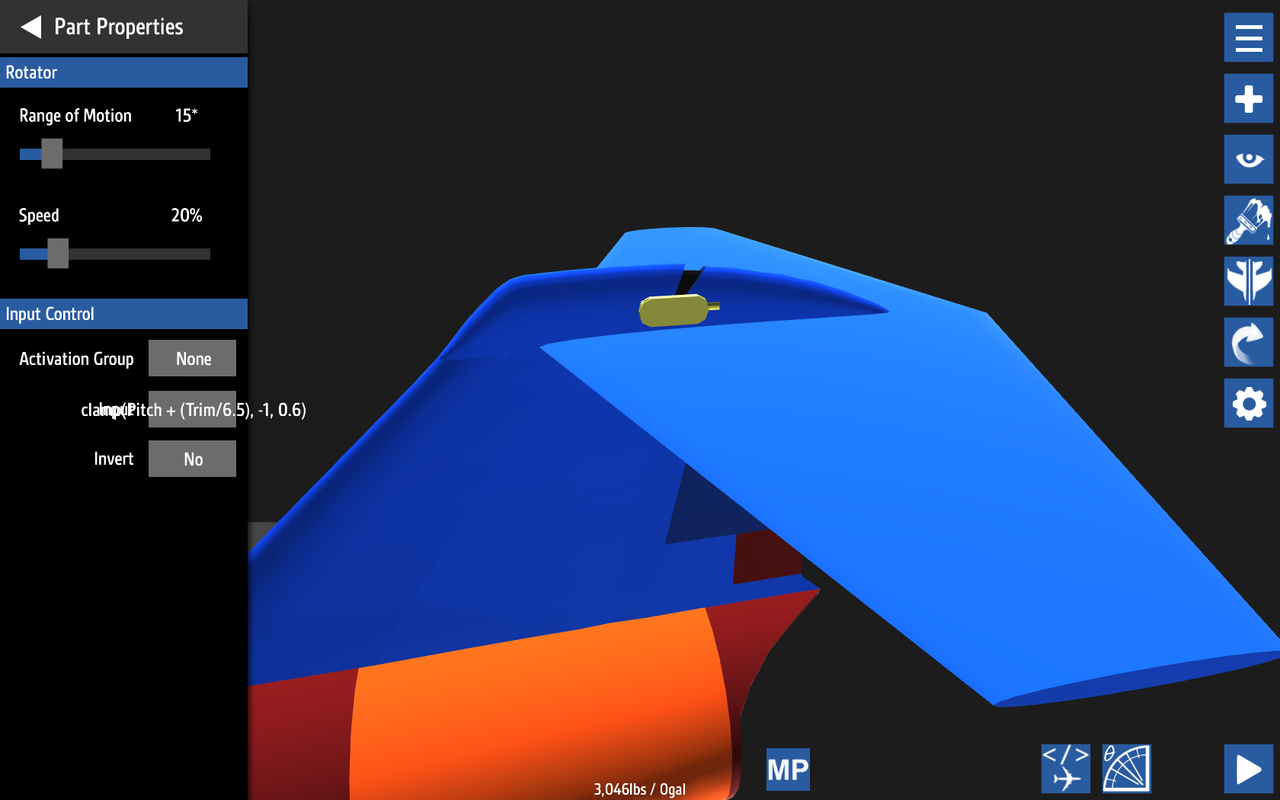
To do the yaw , just nudge out the control surface, angle the rotator to match it (11.5 degrees in my case) and then add the following code. Then nudge back together.
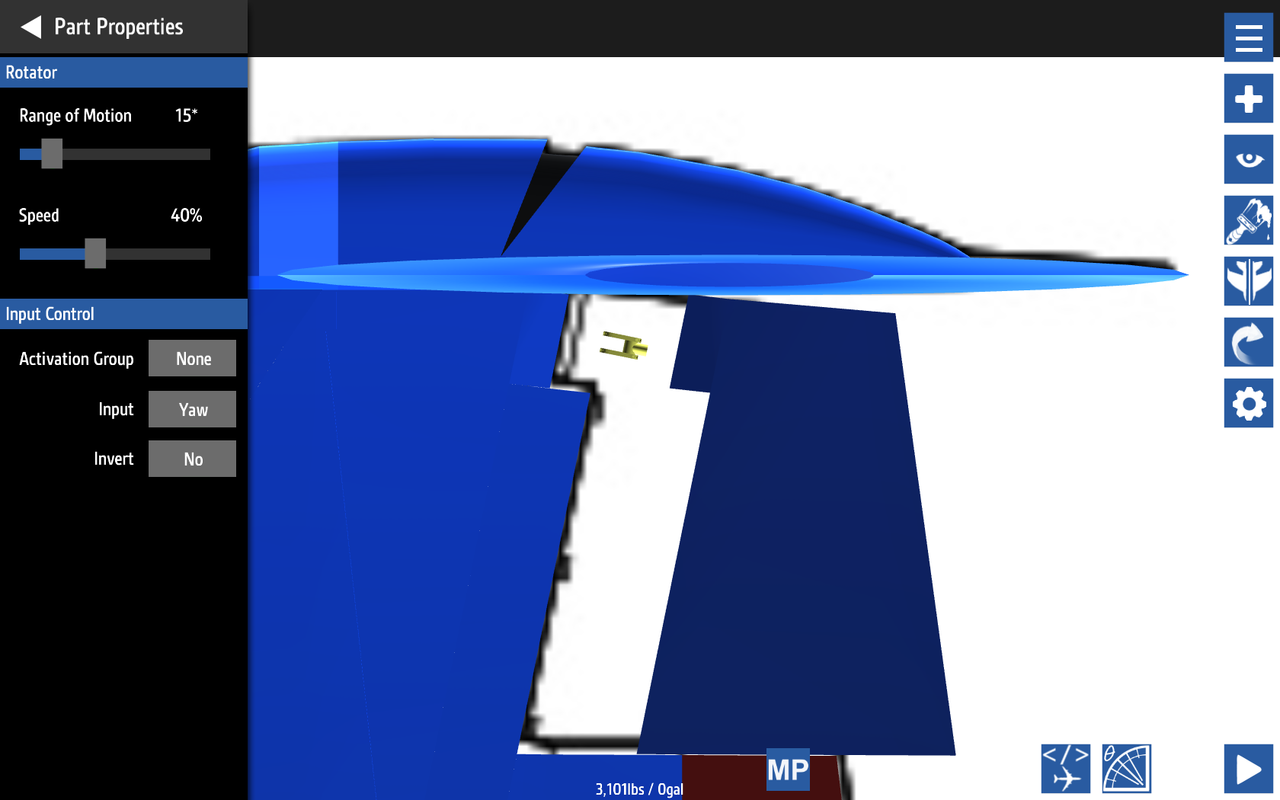
Now for the yaw trim tab, do the same as the main control surface. Nudge out the control surface and put in a rotator with the code Yaw/5.
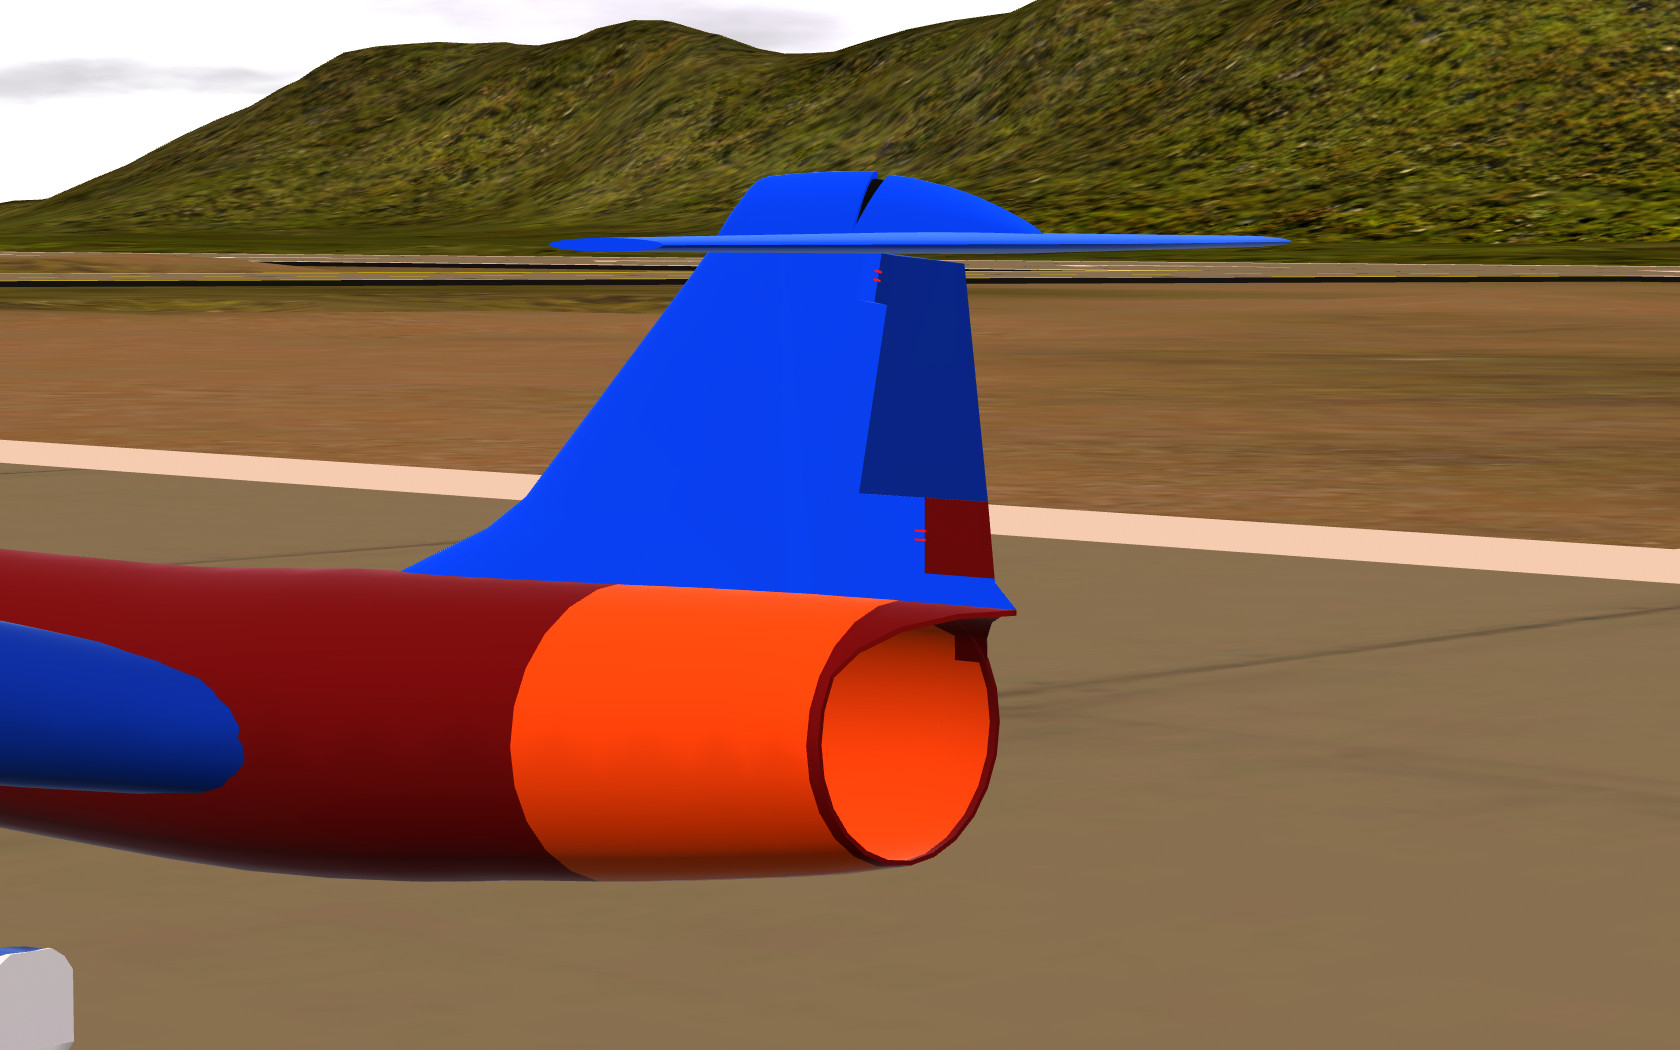
Now we've got a tail!

@KnightOfRen yeah, probably going to scrap this because it’s outdated now.
e
@KnightOfRen yeah yeah yeah this stuff takes time
@KangaKangaTheRoo lol. Thanks!
Can I just say, that's a lot of formatting, you deserve a feature simply from this forum post lol
And that's how you suddenly wild part counts; that was a lot of work for the vertical tail. Kinda cool how you follow the panel line.
my puny brain doesnt understand any of this but watching it is cool so yes
this would've been a lot easier with a half fuselage piece...
cough cough devs
Then again I was mostly making it for the flight model
Wow this is even more complicated than the tail on my F-104G
All of that....... For a f*cking tail......
Holy sh*t
Anyways, tag on finished product
I was making the exact same plane. @KnightOfRen, I'm doing what my dad should have done. I'm pulling out.
@BagelPlane cool do u want to be tagged on my b-26
@KnightOfRen back to 0 entries jk
.
What do you think of a challenge where two teams compete against each other? I am trying to figure out the behind the scenes and how I would set it up but idk
Yeah... you lost me. No more F-104 project for me lol sorry and @KnightOfRen I'm not entering your challenge now
Tails are overrated
This comment was made by the flying wing gang
Requested Tags:
@RedWasNotTheImposter
@UltraLight
@KnightOfRen