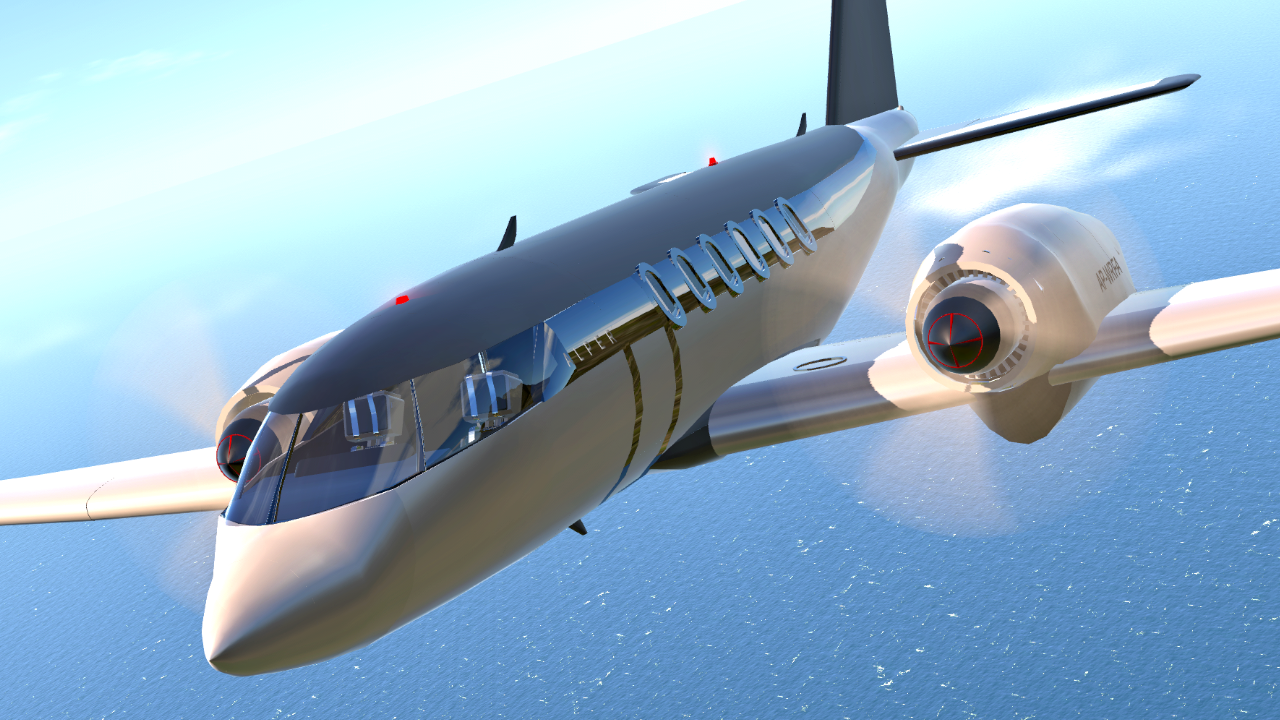
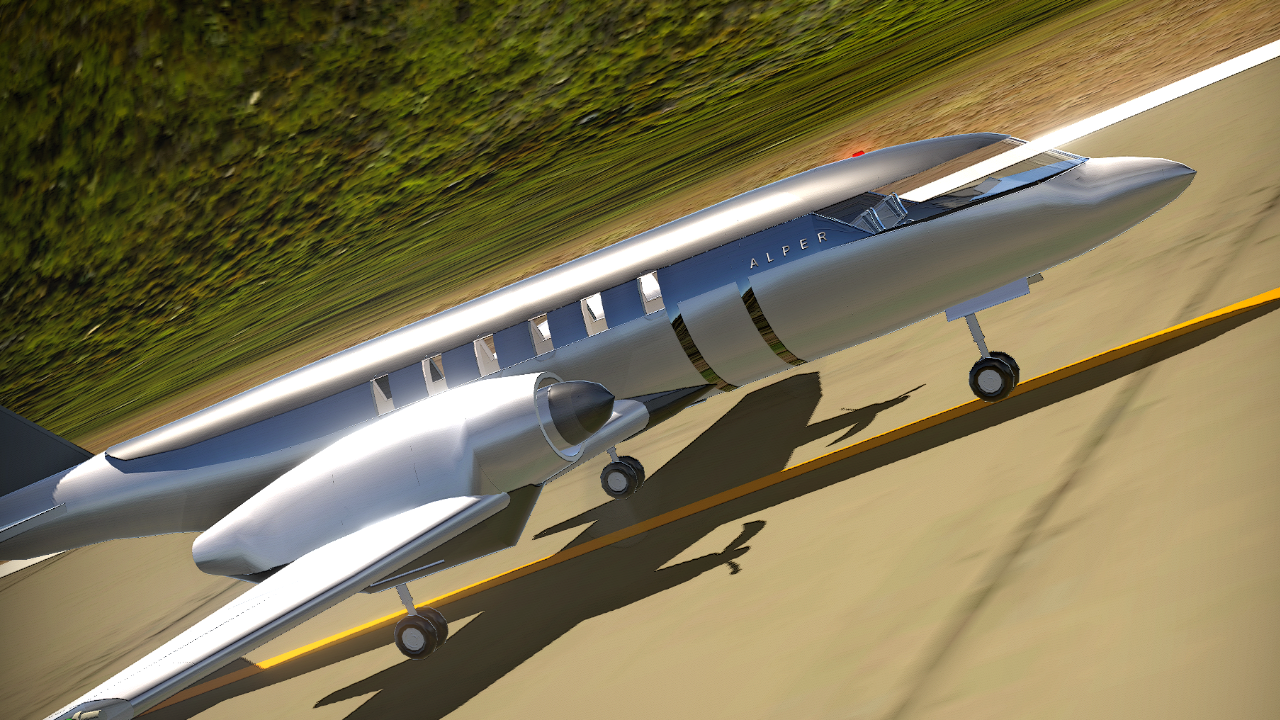
You can click on the images to get re-directed to the versions.
I heard the criticism, I agree with most, and hence decided to make this post.
More Realistic body
- One of the main things that people seemed to not necessarily LIKE was the stepped fuselage toward the aft of the plane primarily due to realism concerns. I worked on it to make it more realistic. Click on the image below to be redirected to that post.

Variant without the luxuries
- Some of the feedback about the internal about the cockpit parts being too small also has been noted. I believe that having to change this would mean a major rehaul to a lot of the parts up front, therefore, I decided that it might just be a better idea to work on a future remaster WITH more than enough space. That said, i was suggested to use the current fuselage and chasis to make a non luxury version for just those small business flights that this could be used for. Though it was a good idea, so I added that below as well. Once again, just click on the image.

Low part version (around 350 parts)
- Lastly, I noticed that some would really benefit from a bit of part reduction. Therefore, I made a reduced part version with most of the cosmetics such as the cabin parts and extra details removed. It's now less than 350 parts and 1533 performance cost.

Since this post is integrated with the main post, the addendum ends there. Everything past this has been copied from the main, so if you already read that, no need to go through this.
ABOUT
The Alper is made from the ground up to be a plane for VIP's or business travels. It focuses on being the most comfortable possible mean of travel between point A to point B.
Top Speed : 350 Knots
Takeoff speed : 112 Knots
Landing speed : 120-130 knots
Controls
- Pitch - Self explanatory
- Throttle : Self explanatory
- Roll : Self explanatory
- VTOL : Flap controls
- Trim : Self explanatory
- AG 7 To open the cabin doors
Given below are the interactable controls and explanation for each.

Here, you see the start-up related interactables. You don't need to do actually do anything because they are already on by default.
In order to turn it off...
- Turn of the Engine power switches (Labelled for the left and right engine)
- Turn of the fuel pump
- Turn of the generator
- Turn off the Beacon lights
- To turn it on again, follow those steps in reverse order.

These are just the light toggles.
- Strobe lights activate high intensity blinking lights like you'd see on real stuff
- Navigation or position lights are a set of 3 lights that help determine position turn these on during or after take-off procedures. Turn them off on taxi.
- Taxi lights are not always needed but majority of the time these are used. when to turn them on is self explanatory,
That is all the main stuff you need to know
Additional details


@YarisSedan You have to click on the image btw, still, here it is.
The one with the non luxury stuff
@YarisSedan wait... Which one? The cabin non-luxury cabin?
@GalaxiesDontSlleep ummm... i can't install this build properly, maybe upload it unlisted?
@GalaxiesDontSlleep i know, im sorry if the wording is poor, im tired af 😅
@YarisSedan yeah but these aren't issues, they are improvements xD
Point being I want to keep the completed post itself and the stuff that came as a result of the completed post separate to show that I'm willing to work and improve even after thinking I've already done my best (which I don't upload unless I've done my best)
@GalaxiesDontSlleep basically updating xml is a way to fix issues with the build without having to reupload the build
@YarisSedan I'm curious, what did you use it for?
@YarisSedan I just did so... but felt like I don't want people to download these as the original. I'll keep the xml download for that as is and let these be their own separate additions to the original post.
After all, this is a response in a way.
@GalaxiesDontSlleep there are tutorials for it, just look up how to update xml on the search bar and voila
@YarisSedan i don't actually know how that works xD
@GalaxiesDontSlleep cool! also, fyi you can update xml i believe.
@YarisSedan Let me know what you think!