Introduction
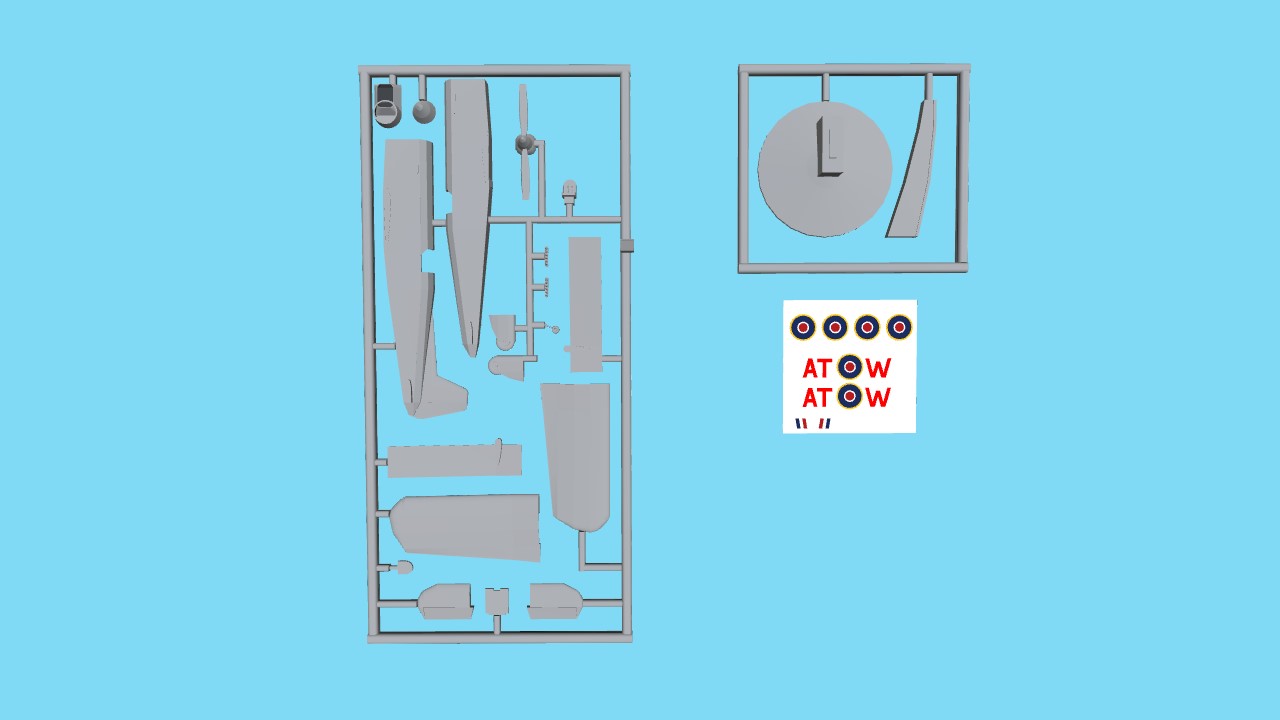
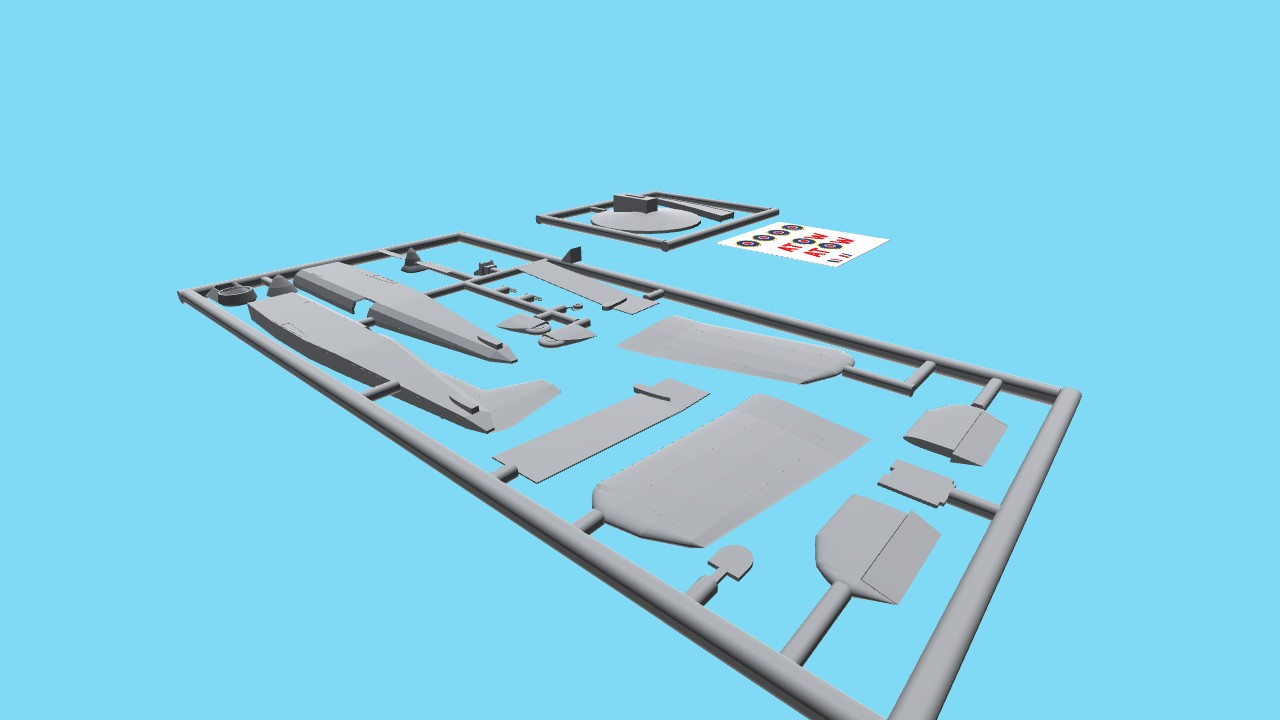
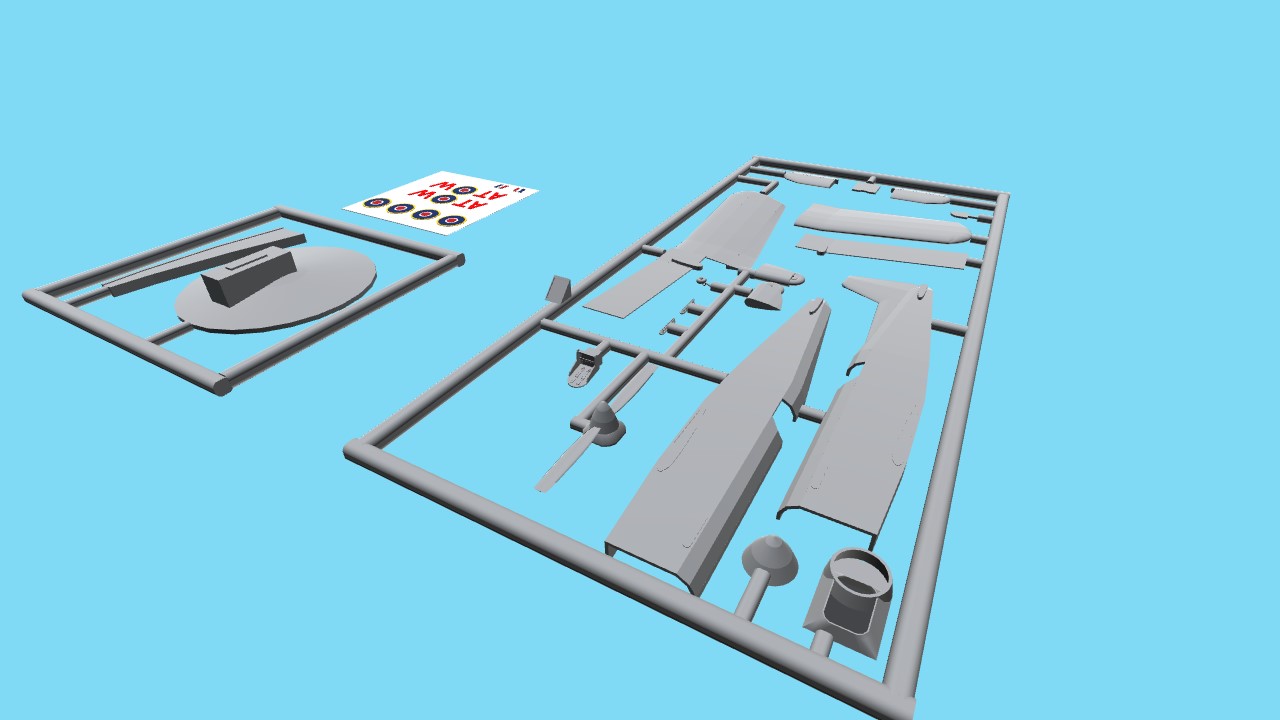
The RJ Firefly was a post WW1 test and development aircraft used by the RAF to test new monoplane concepts and engine development etc. It was entered by the RAF into a number of time trial races where it competed quite successfully. Seen here in its preserved state with WW2 style markings, the RAF used it to tour around the country to help with morale and it formed part of a newly established "historic" flight ran by the RAF.
Instructions
Firstly please ensure that all parts are accounted for, any omissions should be notified prior to the build commencing and evidence to this fact will be required for any replacement/substituting parts.
Ensure any excess sprue is removed with a sharp knife (watch out for your fingers etc.)
(Please note that if assembling in something as awesome as simpleplanes, you may need to nudge individual parts to one side to ensure a clean connection prior to using multiselect to move parts into the correct place.
Step 1
Remove the seat, cockpit console, and floor from the sprue as indicated below:

Proceed to assemble the parts using a Polystrene based cement.

Step 2
Remove the propellor, engine front and spinner from the sprue:

Assemble the aforementioned parts, take care to ensure the proppellor is centralised on the hub.

Step 3
Remove the fuselage sides from the sprue:

Fit the cockpit into the left hand fuselage, then install the engine mount to the front. Once this is complete assemble both fuselage sides:


Step 4
Remove the exhausts from the sprue:

Install exhausts to the fuselage sides using the mounts provided

Step 5
Remove the tailplanes from the sprue:

Fit tailplanes into the fuselage sides using the mounts provided:

Step 6
Remove left hand wing components from the sprue:

Install the lower panel first, the fuselage has a mount that the panel will connect to:

Install top wing pannel

Rinse and repeat for right hand wing:


Step 7
Remove wheel assemblies from the sprue:

Fit the removed parts to the mounts on the underside of both the wing and fuselage

Step 8
Remove the stand fromt the sprue and assemble:


Step 9
Fit aircraft to stand using mount on underside of fuselage

Aircraft is now complete


Step 10 (optional)
Carefully paint the aircraft to match the colours shown and listed below:
Silver A2A2A2 M50 S70
Red 5C0000 M64 S8
Orange FF70F00 M64 S8
Khaki 646417 M100 S0
Blue 000B2E M64 S8
Apply water slide transfers (use slightly warm water to speed up the releasing proceess, care to be taken not to tear or fold transfers)


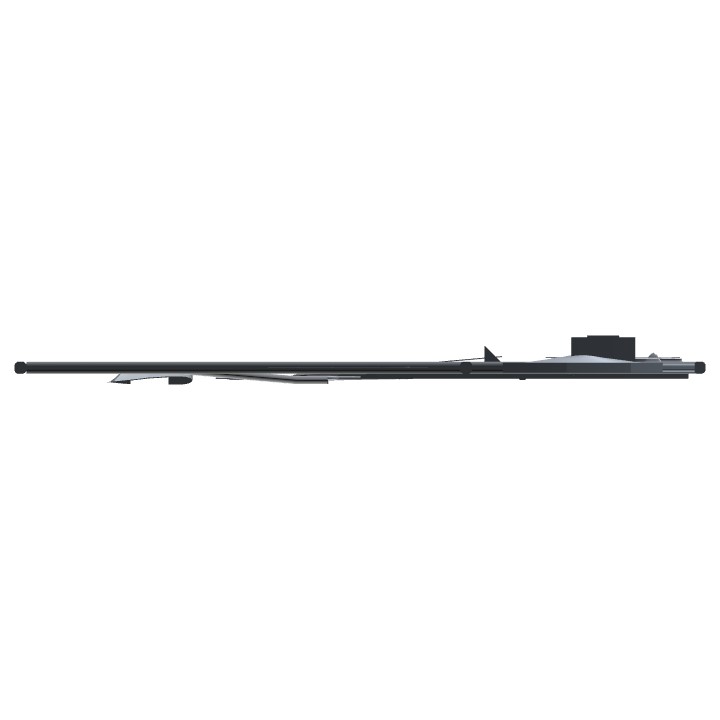
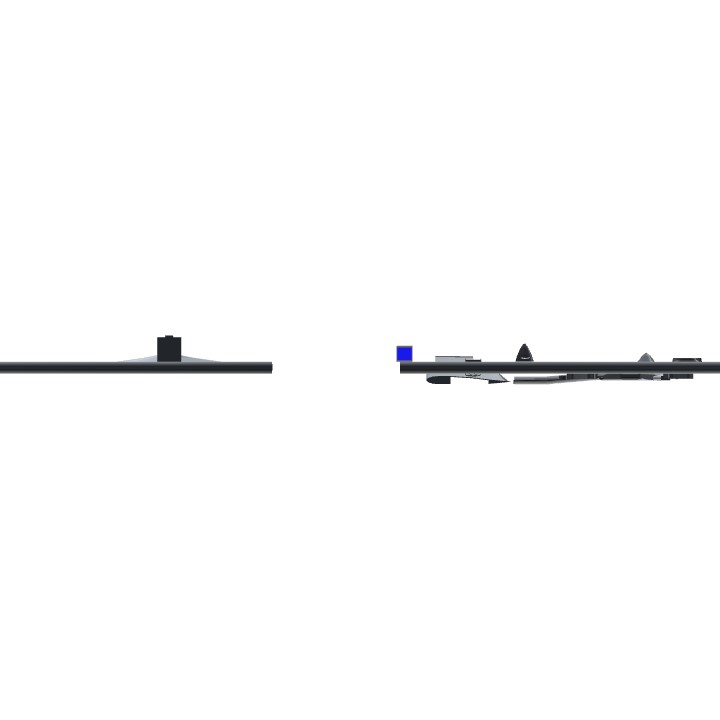
Pictures as built


Link to built plane is here
Flyable version here
Notes
Well this was fun if rather difficult, trying to make hollow shapes like airfix kits while on this game is a challenge. I have tried my hardest to ensure that all the parts have 1mass, if there are any that the challenge creater spots that have less, please let me know and i will change them (I can pretty much guarantee that if there are any they are only on small parts, the fuel in the wing can be removed if you are going to penalise for it, i only put it there for the flying model - it has 0 effect on balance etc.)
Specifications
General Characteristics
- Predecessor **CLOSED** Airfix Challenge **CLOSED**
- Created On Windows
- Wingspan 73.8ft (22.5m)
- Length 70.9ft (21.6m)
- Height 5.0ft (1.5m)
- Empty Weight 4,329lbs (1,963kg)
- Loaded Weight 4,468lbs (2,026kg)
Performance
- Horse Power/Weight Ratio 0.223
- Wing Loading 26.7lbs/ft2 (130.3kg/m2)
- Wing Area 167.4ft2 (15.6m2)
- Drag Points 1123
Parts
- Number of Parts 400
- Control Surfaces 0
- Performance Cost 1,171

@RamboJutter by the way, you got a huge collection of planes. I am loving to look through them. That is so cool. I like the plane of your choice, as well as they look fun.
@WinsWings yeah I liked this challenge, I also sometimes build 1/72 model aircraft (poorly but I enjoy it)
interesting idea. I love to build plastic models - mostly 1/72 or 1/48 scales
I screwed it up lmao
@RamboJutter okay, but that would be good is we have a 3d-printer but we dont want to buy new model
@BryanO5 no idea, never tried. There are a couple of bits which clash slightly though.
3D-Print Possible?
Congratulations @RamboJutter, this model has reached 2nd place in the Airfix competition!
Scoring:
personal preference - 4pts
challenge of build - 4pts
Smoothness - 6pts
game part efficiency - 5pts
pose complexity - 2pts
extra detail - 8pths
kit frame - 10pts
instructions - 25pts
Deductions:
-2 for propeller clipping
-2 for cockpit part clippings
-2 for Wheel arc clippings
This plane will not receive upvotes, because another plane has received a better scoring
No problem @RamboJutter
@TheAceOfSpadez nah it takes a monstrous amount of time to even do fictional versions of this, a replica will just be unfeasible for me at present. Thanks for the comments and update though.
I meant to say) I love how you made this*
It hard to build though lol
Nice! I love to build model kits a lot I have a request can you make the Tamiya 1/48 P-47D thunderbolt I love how you make these @RamboJutter
Cool
Imagine me making a kit but instead of planes its a ship
@Giantwhale probably...
That would be cool if you could
@Giantwhale no idea, dont have a 3d printer
Can you 3D print it?
Holy man. I’m going to build it
I like how this is like a model kit! :)
哇!牛逼
Cool! I’m building a model plane as I speak!
This is really cool. I'm blown away at how it is actually like an airfix kit, good job.
@Tang0five thanks, its my usual mashup, i based it roughly on a Percival Mew Gull with a bit of Miles Magister thrown in (plus a Mustang fin, why not eh.) I wanted something that i could create with a hollow fus and 2 wing sections per most airfix kits, it was so hard to do....